Table of Contents >> Show >> Hide
- Before You Start: The Cardboard Rules That Actually Matter
- 1. Smother Grass and Create a New Garden Bed
- 2. Build a No-Dig Lasagna Garden
- 3. Line the Bottom of a Raised Bed
- 4. Clean Up Garden Paths and Walking Lanes
- 5. Use It as a Temporary Weed Barrier Around New Plantings
- 6. Feed Your Compost Pile More “Browns”
- 7. Use Cardboard in a Worm Bin for Garden Gold
- 8. Start Seeds in Cardboard Tubes
- 9. Make Cutworm Collars for Tender Transplants
- Common Mistakes to Avoid
- What Gardeners Learn After Actually Trying This Stuff
- Conclusion
Cardboard does not exactly scream “garden luxury.” It screams “I ordered something online at 11:47 p.m. and now I have a suspicious amount of boxes.” But plain cardboard can be surprisingly useful in the yard when you use it the right way. It can smother grass, help you build a no-dig bed, give your compost pile more balance, and even protect baby plants from midnight cutworm snack attacks. Not bad for something most of us were about to drag to the recycling bin.
The trick is knowing where cardboard shines and where it gets a little too dramatic. In a garden, it works best as a helper, not a hero. Think of it as the stage crew: important, effective, and much better when it stays in the background under mulch, compost, or soil. Used wisely, it can save labor, reduce weeds, and recycle a common household material into something genuinely useful.
Here are nine clever, practical ways to use cardboard in your garden without turning your backyard into a shipping warehouse with tomatoes.
Before You Start: The Cardboard Rules That Actually Matter
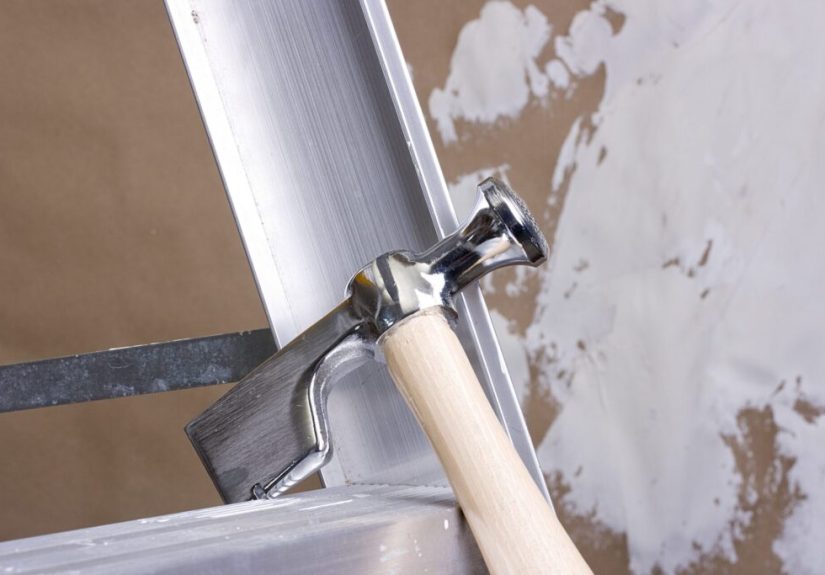
Before you race outside with a cereal box and a dream, follow a few common-sense rules. Use plain brown cardboard whenever possible. Remove tape, labels, staples, and glossy coatings. Skip waxed boxes, heavily colored printing, and anything that looks like it belonged in a freezer aisle or survived a glitter emergency. Cardboard should be dampened before use so it lies flat and starts breaking down instead of acting like a stubborn, water-shedding roof tile.
Also, do not pile it on like you are fortifying a medieval castle. One to two layers is usually enough. If you go too thick, you can slow water and air movement into the soil. That means the goal is not “maximum cardboard.” The goal is “enough cardboard to be useful, then let compost, mulch, soil life, and time do the rest.”
1. Smother Grass and Create a New Garden Bed
This is the classic cardboard move, and honestly, it is still the best one. If you want to turn a patch of lawn into a flower bed or vegetable plot without tilling, cardboard can help block light and weaken the grass underneath. Lay overlapping sheets over the area, wet them thoroughly, and cover them with a few inches of compost, shredded leaves, bark, or wood chips.
The cardboard blocks sunlight, which the grass and weeds need for photosynthesis. Over time, the covered vegetation dies and begins to decompose in place. The result is less digging, less hauling, and less temptation to mutter things at your lawn that the neighbors do not need to hear.
This method works best when you think ahead. If you start in fall, the bed is often in much better shape by spring. You can plant right away through holes if you need to, but patience pays off. A fully smothered bed is easier to manage, easier to water, and less likely to have weeds popping up like tiny green hecklers.
2. Build a No-Dig Lasagna Garden
If sheet mulching had a slightly more charming cousin, it would be lasagna gardening. No, it does not involve mozzarella. It does involve layers. Start with cardboard on the ground, then add alternating layers of “browns” and “greens.” Browns include dry leaves, shredded paper, straw, or torn cardboard. Greens include grass clippings, coffee grounds, kitchen vegetable scraps, and well-aged manure or compost.
Over time, the layers break down into a fertile, fluffy planting bed rich in organic matter. It is a smart option for gardeners who want to improve soil without turning it over repeatedly. A lasagna bed also makes good use of materials many households already have, which means your garden gets fed while your waste bin gets a little lighter.
The key is balance. Too much dry material and the pile loafs around like it is on vacation. Too much wet, nitrogen-heavy material and it can turn slimy or smelly. Keep it moist, layer it thoughtfully, and give it time. Good garden beds are rarely born overnight, even when the internet pretends otherwise.
3. Line the Bottom of a Raised Bed
If you are setting a raised bed over existing grass or weeds, cardboard can act as a useful starter barrier. Put damp cardboard on the bottom before adding soil, especially if the bed is deeper and framed with boards. It helps suppress the existing vegetation while the bed gets established, and it will gradually break down instead of becoming a permanent synthetic layer in the soil.
This is especially handy when you want to build a raised bed on a patch of lawn and would rather skip the theatrical grass removal process. It is not magic, but it does give you a cleaner start. Once you fill the bed with a good mineral-soil-based mix and organic matter, roots can move downward as the cardboard decomposes.
That said, cardboard should not replace good bed design. Your raised bed still needs quality soil, reasonable depth, and a site that drains well. Cardboard is the opening act, not the whole concert.
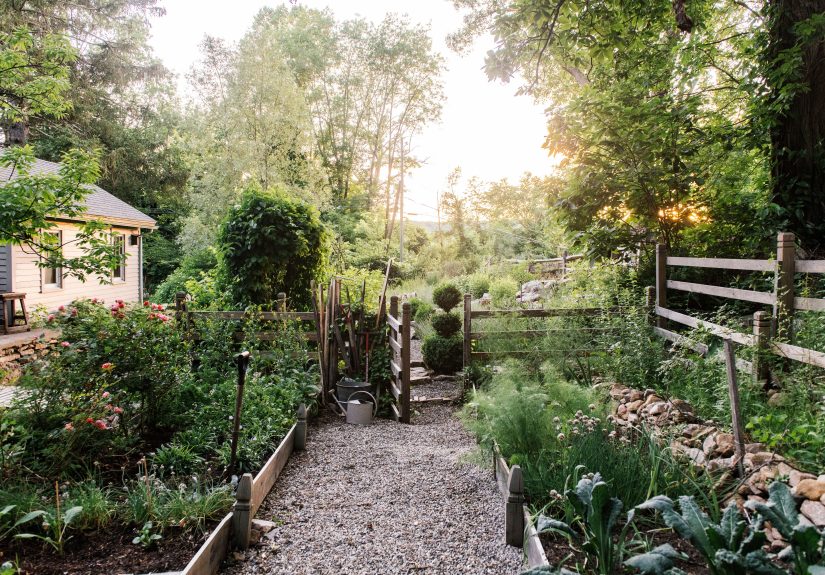
4. Clean Up Garden Paths and Walking Lanes
Garden paths are where weeds go to build confidence. One easy way to make those walkways more manageable is to lay cardboard down in the paths and top it with wood chips. This helps suppress weeds, gives you a cleaner place to walk, and keeps your shoes from looking like they lost a fight with wet soil.
Paths matter more than people think. When you step in growing beds, you compact the soil around plant roots. Keeping dedicated pathways between rows helps you avoid that problem. Cardboard under a thick layer of chips is a budget-friendly way to create low-maintenance lanes, especially in vegetable gardens where you return to the same working pattern all season.
Just remember that paths are perfect for cardboard because you are not planting directly into them. That makes this use less fussy than putting cardboard everywhere in a planted bed. In other words, if you want a simple cardboard win, start with the paths.
5. Use It as a Temporary Weed Barrier Around New Plantings
Cardboard can also help when you are establishing a new ornamental bed, berry patch, or shrub border. Laid under mulch, it can cut down early weed pressure while your desirable plants fill in. This is especially useful in the first season, when young plants are still small and every weed seems to arrive with main-character energy.
The word here is temporary. Cardboard works best as a short-term helper while plants establish, not as a forever blanket. Around new plantings, leave breathing room around crowns and stems, then cover the cardboard with a moderate mulch layer. Once the weeds underneath are gone and the planting is settled in, the cardboard should be degrading, not lingering like an awkward houseguest.
This strategy is also useful on slopes or open areas where bare soil would otherwise erode or crust over. A biodegradable cover is often gentler and more garden-friendly than synthetic weed barriers, especially where you want the soil to stay alive and workable.
6. Feed Your Compost Pile More “Browns”
Compost piles are like group projects: when one ingredient dominates, everybody suffers. Cardboard is a valuable carbon-rich “brown,” which means it helps balance wetter, nitrogen-rich “green” materials like kitchen scraps and fresh grass clippings. Tear or shred it into smaller pieces, wet it lightly, and mix it into the pile rather than tossing in giant sheets like you are filing paperwork.
This is one of the easiest ways to use cardboard in the garden because it turns a packaging leftover into future soil amendment. It also helps absorb excess moisture in compost piles that are trending a little too swampy. If your pile smells funky, looks soggy, or seems more “science experiment” than “earthy goodness,” more browns may help restore order.
Plain cardboard only, please. No waxed coatings, glossy finishes, plastic tape, or mystery adhesives. Compost loves simplicity. So do gardeners who do not want to pick weird box fragments out of finished compost six months from now.
7. Use Cardboard in a Worm Bin for Garden Gold
If you vermicompost, cardboard is useful twice: once as a waste product, and again as worm bedding. Shredded, moistened cardboard helps create the carbon-rich, sponge-like environment red wigglers appreciate. The worms break it down along with food scraps and turn the whole setup into nutrient-rich vermicompost.
This is not technically “in the flower bed,” but it absolutely supports the garden. Worm castings are prized because they improve soil structure and add a gentle nutrient boost. For gardeners with limited outdoor space, a worm bin is a clever way to turn cardboard and kitchen scraps into something your containers, raised beds, and seed-starting mix will all appreciate.
Keep the bedding moist but not soggy, use only non-glossy paper products, and bury food scraps under the bedding to reduce odors and pests. Worms are hardworking roommates, but they still prefer a tidy kitchen.
8. Start Seeds in Cardboard Tubes
Paper towel and toilet paper tubes are the humble overachievers of seed starting. Cut them into short sections, fill them with seed-starting mix, and use them for crops that dislike root disturbance, such as beans, cucumbers, or squash. When transplant time comes, the whole tube can go into the ground.
The big advantage is less transplant shock. Instead of wrestling roots out of plastic cells, you move the little plant, tube and all, into the garden. The cardboard gradually softens and breaks down while the roots push outward.
There is one catch: do not leave the rim of the tube sticking above the soil. Exposed cardboard can act like a wick and pull moisture away from the root zone. So yes, cardboard is helpful, but it also occasionally behaves like a tiny moisture thief. Bury it fully and everybody gets along.
9. Make Cutworm Collars for Tender Transplants
Every gardener has experienced that special heartbreak of setting out a healthy seedling, checking on it the next morning, and finding it sliced off at the base like it insulted somebody. That somebody is often a cutworm. A simple cardboard collar around the stem can help stop the attack.
Cut a strip from a cardboard tube or stiff box, wrap it around the transplant, and press it slightly into the soil while leaving a couple of inches aboveground. The barrier makes it much harder for cutworms to curl around the stem and chew through it. It is cheap, quick, and satisfying in the way only low-budget pest prevention can be.
For tomatoes, peppers, brassicas, and other young transplants, this tiny trick can save a surprising amount of frustration. It is not glamorous, but neither is replanting the same row twice.
Common Mistakes to Avoid
The most common cardboard mistake is using the wrong kind. If it is glossy, waxed, heavily printed, taped up like a hostage package, or coated in anything suspicious, skip it. Another mistake is laying it too thick. More is not better when water and air still need to reach the soil.
Gardeners also get into trouble when they let cardboard dry out before covering it. Dry cardboard can shed water instead of letting it through. Wet it first, overlap the edges, and top it with compost or mulch. That extra step is the difference between “useful garden tool” and “why is my bed repelling rain like a duck’s back?”
Finally, do not confuse cardboard with a permanent solution. It is most effective when used to start a bed, suppress weeds short-term, support composting, or protect seedlings. Once its job is done, it should decompose and quietly exit the scene.
What Gardeners Learn After Actually Trying This Stuff
The funny thing about cardboard in the garden is that it sounds a little ridiculous until you try it. On day one, it can feel like you are landscaping with moving boxes and blind optimism. But by week three, when the grass under the future bed starts fading and the weeds in the path stop staging a comeback tour, the method starts to make a lot more sense.
One of the first lessons gardeners learn is that bigger pieces are better. Small box scraps technically work, but fitting them together is like doing a jigsaw puzzle while kneeling in mulch. Large sheets go down faster, overlap more easily, and leave fewer gaps where weeds can sneak through. The second lesson is that wind has a wicked sense of humor. If you do not wet the cardboard and weigh it down, your “eco-friendly garden prep” can become “neighborhood cardboard festival” in about ten minutes.
Another common experience is discovering that cardboard is excellent at helping you start a bed, but not especially charming when it is overused. Gardeners who pile on too many layers often notice the area stays drier underneath than expected, especially in hot weather. That is when the lightbulb goes on: cardboard is a temporary light blocker, not a permanent flooring system. A little restraint goes a long way.
People also tend to notice how much tidier paths feel when cardboard and wood chips are paired together. Suddenly, the route between raised beds feels intentional instead of improvised. You are not slipping in mud, you are not compacting the growing soil, and you are less likely to track half the garden back into the house. That alone can feel like a quality-of-life upgrade.
Seed-starting with cardboard tubes teaches its own lesson in humility. The first batch often looks adorable and slightly crooked, like a school craft project that discovered horticulture. But the idea works, especially for fast-growing seedlings that dislike root disturbance. Gardeners who forget to bury the rim of the tube usually learn quickly that exposed cardboard dries out faster than expected. The plants survive, the gardener takes notes, and next season everybody acts more professional.
Cutworm collars are another place where experience changes minds. They look almost laughably simple, which is exactly why people underestimate them. Then one spring morning the protected seedlings are still standing while the unprotected ones are lying sideways like tiny crime-scene outlines. Suddenly, cardboard has earned respect.
Composting with cardboard often changes how gardeners see household waste. A torn box stops looking like trash and starts looking like future soil structure. That shift is one of the best parts of gardening: you start noticing cycles instead of clutter. Leaves become mulch, scraps become compost, cardboard becomes browns, and your backyard turns into a place where leftovers are not the end of the story.
In the end, real-world experience with cardboard usually leads to the same conclusion. It is not glamorous. It will never be the prettiest item in the shed. But it is cheap, useful, biodegradable, and surprisingly versatile. And in a hobby where people cheerfully discuss worm castings and celebrate a tomato like it won an Oscar, cardboard fits right in.
Conclusion
Cardboard is not a miracle product, but it is a smart, low-cost garden tool when used with intention. It can help you create beds without tilling, keep paths cleaner, reduce weed pressure, improve compost balance, start seedlings, and protect young transplants. The secret is to keep it plain, keep it damp, and keep it temporary.
So the next time a delivery box lands on your porch, do not automatically think “trash.” Think “future garden assistant.” Then remove the tape, give it a hose-down, and let that box finally do something noble.