


Hey Pandas, AITA Mother stories turn everyday family drama into internet-wide debates about boundaries, guilt, parenting, adult...
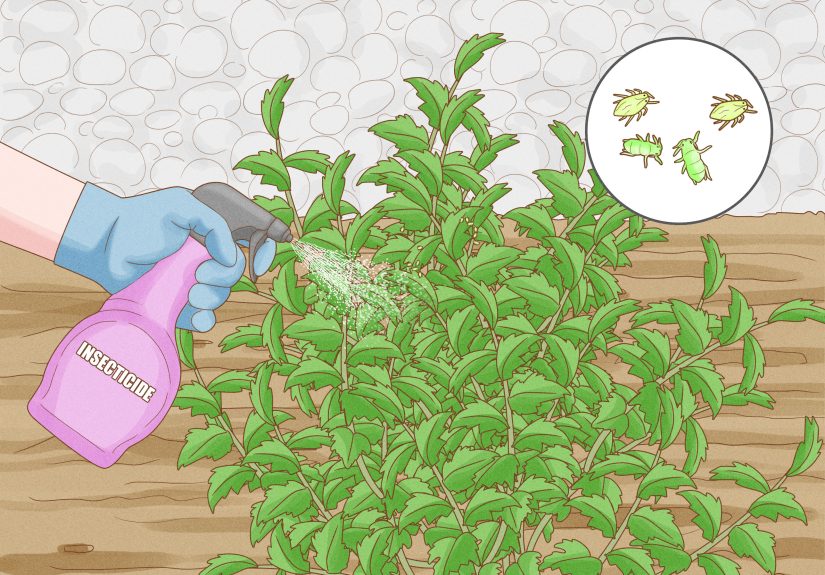
Want more Rose of Sharon without buying a trunkful of new shrubs? This in-depth guide walks you...
Some actors read a scene. Others perform a war dance, survive months of callbacks, or accidentally make...
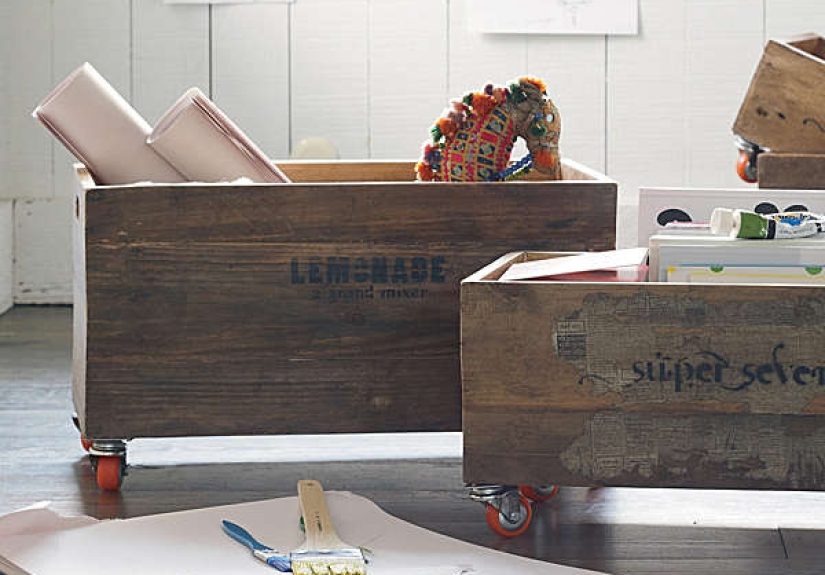
Rolling Storage Crates from Serena & Lily bring together the best parts of home organization: mobility, beauty,...
Sunday scaries can turn the final hours of the weekend into a suspense movie starring your inbox....

Telemedicine is reshaping chronic condition care by making follow-up easier, monitoring more continuous, and care plans more...

Scientists are finding smarter ways to turn carbon dioxide into methane, opening new possibilities for carbon recycling,...
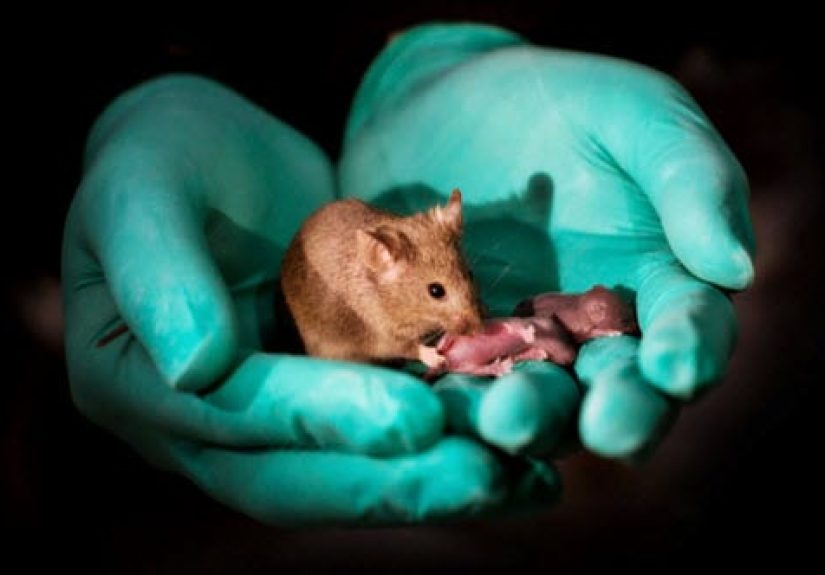
Chinese scientists have helped reshape modern genetics through landmark work in genome sequencing, agriculture, conservation, ancient DNA,...
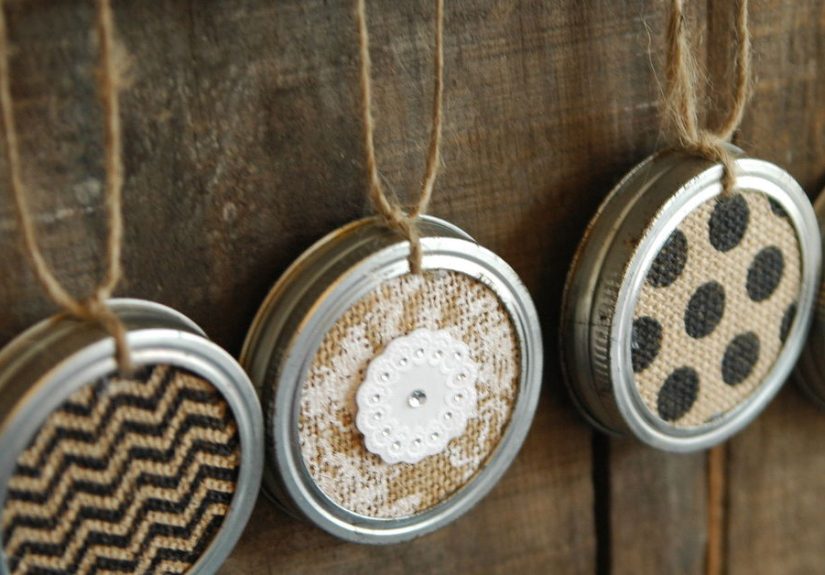
Turn spare canning jar lids into festive holiday decor with these creative, budget-friendly DIY ideas. This in-depth...
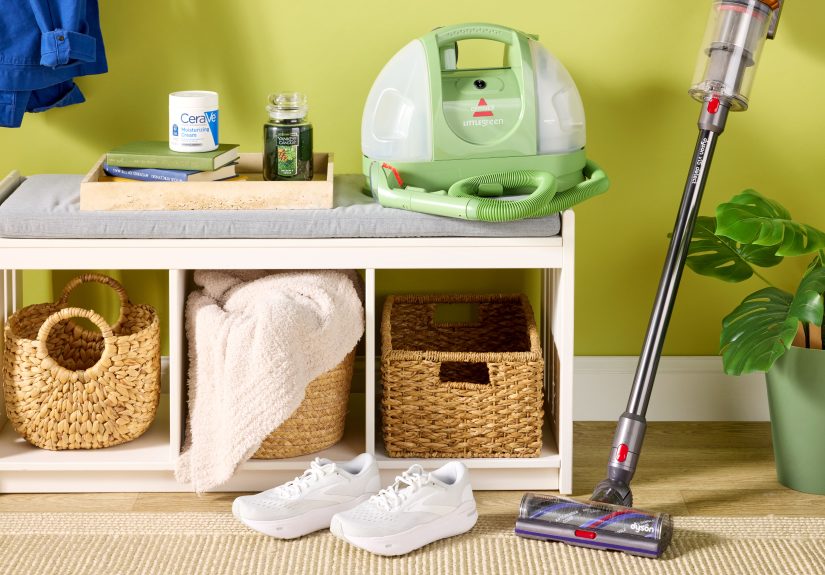
Amazon’s Fall Prime Day 2025 delivered more than random markdownsit offered standout savings on the products shoppers...