


Vaginal itching can be uncomfortable, distracting, and sometimes confusingbut mild irritation often improves with gentle, practical care....
From LEGO Star Wars builds and Black Series action figures to premium lightsabers and kid-friendly battle packs,...
Young-onset cancer can feel brutally isolating, especially when life was just beginning to take shape. This in-depth...
China’s planned deep-sea exploration station is more than a futuristic marine lab. Built around cold-seep research in...
London is a city of layers you can never fully finish, only collect. This article explores how...
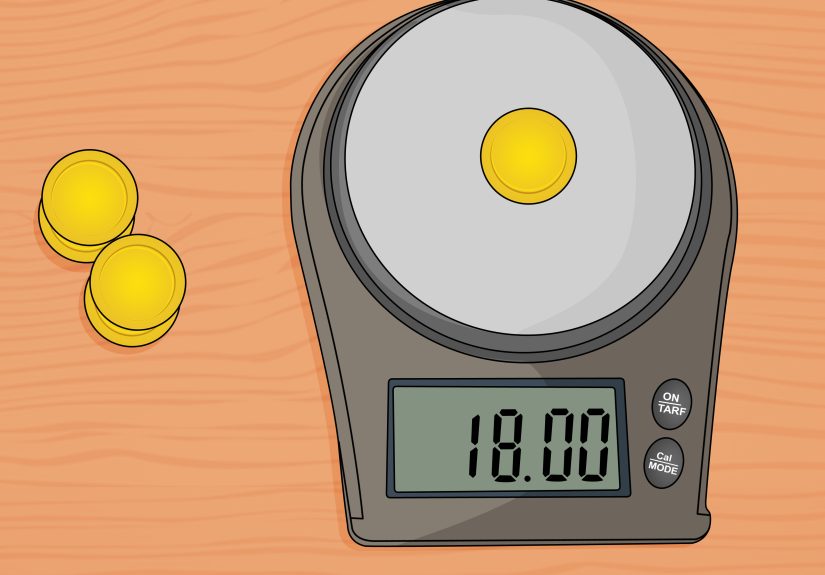
Trading gold coins for cash can be profitable, but only if you know what you own, what...

The Take a Penny, Leave a Penny bowl may look like a humble dish of spare change,...

A 408 Request Timeout can make a website feel broken, but the cause is often easier to...

Facebook says it does not sell your personal data, but Meta makes nearly all its money from...

Portola Paints Wrought Iron Finish brings the moody beauty of aged iron to paintable surfaces, making gates,...