


Osteoarthritis is more than ordinary wear and tear. This in-depth guide explains the pathophysiology of osteoarthritis in...
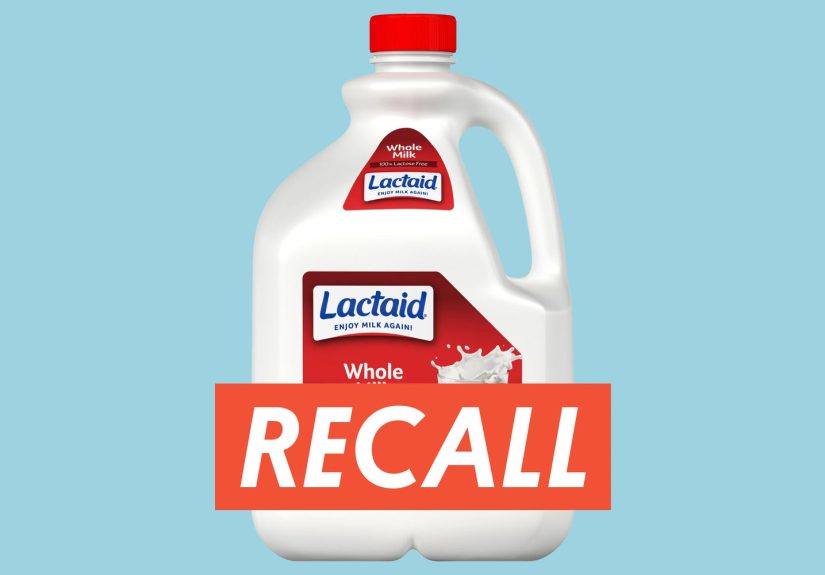
A September 2024 recall pulled select 96-ounce Lactaid milk products from shelves after routine checks found the...
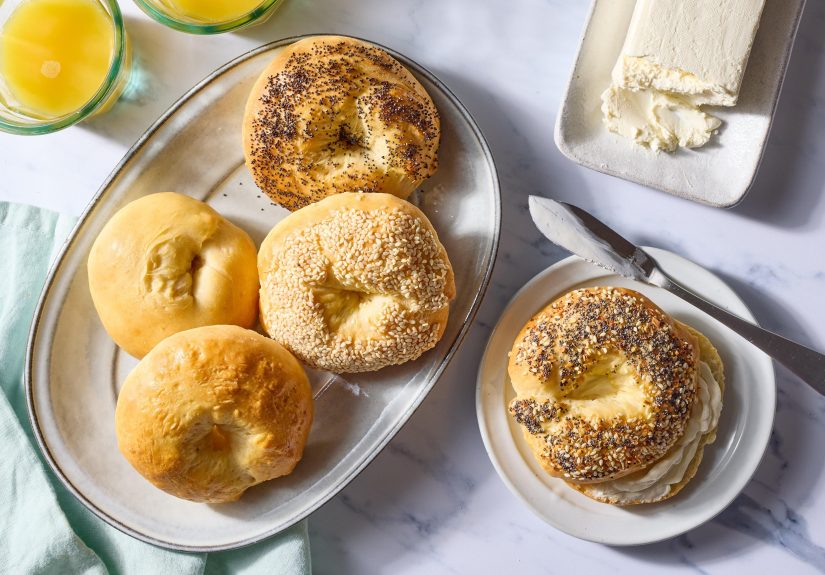
Want homemade bagels without yeast, boiling, or a whole baking saga? This 2-ingredient bagels recipe shows how...
Who were the greatest Romantic poetsand why do their passionate, nature-soaked, rule-breaking lines still hit so hard...
Spotify Autoplay can be a lifesaver when you want nonstop musicor a total mood-killer when it hijacks...

Heart disease is the leading cause of death for women in the U.S., and research suggests lesbian...
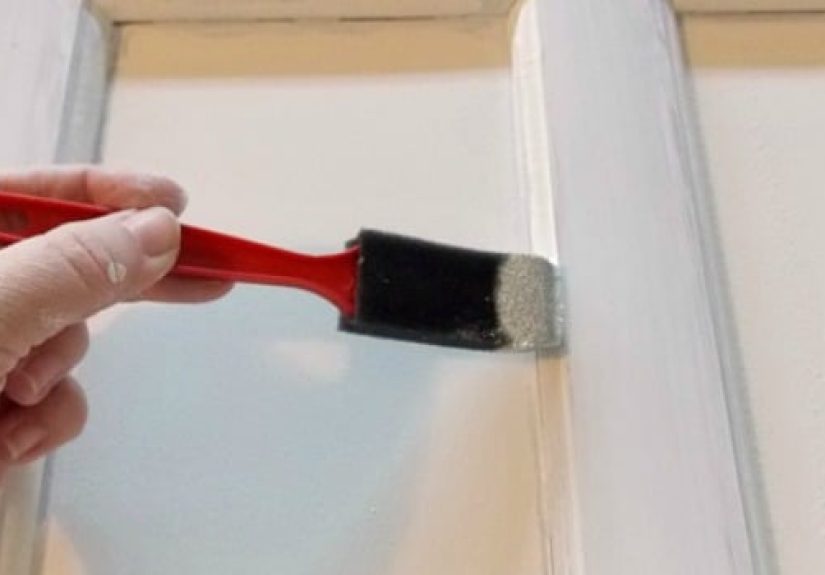
Painting cabinet doors can completely refresh a kitchen or bathroom without the cost of replacing cabinets, but...

General Paints Group brings more than paint to the U.S. market. Its Irish heritage, family-run history, and...

Paris style isn’t always about trendsit’s about a personal uniform, smart proportions, and clothes that work for...

Character mashups are the ultimate “why choose?” art challengeespecially in colored pencil, where layering and burnishing can...