


A cold sore crust can feel tight, itchy, painful, and impossible to ignore, but it is also...
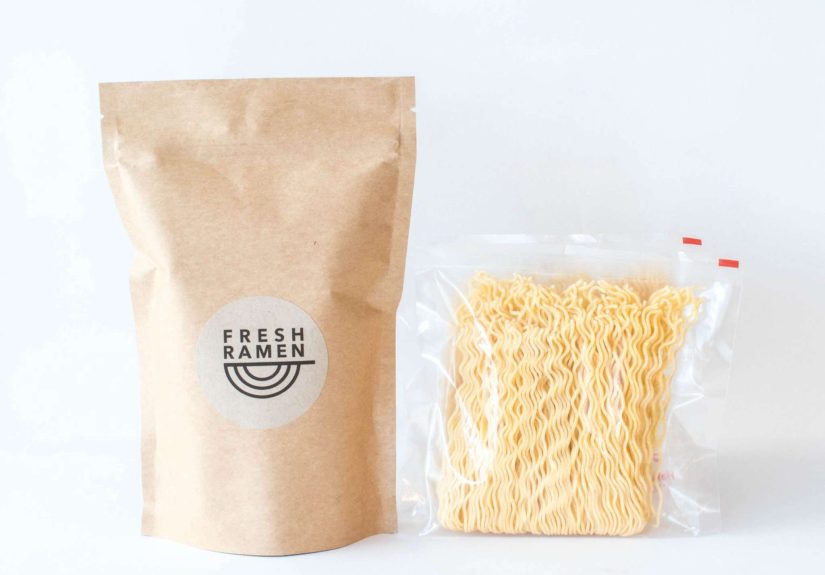
Hakubaku Fresh Ramen offers a fresh-style, restaurant-inspired ramen experience at home with soft noodles, fast prep, and...
A visit to The Publican in Chicago is loud, lively, delicious, and unmistakably West Loop. This guide...
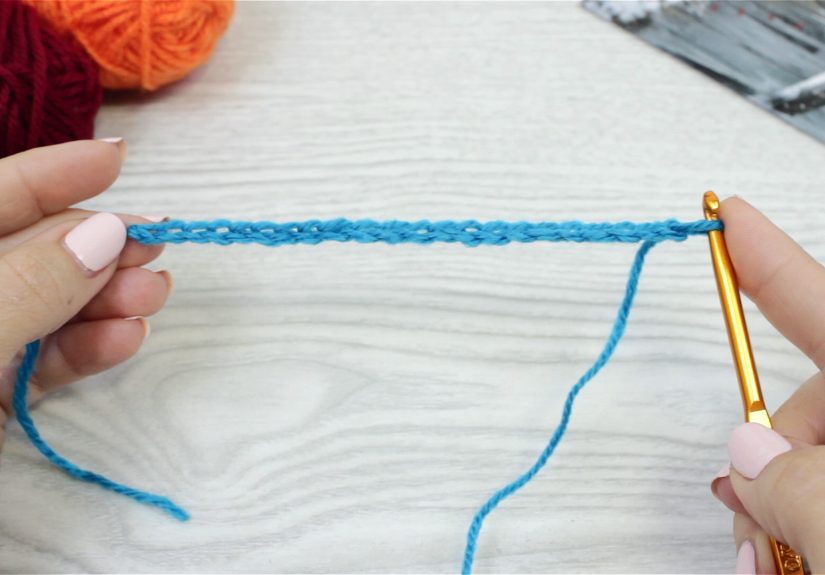
Want a crochet stitch that looks fancy, feels cozy, and secretly uses simple techniques? The waffle stitch...
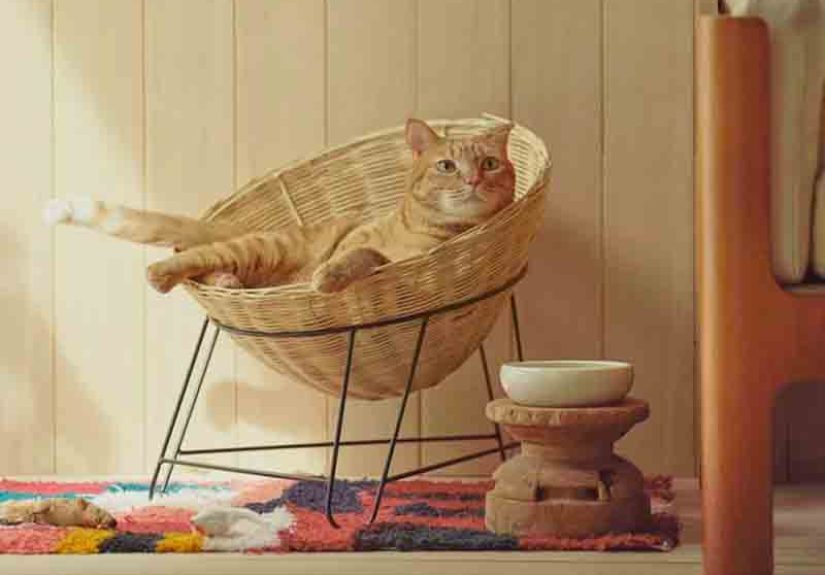
The Orneko Iron Leg Rattan Chair is not just a cute cat bedit is a design-forward piece...

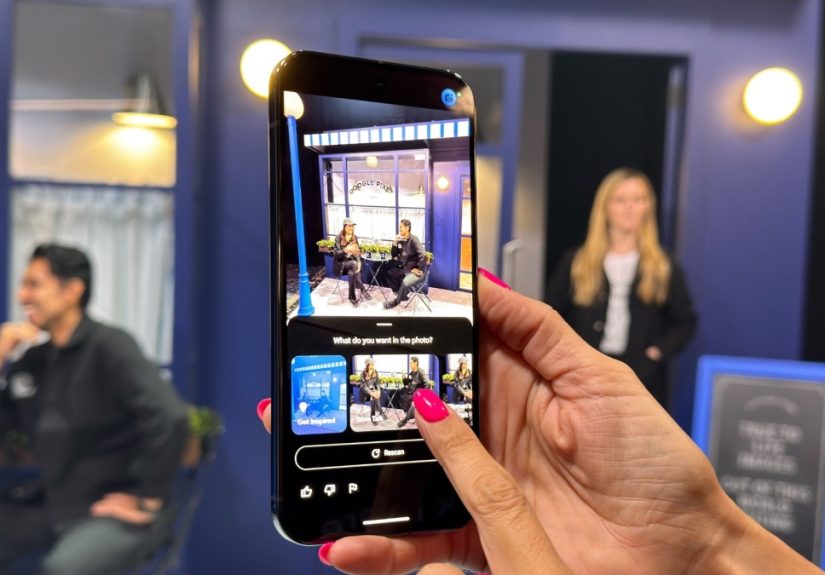
How did Gorgias scale its sales motion to thousands of customers? The answer is not a magic...
Need the Wordle answer for today, December 7, 2025? The solution to Wordle #1632 is FLUTE. This...
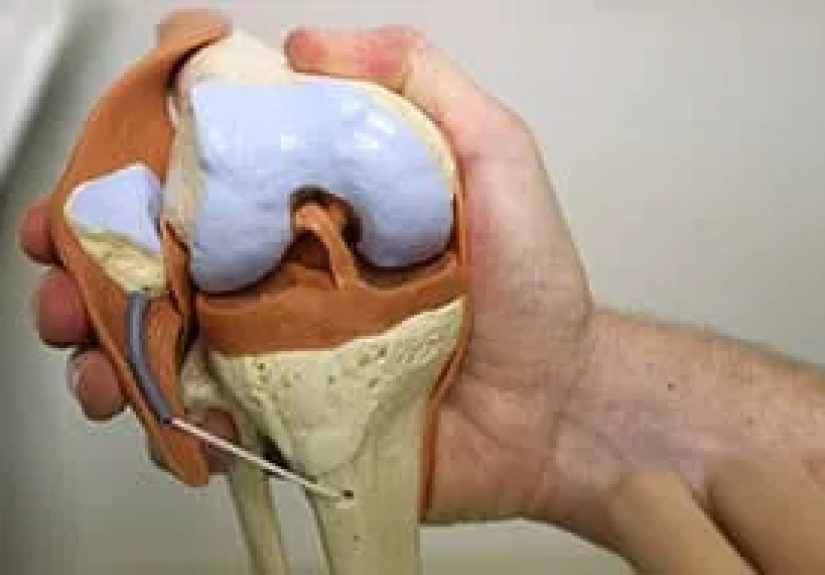
Arthroscopy for knee pain can help certain structural problems, but it is not a one-size-fits-all cure for...