


What is the most liked comment on Bored Panda? The answer is funnier, messier, and more interesting...
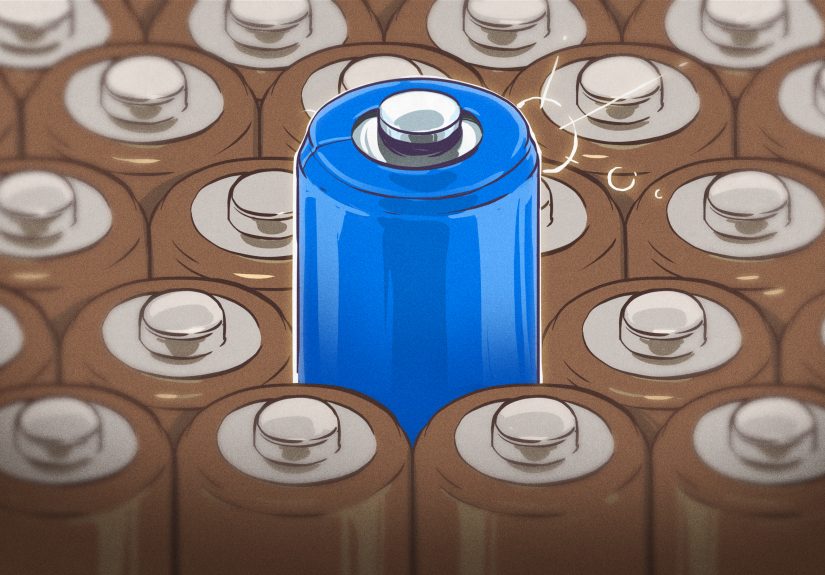
Lithium-ion batteries power phones, laptops, e-bikes, electric vehicles, tools, and home energy systemsbut their compact power comes...
Doctors who don’t take insurance are becoming more visible as patients look for clearer prices, longer visits,...
What’s your favorite Pokemon quote? From Ash’s unforgettable “I choose you!” to Mewtwo’s thoughtful wisdom, Team Rocket’s...
Colorectal cancer screening can prevent cancer or catch it early, but when should most adults start? The...

A soft Amazon crewneck tee may be the easiest way to refresh your closet for the summer-to-fall...
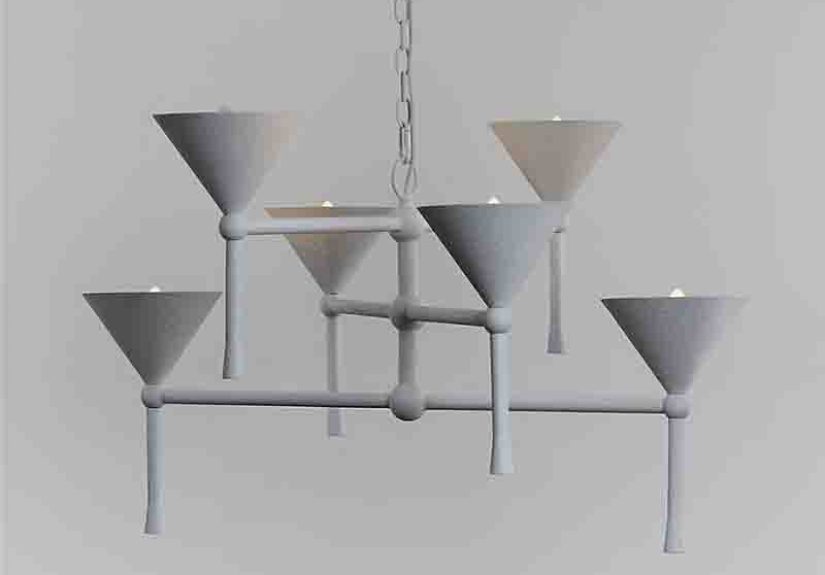
The Sardinia 6 Light Plaster Chandelier is a sculptural, matte-white statement piece that blends modern Mediterranean style...
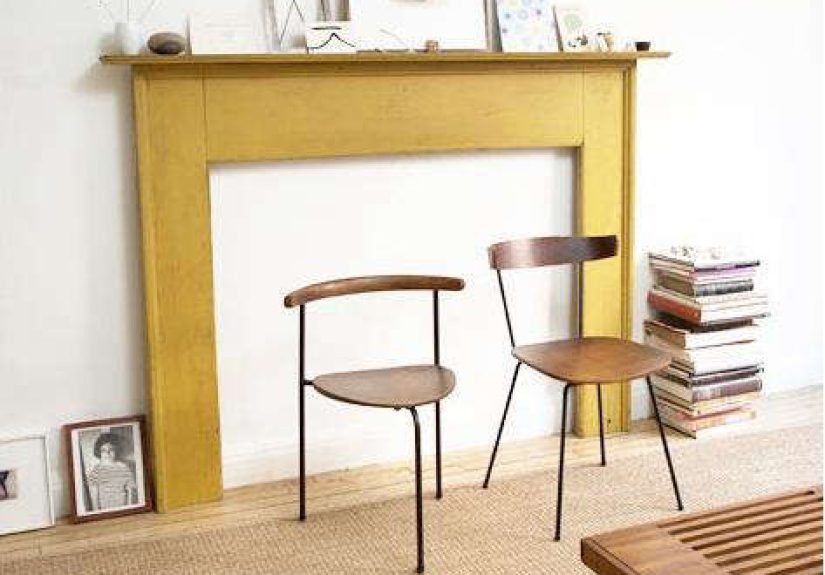
A fireplace mantel is more than a shelfit is an architectural detail that can define an entire...

A poor attitude may be the quietest wealth destroyer in personal finance. It does not arrive as...
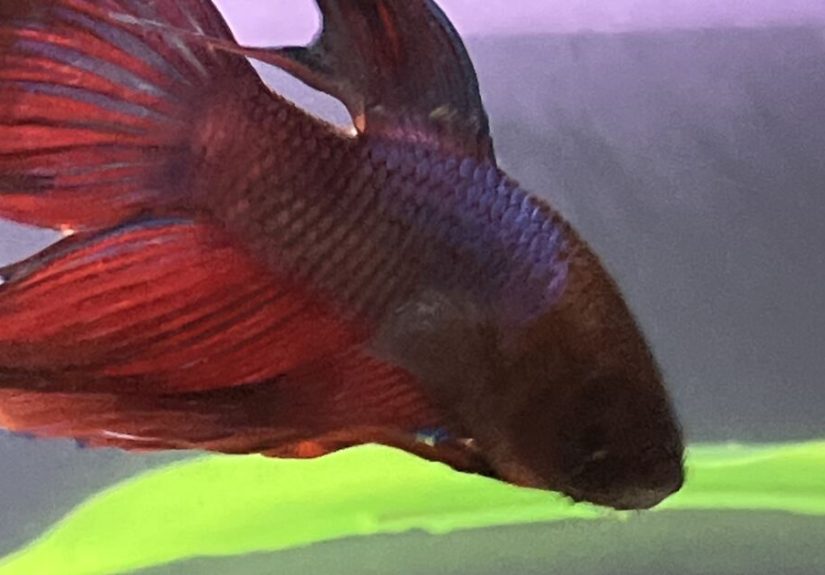
Fish photos are more than pretty snapshots. They capture personality, patience, and the quiet joy of building...