


Fall shoes should be stylish, supportive, and ready for real lifenot just pretty for five minutes in...
Pregnancy nutrition does not have to feel like a confusing list of rules. This guide explains how...
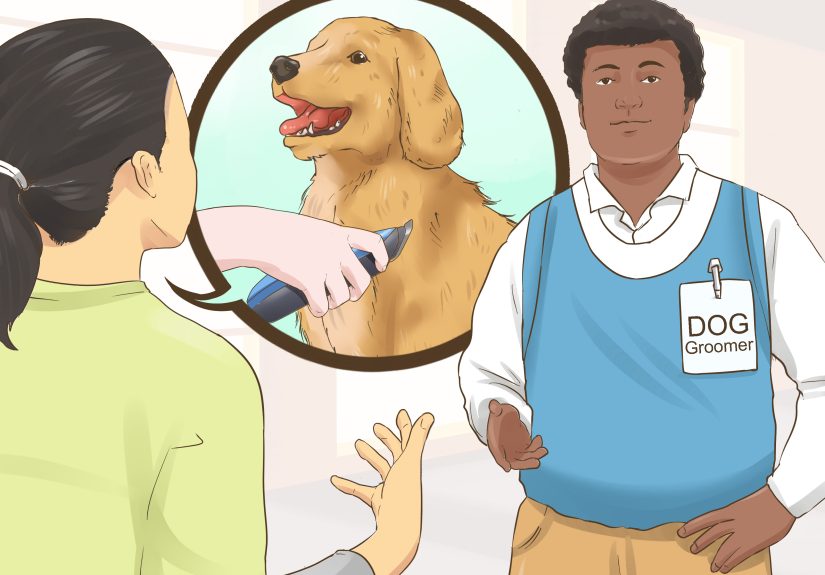
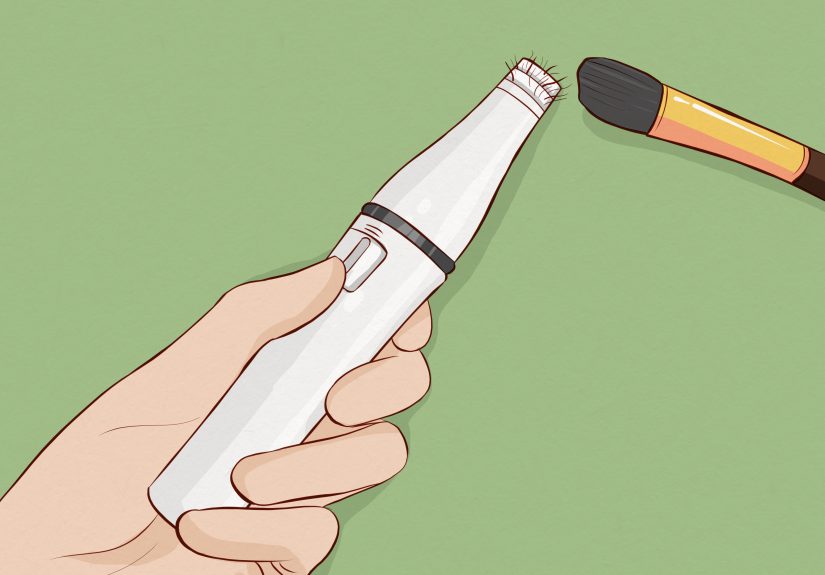
Trimming a long-haired dog at home can feel intimidating, but it becomes much easier with the right...
From apologizing to furniture to treating the queue like sacred architecture, these 40 funny Very British Problems...

Chronic insomnia is more than a frustrating night on repeat. New research suggests long-term sleep trouble may...

Idea House 2017 is more than a beautiful coastal showhome. Set on Bald Head Island, North Carolina,...

Military physicians leaving the military is more than a career trendit is a readiness, access, and workforce...
Want smoother facial skin without shaving every day? This complete guide explains how to epilate facial hair...

Abandoned trains are more than rusty machines waiting for the weeds to win. They are silent witnesses...