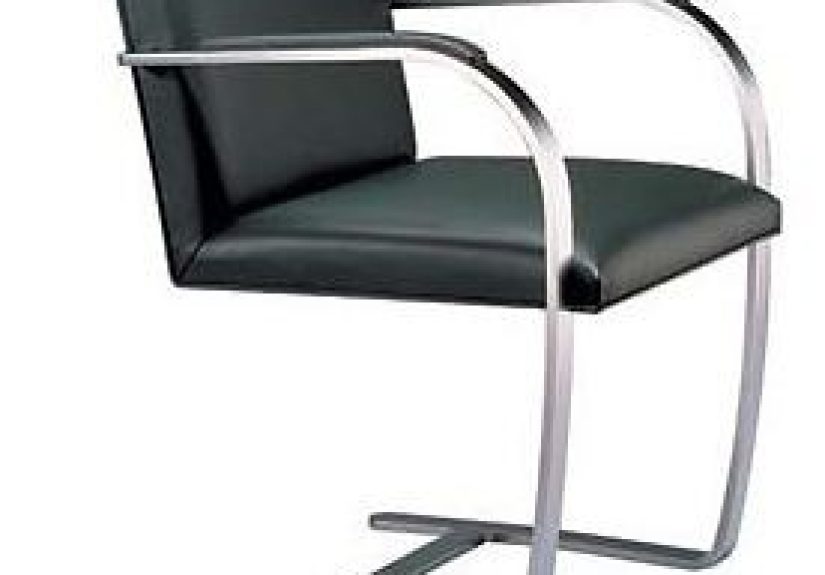


Brno Flat Bar Chairs are more than sleek modern seatingthey are icons of 20th-century design with a...
Anna Gilhespy is a British portrait artist associated with Amsterdam, known for creating custom children’s portraits in...
A participatory classroom does not happen by accident. It is built through clear expectations, inclusive discussion norms,...
When friends constantly bully you, it can feel confusing, painful, and isolating. This guide explains how to...
Sexism does not always announce itself with cruel comments or obvious discrimination. Often, it hides in small...

Inflation can quietly shrink your purchasing power and make even a simple grocery run feel like a...
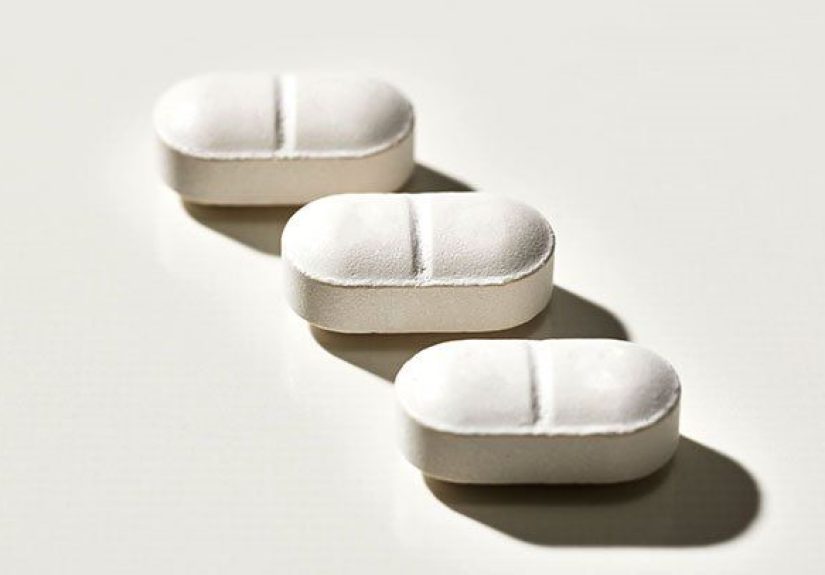
New research suggests opioids may not meaningfully improve inflammatory bowel disease pain and may even make gut...

White spruce is a cold-hardy evergreen that brings year-round color, privacy, and structure to northern landscapes. This...
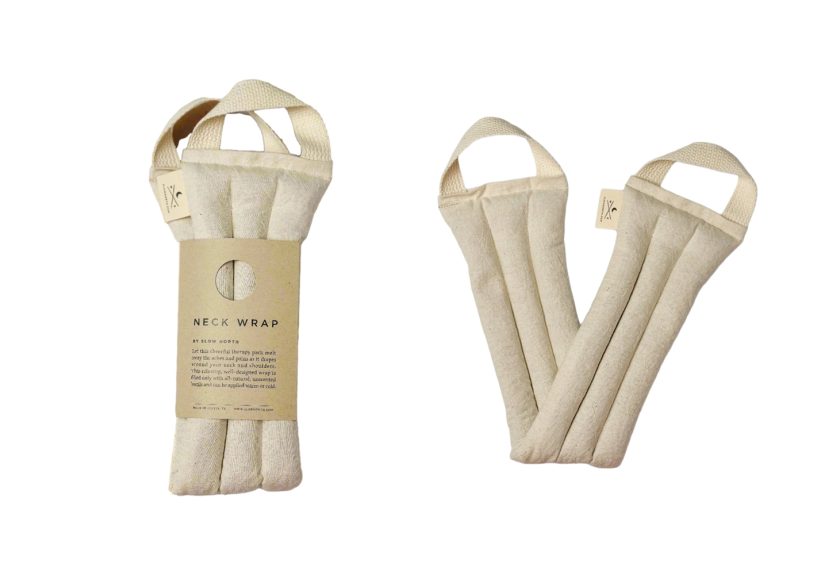
A neck wrap in natural materials is more than a cozy accessoryit is a practical comfort tool...
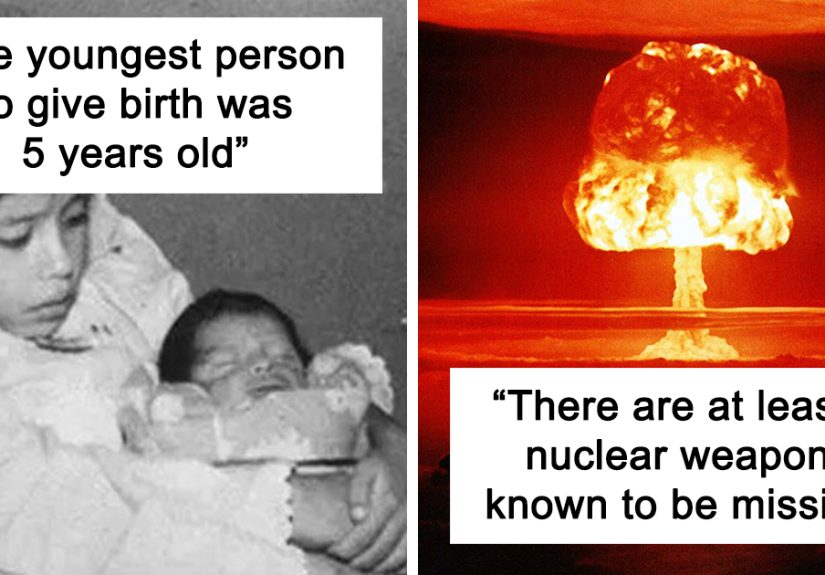
Some facts are fun. These are not exactly those facts. This deep-dive list explores 30 unfun facts...