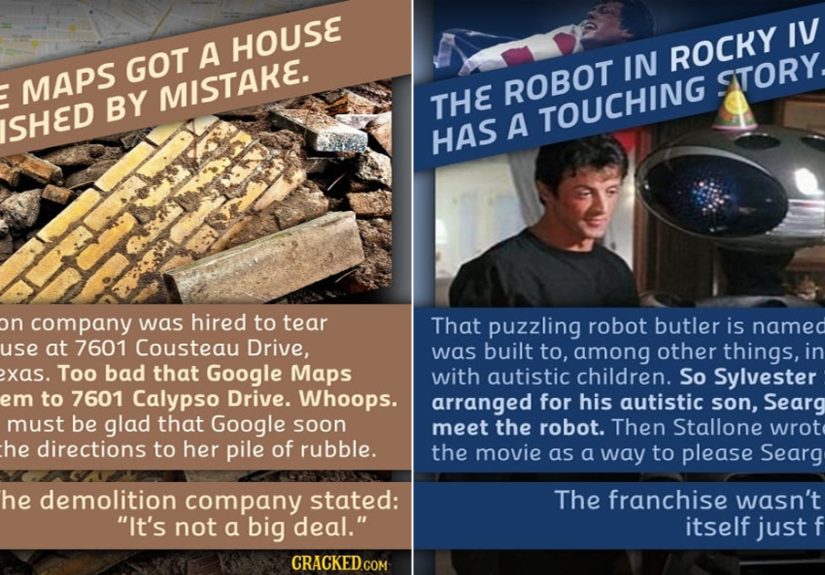


Some facts are neat. These are the ones that move into your brain, kick off their shoes,...
Want a smarter phone before you even unlock it? This in-depth guide explains how to add widgets...
Why do impossible selfies, fake-flex travel shots, and suspiciously perfect lifestyle posts spread so fast? This in-depth...
A beautiful before-and-after bathroom renovation isn’t just a dramatic photo revealit’s a daily upgrade in light, comfort,...
Strong patient-provider relationships do not grow from one good visit alone. They are built by a full...
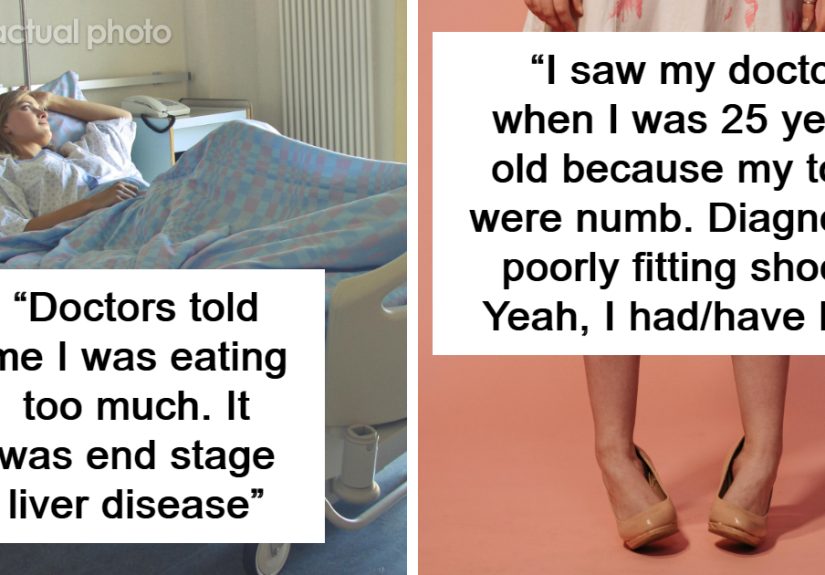
Flu symptoms can look deceptively ordinary, which is exactly why some of the scariest medical stories start...
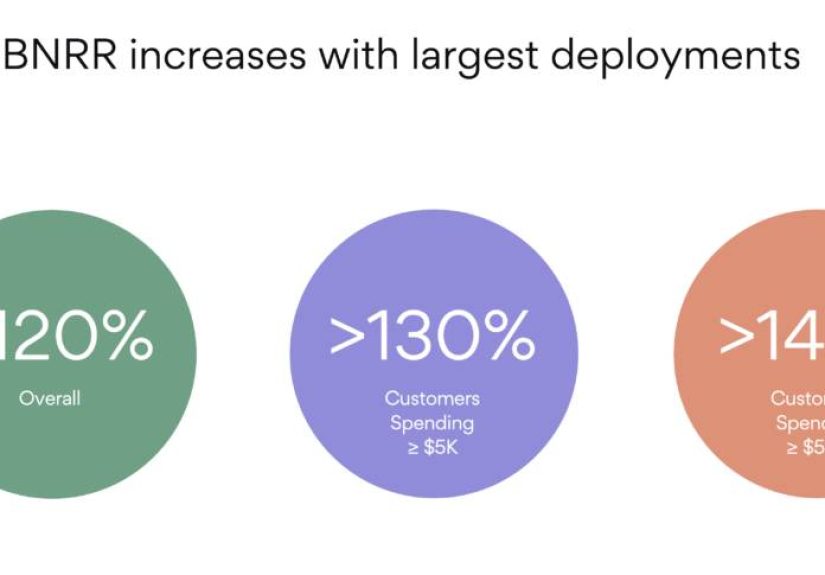
Many SaaS teams accept sub-100% net revenue retention from SMBs as if it were a law of...

Want a game-day snack spread that feels effortless but tastes like a championship run? This guide breaks...

Looking for a calmer alternative to coffee? This in-depth guide to the best matcha powders for energy...

Some of society’s favorite ideas look great from a distance and terrible up close. This article breaks...