


Steve Jobs could bend markets, mesmerize audiences, and make impossible deadlines sound practical. But his illness revealed...
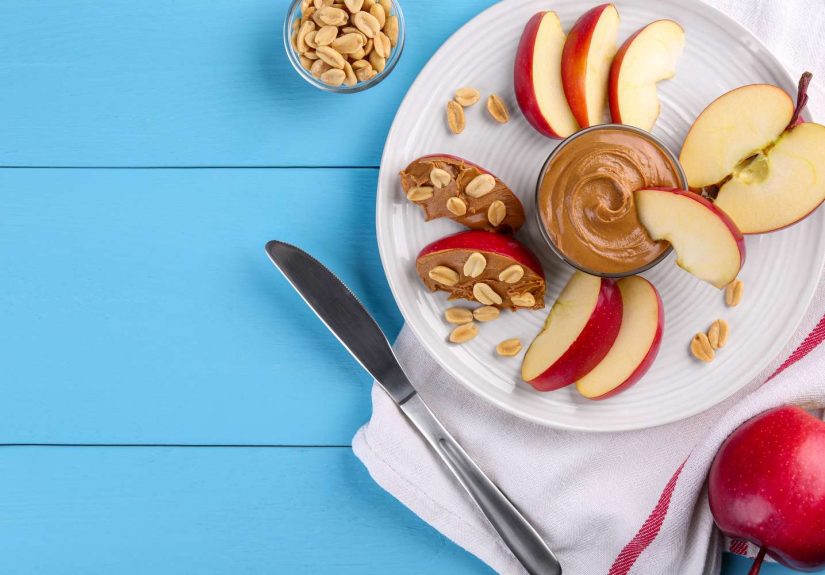
Looking for low-sugar snacks that actually keep you full? This in-depth guide breaks down seven dietitian-recommended options...
Want to send money to Pakistan from New Zealand without losing a chunk of it in hidden...
Struggling with meltdowns, homework battles, or chaotic mornings? This in-depth guide explains how to build an ADHD...
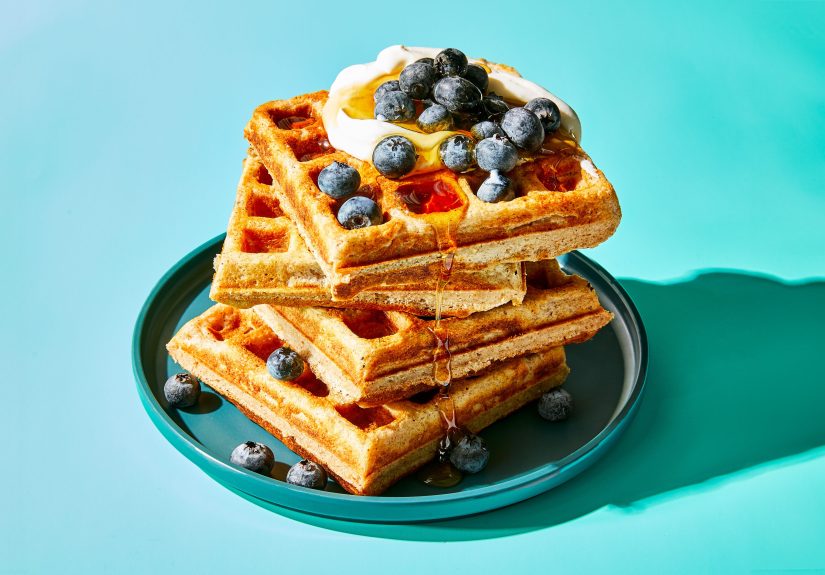
Crispy on the outside, fluffy on the insidethese whole grain waffles prove “healthy” doesn’t have to taste...

What do basketball and pandemic medicine have in common? More than you might think. This article explores...

Problem-solving interview questions can make even confident candidates sweat, but they are easier to handle when you...

Who is Eitay Riechert, and why does his work feel so instantly engaging? This in-depth profile explores...

Need a simple, stylish guide to tying a tie without the frustration? This in-depth article walks through...

Anorexia and insomnia often show up together, and the connection goes deeper than stress alone. This article...