Table of Contents >> Show >> Hide
- Why family recipe cards make surprisingly great kitchen art
- First decision: display the originals or display copies?
- Supplies you’ll want (archival-safe and budget-friendly)
- The best beginner project: the Copy-and-Frame Recipe Gallery
- Step 1: Curate your “recipe card exhibit”
- Step 2: Digitize the cards (scanner wins, phone works)
- Step 3: Clean up the images (without erasing the character)
- Step 4: Choose a layout that looks curated (not chaotic)
- Step 5: Print your copies on nicer paper
- Step 6: Frame like you mean it
- Step 7: Hang it in a kitchen-smart spot
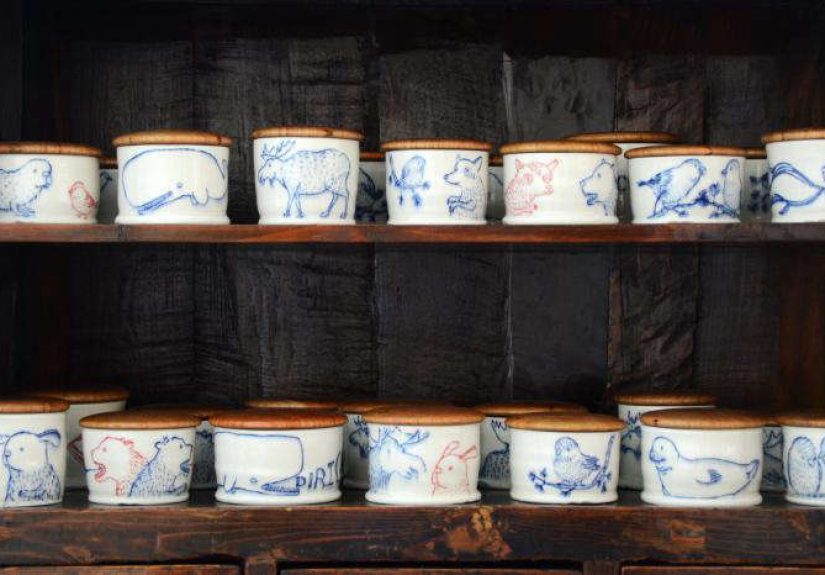
- 7 creative variations (so it doesn’t have to be “just frames”)
- Design and styling tips (so it looks intentional)
- How to protect your originals (quick home “archivist” basics)
- FAQ: common problems and easy fixes
- Budget and timeline
- Guest experiences: what it feels like to live with recipe-card art (and why it’s worth it)
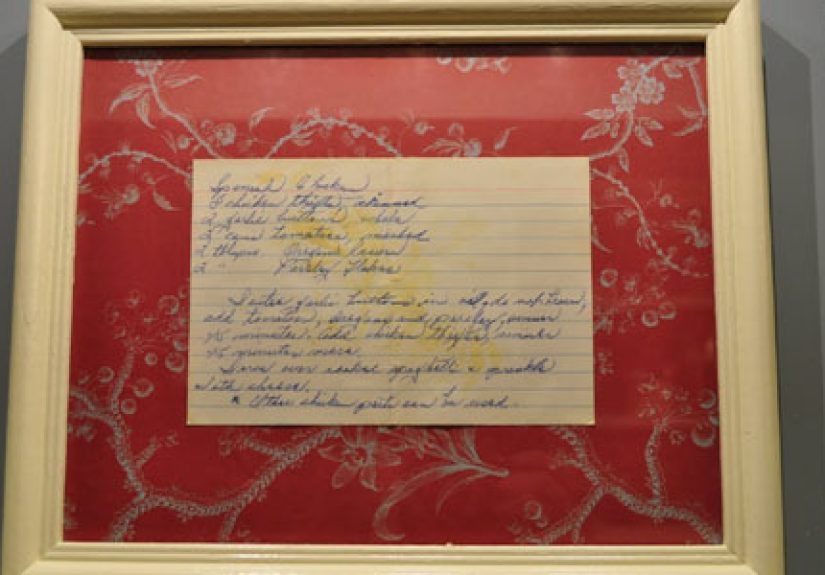
Guest post: Some kitchens have marble countertops. Some have a “junk drawer” that could qualify as a small nation. But the best kitchens? They have stories. And few things tell a family story faster than a stack of old recipe cardssmudged vanilla fingerprints, shorthand notes like “MORE cinnamon!!!,” and handwriting you can practically hear.
This guide shows you how to turn family recipe cards into DIY kitchen art that looks intentional (not like you taped Grandma’s lasagna instructions to the fridge in a panic). We’ll cover archival-safe ways to display recipes, budget-friendly options, and creative formatsfrom gallery walls to shadow boxesso you can celebrate your family’s food history without accidentally destroying it.
Why family recipe cards make surprisingly great kitchen art
Recipe cards are tiny time capsules. They capture more than ingredientsthey capture eras (hello, “salad” made of marshmallows), personalities (“don’t you DARE overmix”), and the quiet family genius of “bake until it smells right.” When you frame or display them, you’re not just decorating; you’re honoring the people who fed you, taught you, and occasionally substituted mayonnaise for… everything.
From a design standpoint, recipe cards also work because they’re naturally graphic: bold headings, neat lines, handwritten texture, sometimes even doodles. They pair beautifully with modern kitchens as a warm, personal contrast to sleek surfaces.
First decision: display the originals or display copies?
If your recipe cards are true heirloomsfragile paper, fading ink, or one-of-a-kind handwritingyour safest move is to digitize and display copies, then store the originals properly. This keeps the memory front and center while protecting the irreplaceable paper from heat, grease, sunlight, and the occasional “oops, I splashed sauce.”
That said, some cards are sturdy or less precious (like printed cards or duplicates). Those can be displayed more freelystill with smart protection.
A practical rule of thumb
If you’d be heartbroken if the card faded or stained, display a copy. You can always include one original card in a protected frame as a “feature piece,” while the rest are beautiful reproductions.
Supplies you’ll want (archival-safe and budget-friendly)
Archival-safe basics (best for keepsakes)
- Acid-free mat board (helps prevent discoloration and “mat burn” over time)
- UV-protective glazing (glass or acrylic that reduces light damage)
- Archival corners or photo corners (so the card isn’t glued down)
- Acid-free backing board
- Archival storage box or folders (for originals once you digitize)
Budget-friendly basics (great for copies)
- Basic frames (thrift stores are your best friends)
- Cardstock for printing copies
- Double-sided tape (only on copies, not originals)
- A ruler, scissors, and a “measure twice, cut once” attitude
Important note: Avoid laminating originals. Lamination is often irreversible and can trap or accelerate damage. If you want the “wipe-clean” effect, laminate only copies.
The best beginner project: the Copy-and-Frame Recipe Gallery
This is the easiest way to get a polished, designer-looking result while keeping treasured originals safe. You’ll create high-quality copies, style them consistently, and frame them as a coordinated set.
Step 1: Curate your “recipe card exhibit”
Start by choosing 6–12 cards. A few ideas for themes:
- Holiday classics: pie, roast, cookies, and the dish everyone fights over
- Handwriting focus: cards from one person (Grandpa’s chili era)
- Family timeline: oldest to newest
- Color/story mix: include cards with stamps, stains, notes, or doodles
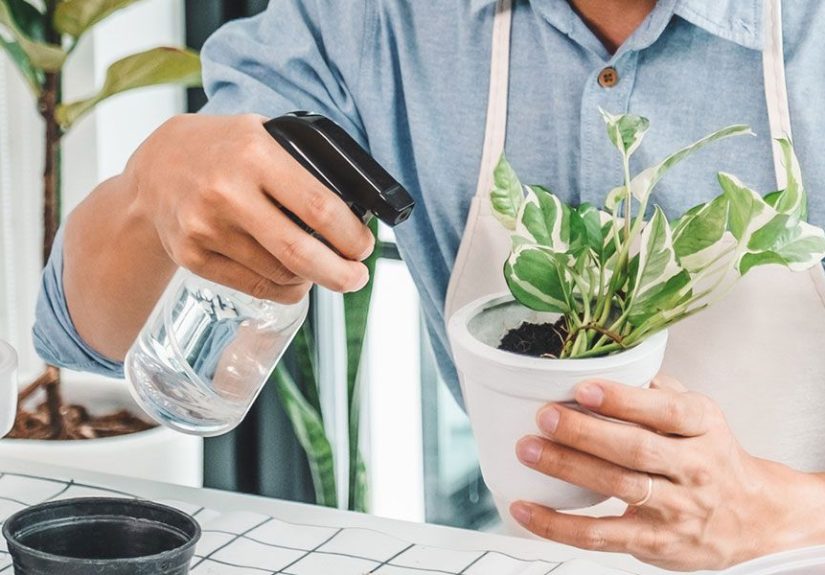
If cards have crumbs or surface dust, gently brush them off with a soft, clean brush. Skip harsh cleanerspaper is not a countertop.
Step 2: Digitize the cards (scanner wins, phone works)
Best method: flatbed scanner. It gives crisp text and even lighting. If you’re scanning for printing, aim for a clear, high-resolution scan (many people use 300 dpi as a practical baseline for print-quality readability).
Phone method: use natural daylight near a window, avoid shadows, and keep the camera parallel to the card. Many scanning apps can auto-crop and straighten.
Pro tip: Scan both sides. Even if the back is “blank,” it might have a note, a measurement conversion, or the kind of mysterious stain that makes the card feel real.
Step 3: Clean up the images (without erasing the character)
Use simple edits:
- Straighten the card so it looks intentional
- Adjust brightness/contrast to make handwriting readable
- Keep stains and quirks if you like the lived-in charm
Try not to over-edit into “sterile museum document” modeunless that’s your vibe. A faint smudge can be design texture, not a flaw.
Step 4: Choose a layout that looks curated (not chaotic)
Three layouts that almost always work:
- Uniform grid: same frame size, evenly spacedclean and modern
- Salon-style cluster: mixed framescozy, collected, classic
- Single statement row: 3–5 frames in a linesimple and sleek
For an extra “designed” look, keep one element consistent: all white mats, all black frames, or all wood frames.
Step 5: Print your copies on nicer paper
For a premium feel, print on heavyweight matte paper or quality cardstock. You can also print on lightly textured paper for a vintage look. Do a single test print firstespecially if your cards include faint pencil notes that might disappear.
Step 6: Frame like you mean it
If you’re framing originals, use archival corners or hinging methods designed for paper artifacts. The goal is support without permanent sticking. For copies, you can use standard mounting methods, but avoid wrinkling by smoothing from the center outward.
Add a mat if you can. Mats create breathing room so the paper doesn’t press against the glazing, and they make the display feel instantly “gallery.”
Step 7: Hang it in a kitchen-smart spot
Kitchens have heat, humidity, and sunlightpaper’s three least favorite roommates. Choose a location away from:
- Direct sunbeams (fading happens fast)
- The stove and kettle zone (steam and grease are relentless)
- Air vents or radiators (drying and fluctuating air can stress paper)
A great spot is a breakfast nook wall, a pantry hallway, or an “in-between” wall that still feels kitchen-adjacent.
7 creative variations (so it doesn’t have to be “just frames”)
1) Shadow box “recipe time capsule”
Use a deep shadow box and include copies of a recipe card plus small, meaningful items: a measuring spoon, a cookie cutter, or a handwritten note. Keep originals stored separately unless the shadow box is archival-friendly and placed away from heat/light.
2) Acrylic sandwich frames (modern and minimal)
These clear frames show off the card edges and feel airy. They’re especially good for recipe cards with colored borders or unique paper texture. Use this style for copies or for originals only with safe mounting methods.
3) “Recipe of the season” rotating frame
Pick one special frame and rotate a featured recipe monthly or seasonally. This reduces light exposure on any single card and keeps your kitchen decor fresh.
4) Recipe card bunting (party-perfect)
Photocopy the cards, mini-print them, and clip them to twine with tiny clothespins. Perfect for holidays, family reunions, or “we’re hosting and pretending we’re effortless.”
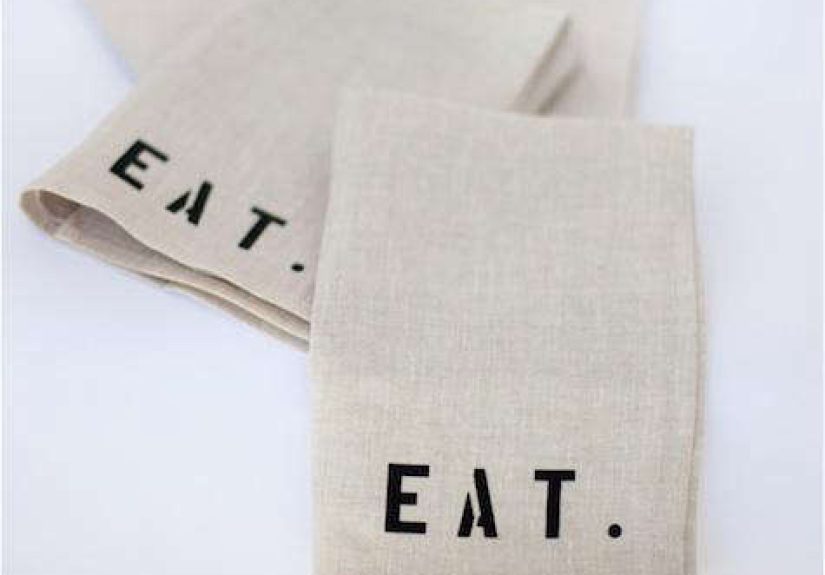
5) Tea towel tribute (for copies or transcriptions)
Transcribe the recipe text (or use a scanned image) and have it printed on a tea towel through a custom printing service. You get functional kitchen artand it’s a fun gift for siblings who want Grandma’s recipe without stealing your original card stash.
6) Magnetic recipe wall (for renters)
Use a magnetic board or a framed metal sheet and display copies with cute magnets. You can rearrange, swap, and update without making new holes in the wall.
7) “Handwriting collage” print
Combine multiple recipe cards into a single art printlike a patchwork of handwriting. You can do a themed collage (desserts only) or a family-wide mix. It looks cohesive and lets you include dozens of recipes without turning your kitchen into a frame store.
Design and styling tips (so it looks intentional)
- Repeat a color: pull a shade from your kitchen (sage, navy, warm wood) and echo it in frames or mats.
- Mix sizes carefully: one large frame as an anchor + several smaller ones creates balance.
- Include context: add a small label under a frame (“Aunt Jo’s Sunday Pancakes, 1986”). Instant museum energyin a good way.
- Add one photo: pair a recipe with a photo of the person who made it. The emotional impact goes up approximately 900%.
How to protect your originals (quick home “archivist” basics)
Once you digitize, store originals in a cool, dry, stable area (think: inside the home, not the attic or basement). Use acid-free folders or boxes. Keep them away from strong light and extreme humidity. If you want to be extra careful, separate especially fragile cards so they don’t rub against each other.
Bonus habit: Keep a digital backup in at least two places (for example: computer + cloud storage). Family recipes are worth more than your old college term papers. Sorry, term papers.
FAQ: common problems and easy fixes
“My cards are curled like potato chips.”
Don’t force them flat. Scan first. For display, print copies that lie flat. For storage, keep originals supported in an enclosure that helps them rest naturally.
“The handwriting is fading.”
Digitize as soon as possible. For display, increase contrast on the scanned copy so the writing stays readable. Consider rotating displays so one card isn’t exposed to light year-round.
“Can I use Mod Podge or resin?”
On originals: no. On copies: go wild. (Well… responsibly wild.) If you want a wipeable surface for a high-splash area, seal a printed copynot the heirloom paper.
“How do I make it look less cluttered?”
Limit frames to one finish, use mats, and keep spacing consistent. Also: step back and take a photo of your arrangement before hanging. Photos reveal chaos you can’t see in the momentlike a design conscience with a camera lens.
Budget and timeline
Budget range: You can do a small set for under $40 with thrifted frames and printed copies, or spend $150–$300 on archival framing materials and UV glazing for a long-term display.
Time estimate: 2–4 hours for scanning, editing, printing, and framing a set of 6–10 cards (longer if you get emotionally distracted reading notes like “your father hates onions, don’t tell him”).
Guest experiences: what it feels like to live with recipe-card art (and why it’s worth it)
I didn’t expect recipe card art to change how the kitchen felt, but it did. At first, it was just a practical project: scan the cards, keep the originals safe, make something pretty for the wall. Then I started actually reading the cards againreally reading them. Not just the ingredients, but the handwriting quirks and the commentary squeezed into margins. One card had “stir until it behaves” written next to the batter instructions, and I laughed out loud because I could hear the voice behind it. Another had a tiny note at the bottom: “Good for snow days.” That one hit me unexpectedly, like a warm blanket in sentence form.
The process became a quiet kind of family archaeology. Some recipes were familiar, the ones that showed up every holiday like they owned the place. Others were mysteriesdishes I’d never heard of, written in confident cursive, as if everyone naturally knew what “salad dressing packet” meant and nobody would ever ask questions. (I asked questions. So many questions.) Scanning them felt like preserving evidence. Printing them felt like giving them a second life.
The real surprise was the day we had guests over and someone stopped mid-conversation to read the frames. They leaned closer to the wall, smiled, and said, “This looks exactly like my grandma’s handwriting.” Suddenly the kitchen wasn’t just decoratedit was a conversation starter. People told stories about their own family recipes, the ones scribbled on index cards, the ones lost in moves, the ones only remembered by taste. It turned out recipe cards are basically a universal language, with dialects like “pinch,” “dash,” and “bake until you feel like it.”
Living with the art also made cooking feel more connected. On busy days, the framed recipes weren’t just nostalgiathey were a gentle nudge to actually make something. I found myself picking one recipe a month to cook “in honor of the wall.” Sometimes I followed it exactly. Sometimes I adapted it for modern life (sorry, shortening). Either way, the act felt like a small continuation of a tradition, not a reenactment.
And yes, there were a few practical lessons. I learned quickly not to hang anything precious too close to the stove. Steam is sneaky, and tomato sauce has a talent for launching itself in directions that defy physics. That’s why displaying copies is such a relief: you can enjoy the look without living in fear of every bubbling pot. The originals, safely stored, feel protectedlike a family archive you can visit anytime, while the kitchen display gets to be joyful and functional.
If you’re considering this project, my honest take is: it’s more than decor. It’s a way to keep people present in the everyday rhythm of meals, even when life is busy. Your walls become a reminder that food is memory you can remake, one recipe at a timeand that a handwritten card can be both art and a love letter you’re allowed to frame.