Table of Contents >> Show >> Hide
- Why Garden Projects Work (Even If You’re “Not a Garden Person”)
- Project 1: Build a Raised Garden Bed That Actually Grows Things
- Project 2: Start a Compost System That Doesn’t Smell Like Regret
- Project 3: Install a Simple Drip Watering Setup (Your Plants’ Favorite Upgrade)
- Project 4: Create a Pollinator Garden That’s Beautiful and Useful
- Project 5: Build a Rain Garden to Fix Soggy Spots and Reduce Runoff
- Project 6: Add Vertical Growing Space (Perfect for Small Yards and Big Ambitions)
- Project 7: DIY Garden Paths and Edging (The Make-It-Look-Intentional Project)
- Common Mistakes (So You Can Skip the “Learning the Hard Way” Tour)
- How to Choose the Right Garden Project for Your Space
- of Real-World Garden Project Experiences (What People Learn After They Build)
If your yard has ever looked at you like, “So… are we doing something this weekend or what?”welcome.
Garden projects are the quickest way to turn outdoor space from “meh” into “wow,” without needing a landscape
architecture degree (or a second mortgage).
This guide covers practical, high-impact DIY garden projects you can actually finish: raised beds, compost,
pollinator zones, rain gardens, simple irrigation upgrades, and a few “small effort, big bragging rights”
builds like trellises and vertical planters. You’ll get clear steps, realistic materials, common mistakes,
and example setups so you can choose a project that matches your space, budget, and attention span.
Why Garden Projects Work (Even If You’re “Not a Garden Person”)
The best garden projects do at least one of these:
- Make plants easier (better soil, better drainage, fewer weeds).
- Save time (less watering, fewer pests, fewer “why is everything crispy?” moments).
- Improve your yard’s function (more shade, more privacy, better runoff control).
- Boost wildlife support (pollinators, birds, beneficial insectsthe good roommates).
Start with the project that fixes your biggest pain point: soggy corners, sad soil, lack of space, or the
classic “I forgot to water for three days and now the basil is judging me.”
Project 1: Build a Raised Garden Bed That Actually Grows Things
Raised beds are the gateway project: they’re tidy, productive, and forgiving. They also let you “custom order”
good soil instead of negotiating with whatever mystery dirt your yard came with.
Smart sizing (aka: the part your future back will thank you for)
- Width: Aim for 3–4 feet so you can reach the center from either side without stepping into the bed.
- Length: 4–12 feet is a practical range; longer is fine if you have space and patience.
- Soil depth: Many vegetables do well with about 8–12 inches; deeper helps for root crops and comfort-height beds.
Materials that won’t haunt you later
Use rot-resistant, food-safe-ish options (cedar is a popular pick). If you’re using treated lumber, be cautious:
modern treatments differ from older ones, but many gardeners still choose untreated wood or add a liner for
extra peace of mind.
Simple build steps
- Pick the sunniest spot you’ve got (most veggies want 6+ hours of sun).
- Mark and level the bed area. Leveling matters more than perfectionwater is a drama queen and pools where it shouldn’t.
- Assemble the frame with screws (faster and sturdier than nails).
- Prep the base: remove turf or smother it with cardboard. If building over grass/soil, you can dig down a bit to gain depth.
- Fill with a quality mix (topsoil + compost is a classic combo; adjust based on what you’re growing).
- Plant in blocks (grouping crops makes watering and pest control easier).
Example: the “Weekend Win” raised bed
One 4’×8’ bed can handle a surprisingly productive mix: salad greens along the edges, a couple tomato plants
with support, basil tucked nearby, and a row of carrots or scallions. Add mulch, and suddenly your garden
looks like it has its life together.
Project 2: Start a Compost System That Doesn’t Smell Like Regret
Composting is the most satisfying “trash upgrade” you’ll ever do. Done right, it turns kitchen scraps and yard
waste into dark, crumbly soil gold. Done wrong… it turns into a science experiment your neighbors can smell.
Let’s choose the first option.
Compost basics in plain English
Compost needs a balance of:
- Browns (carbon): dry leaves, cardboard, paper, straw.
- Greens (nitrogen): fruit/veg scraps, coffee grounds, fresh grass clippings.
- Air + moisture: damp like a wrung-out sponge, not swampy.
Easy rules that prevent stink
- Layer and mixdon’t make a “banana peel lasagna” on top and call it a day.
- Keep a lid and build sturdily if critters are common.
- Bury food scraps under browns so you’re not running a buffet.
- Skip meat, dairy, and greasy foods for typical backyard compost.
Compost bin options
- Wire ring bin: cheapest, fast to build, best for yard waste.
- Wood or pallet bin: tidy, holds heat, great for steady composting.
- Tumbler: faster turning, cleaner look, usually smaller capacity.
- Vermicomposting (worms): ideal for small spaces and indoor-friendly composting.
Project 3: Install a Simple Drip Watering Setup (Your Plants’ Favorite Upgrade)
Watering by hand is charming until it’s July and you’re playing “hose roulette” at sunset. Drip irrigation
is one of the highest ROI garden projects because it delivers water where it’s neededslowly and efficiently.
What you need (basic version)
- Hose timer (optional, but life-changing)
- Filter + pressure regulator (often required for drip systems)
- Mainline tubing
- Emitters or drip lines
- Simple stakes and connectors
Quick install approach
- Sketch your bed layout and decide where each plant line will run.
- Lay the mainline along the bed edge.
- Add branch lines and emitters near plant bases.
- Test for leaks, then mulch over the lines to reduce evaporation and sun damage.
- Start with shorter watering sessions and adjustoverwatering is still a thing with drip.
Example schedule (starting point)
In hot weather, many gardens do well with short, consistent sessions rather than one big flood. Your soil type
matters: sandy soils need more frequent watering; clay holds moisture longer. When in doubt, check moisture
2–3 inches down before adding more water.
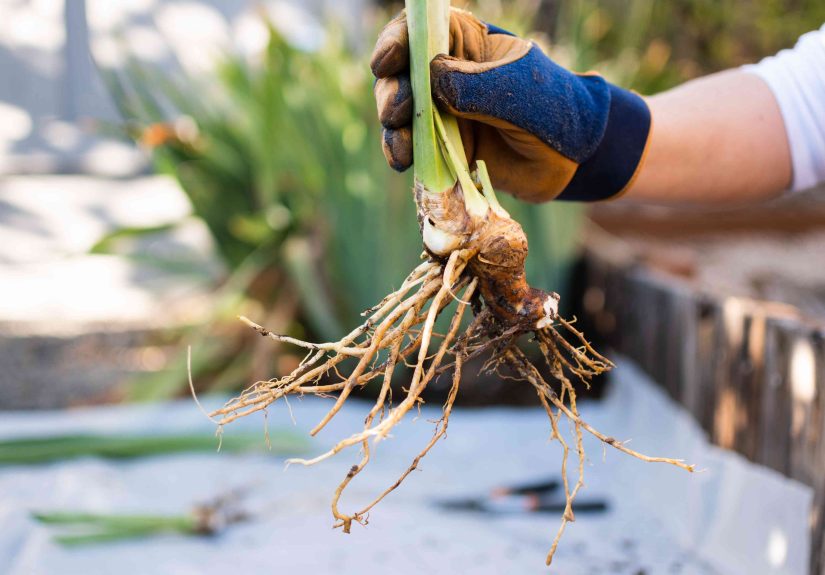
Project 4: Create a Pollinator Garden That’s Beautiful and Useful
Pollinator projects are the rare “pretty + practical” win: you get color, fragrance, movement, and the
satisfaction of knowing you’re supporting bees, butterflies, and other beneficial insects.
Design rules that actually help pollinators
- Choose native plants whenever possible (they’re what local pollinators evolved with).
- Plan for continuous bloomearly, mid, and late-season flowers.
- Plant in clusters so pollinators can forage efficiently.
- Provide shelter (some leaf litter, hollow stems, brush piles, or ornamental grasses).
- Go easy on pesticides (even “targeted” products can impact beneficial insects).
- Include water (a shallow dish with stones for landing works).
A quick note about “butterfly bushes”
Some popular ornamentals can be invasive in certain regions and provide limited ecological benefit compared to
native nectar plants and host plants. Before you plant, check whether a plant is considered invasive in your
area and choose native alternatives when you can.
Example: a small pollinator strip
Even a 3’×10’ border can work: pick 5–7 native flowering plants, repeat them in groups, and add one native
grass for structure. The repetition keeps it visually neat (useful if you have neighbors who think “wild”
means “neglect”).
Project 5: Build a Rain Garden to Fix Soggy Spots and Reduce Runoff
If water collects in the same place every storm, that’s not “nature being moody”it’s a pattern you can design
around. Rain gardens are shallow, planted depressions that catch and soak up runoff from roofs, driveways, or
compacted lawn areas.
Placement and safety basics
- Keep distance from foundations (many guides recommend at least ~10 feet).
- Avoid septic systems and areas where water already ponds for long periods.
- Shape matters: many rain gardens are longer than they are wide and oriented to intercept flow.
How to build one (homeowner-friendly version)
- Identify the runoff source (downspout, driveway edge, slope).
- Test infiltration by digging a small hole, filling it with water, and watching how quickly it drains.
- Size the garden based on the drainage area and your local recommendations (many designs target common small storms).
- Excavate a shallow basin and create a gentle berm on the downhill side.
- Amend the soil if needed for infiltration (your local extension guidance is gold here).
- Plant smartuse plants that tolerate both wet and dry cycles.
- Mulch and maintain until plants establish, then enjoy fewer puddles and more curb appeal.
Project 6: Add Vertical Growing Space (Perfect for Small Yards and Big Ambitions)
Vertical garden projects are basically the cheat codes of the gardening world: you get more growing space
without taking more ground. They also improve airflow (helpful for disease prevention) and make harvesting
less of a scavenger hunt.
Three easy vertical builds
- DIY trellis: cattle panel arched over a bed, bamboo teepees for beans, or a simple string trellis for cucumbers.
- Wall planters: pocket planters for herbs (best in partial sun so they don’t dry out instantly).
- Stacked containers: strawberries, lettuces, and herbs love a tiered planter setup.
Example: the “Salad Wall”
Mount a vertical pocket planter near the kitchen door with parsley, chives, basil, and leafy greens. Harvest
a handful daily, and you’ll feel like you’re living in a cooking showminus the perfect hair.
Project 7: DIY Garden Paths and Edging (The Make-It-Look-Intentional Project)
A garden path is not just a path. It’s a psychological trick that tells your brain (and your guests),
“This space is designed, not accidental.”
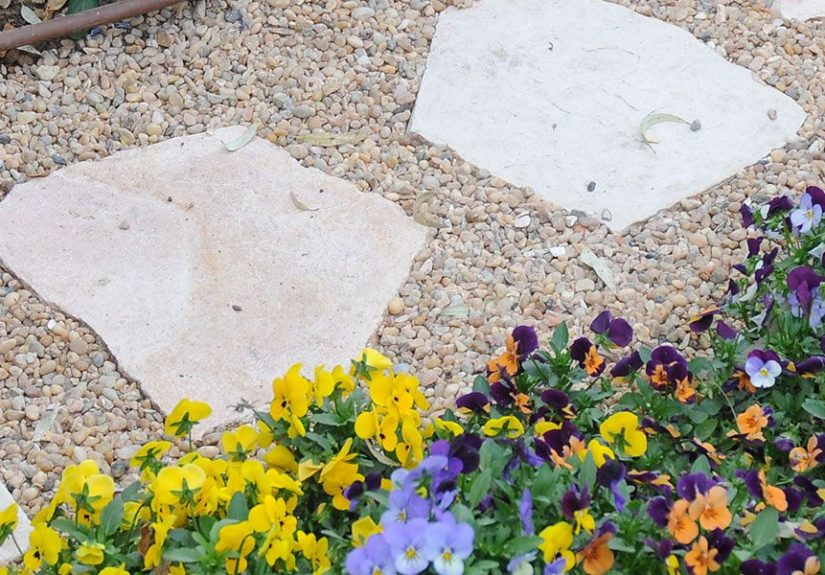
Fast path options
- Mulch path: cheapest, easiest, refresh yearly.
- Gravel path: durable, great drainage, add edging to keep it tidy.
- Stepping stones: classic, especially through groundcovers or grass.
Edging that helps maintenance
Metal edging, pavers, or even a clean trench edge can reduce grass creep into beds. It’s not glamorous work,
but it’s the kind of quiet heroism that keeps weekends free later.
Common Mistakes (So You Can Skip the “Learning the Hard Way” Tour)
- Building too wide: if you can’t reach the middle, you’ll compact soil by stepping in.
- Ignoring water flow: drainage patterns matter more than you thinkespecially for rain gardens and raised beds.
- Overbuying “random plants”: plan first, then shop. Otherwise, you’ll create a botanical sitcom.
- Underestimating maintenance: choose projects you’ll actually keep up with (or automate).
- Going pesticide-happy: you might solve one pest problem by wiping out the beneficial insects that would’ve helped you.
How to Choose the Right Garden Project for Your Space
If you have a small yard or patio
- Vertical herb wall
- Container vegetable garden
- Small pollinator planters
- Worm compost bin (vermicomposting)
If your yard has drainage issues
- Rain garden
- Downspout redirection to planted areas (where appropriate)
- Raised beds for vegetables
- Gravel paths to reduce mud zones
If you want maximum food output
- Raised beds + drip irrigation
- Trellises for climbing crops
- Compost system for ongoing soil improvement
of Real-World Garden Project Experiences (What People Learn After They Build)
Garden projects look simple in photos: clean boards, perfect mulch, a smiling person holding a tomato the size
of a bowling ball. In real life, the experiences are a little messierand that’s part of the fun.
One of the most common “aha” moments happens right after building a raised bed. Gardeners often expect instant
perfection: fill it, plant it, boomlush paradise. But the first week teaches a sneaky truth: soil settles.
Even if you fill the bed to the brim, it can drop noticeably after watering and a few rains. People who’ve done
it once usually plan for a top-off: a bag or two of compost to refresh the surface and keep plants growing
strongly.
Composting has its own learning curve, and most folks discover it through smell. The “bad” compost experience
almost always comes from too many greens and not enough browns. The fix is surprisingly satisfying: add dry
leaves, shredded cardboard, or paper, mix it in, and the whole pile calms down like it just heard relaxing
spa music. Many gardeners also learn that compost is more consistent when it’s treated like a system, not a
trash cansmall layers, occasional turning, and a quick cover of browns over food scraps goes a long way.
Pollinator gardens tend to change how people see their yard. After planting native flowers in clusters, gardeners
start noticing visitors they never saw before: different bees, butterflies, beneficial wasps, even hummingbirds
depending on the region. A funny twist: the more wildlife shows up, the more people become “garden detectives.”
They start asking questions like, “Who is this tiny metallic-green bee and why is it cuter than my group chat?”
A lot of experience comes from observing bloom timingonce you see a gap where nothing flowers for weeks, you
start planning the next season to keep the buffet open.
Rain gardens are the project that earns the biggest “I didn’t know that was possible” reaction. People who build
one usually do it because they’re tired of the same soggy spot or a downspout that turns a corner of the yard into
a swamp. The experience is often a mix of relief and pride: relief when puddles shrink after storms, and pride
when the garden looks intentional instead of like a repair job. The biggest lesson here is patienceplants take a
little time to establish, and the first season is mostly about watering, weeding, and letting roots do their
behind-the-scenes work.
Finally, drip irrigation tends to turn casual gardeners into evangelists. The “experience” people talk about is
not just healthier plantsit’s the freedom. When watering becomes automatic, gardening stops feeling like a daily
obligation and starts feeling like a hobby again. And that’s the best outcome of any garden project: less stress,
more growth, and a yard that feels like it’s on your team.