Table of Contents >> Show >> Hide
- Before You Start: Know What You’re Replacing
- Tools and Materials
- How to Change a Deadbolt Lock in 15 Steps
- Step 1: Buy the right replacement deadbolt
- Step 2: Read the manufacturer’s instructions
- Step 3: Wedge the door open
- Step 4: Remove the interior deadbolt screws
- Step 5: Pull off the interior and exterior trim
- Step 6: Remove the old bolt from the edge of the door
- Step 7: Check the existing holes and strike area
- Step 8: Set the new latch to the correct backset
- Step 9: Install the new deadbolt latch
- Step 10: Insert the exterior keyed assembly
- Step 11: Attach the interior thumb-turn assembly
- Step 12: Replace or upgrade the strike plate
- Step 13: Check bolt throw and alignment with the door open
- Step 14: Test the lock with the door closed
- Step 15: Finish the job and secure your home
- Common Mistakes to Avoid When Replacing a Deadbolt
- When You Should Replace a Deadbolt Instead of Rekeying
- Real-World Experiences: What Changing a Deadbolt Lock Actually Feels Like
- Conclusion
- SEO Tags
Changing a deadbolt lock sounds like one of those projects that belongs in the “maybe next weekend” pile, right next to cleaning the garage and figuring out why there are seven mystery keys in your junk drawer. The good news is that replacing a deadbolt is usually a very doable DIY job. If your door already has standard holes, this project is often more about careful measuring, patient alignment, and resisting the urge to Hulk-tighten the screws than it is about advanced carpentry.
Whether you are moving into a new home, replacing a worn-out lock, upgrading curb appeal, or swapping a traditional lock for a newer deadbolt, the basic process is straightforward. You remove the old hardware, make sure the new lock fits your door, install the new bolt and trim, reinforce the strike plate, and test everything before you trust it with your front door security. In other words: screwdriver first, panic never.
This guide walks you through how to change a deadbolt lock in 15 clear steps. Along the way, you will also learn how to check door thickness, backset, bore hole size, and strike plate alignment so the new lock actually works instead of turning your front door into a moody piece of modern art.
Before You Start: Know What You’re Replacing
Most modern residential deadbolts are designed to fit standard pre-drilled doors. That means many replacement jobs are simple because the hard part, drilling the big holes, has already been done. Still, do not assume every deadbolt is a perfect match. Before you buy anything, check four details:
- Door thickness: Many residential locks fit common exterior door sizes, but thicker doors may need a special kit.
- Backset: This is the distance from the edge of the door to the center of the large bore hole. The most common sizes are 2-3/8 inches and 2-3/4 inches.
- Bore hole size: Most modern doors use a 2-1/8-inch cross bore and a 1-inch edge bore for the deadbolt.
- Faceplate style: The latch may use a rectangular faceplate or a drive-in style. Matching what is already there can save time and frustration.
If your existing lock is ancient, oddly sized, or installed by someone who clearly believed measuring was optional, you may need minor adjustments. But for a standard deadbolt replacement, this is usually a friendly, manageable project.
Tools and Materials
- New deadbolt lock set
- Phillips-head screwdriver
- Flathead screwdriver
- Tape measure
- Pencil
- Wood shims or doorstop
- Chisel and hammer, if faceplate adjustments are needed
- Drill and bits, only if you need to correct hole size or pilot holes
- Safety glasses
One smart tip before you begin: keep the door open while you work. Locking yourself out during a lock replacement is the kind of irony nobody enjoys.
How to Change a Deadbolt Lock in 15 Steps
Step 1: Buy the right replacement deadbolt
Start with compatibility, not color. Yes, the matte black finish is handsome. No, it does not help if the lock does not fit your door. Measure the backset and door thickness before shopping, and check whether you need a single-cylinder deadbolt, a double-cylinder deadbolt, or a smart deadbolt retrofit. For most homes, a standard single-cylinder deadbolt with a key outside and thumb turn inside is the go-to choice.
Step 2: Read the manufacturer’s instructions
This is the least glamorous step and one of the most important. Lock brands package the same basic idea in slightly different ways. Some have adjustable latches, some use adapters, some include reinforcement parts, and some really do not want you using a power drill for installation screws. Give the instructions a quick read so you do not discover “surprise hardware” halfway through.
Step 3: Wedge the door open
Open the door and secure it so it will not swing around while you work. Use wood shims, a doorstop, or even folded cardboard if you are improvising like a champion. A steady door makes the job faster, safer, and much less annoying.
Step 4: Remove the interior deadbolt screws
On the inside face of the door, locate the two long screws that hold the deadbolt together. Remove them with a screwdriver. Keep the screws in a small bowl or cup unless you enjoy crawling around the floor later asking, “Where did that one go?”
Step 5: Pull off the interior and exterior trim
Once the screws are out, remove the inside thumb-turn assembly and then the outside keyed portion. If the lock feels stuck, wiggle it gently instead of prying like you are opening a paint can. Most deadbolts come apart once the screws are released.
Step 6: Remove the old bolt from the edge of the door
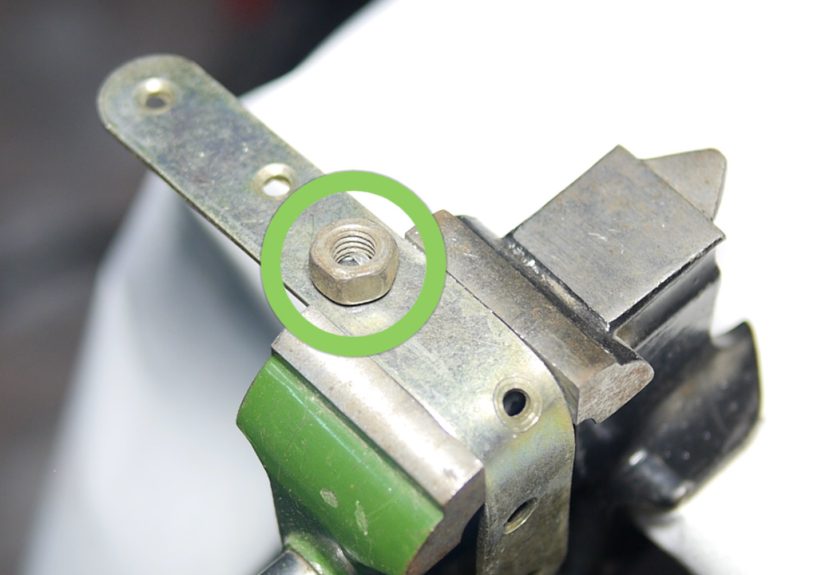
Move to the edge of the door and take out the two screws holding the deadbolt latch in place. Slide the bolt straight out. This is a good moment to inspect the latch opening and the surrounding wood. If you see splinters, paint buildup, or old debris, clean it up so the new hardware can sit flush.
Step 7: Check the existing holes and strike area
Before installing anything new, test-fit the new bolt and compare the faceplate to the old one. If the new faceplate matches the old mortise, great. If not, you may need to trim or deepen the recess slightly with a chisel so the plate sits flush. Also inspect the strike plate area on the door frame. A lock is only as happy as its alignment.
Step 8: Set the new latch to the correct backset
Many replacement deadbolts have an adjustable latch for either a 2-3/8-inch or 2-3/4-inch backset. Set it before installation. This is one of the most common places DIYers go sideways. If the backset is wrong, the trim will not line up properly, and your new lock will behave like it has strong opinions about geometry.
Step 9: Install the new deadbolt latch
Slide the new bolt into the hole on the edge of the door. Make sure the bolt is oriented correctly and the faceplate sits flush against the door edge. Secure it with the provided screws. Tighten them snugly, but do not overdo it. Overtightening can distort parts, strip screw holes, or make the lock bind.
Step 10: Insert the exterior keyed assembly
From the outside of the door, place the exterior side of the deadbolt into the large bore hole. Guide the connecting bar or tailpiece through the latch mechanism carefully. Everything should sit flat against the door. If it does not, stop and check alignment instead of forcing it. Locks are not persuaded by aggression.
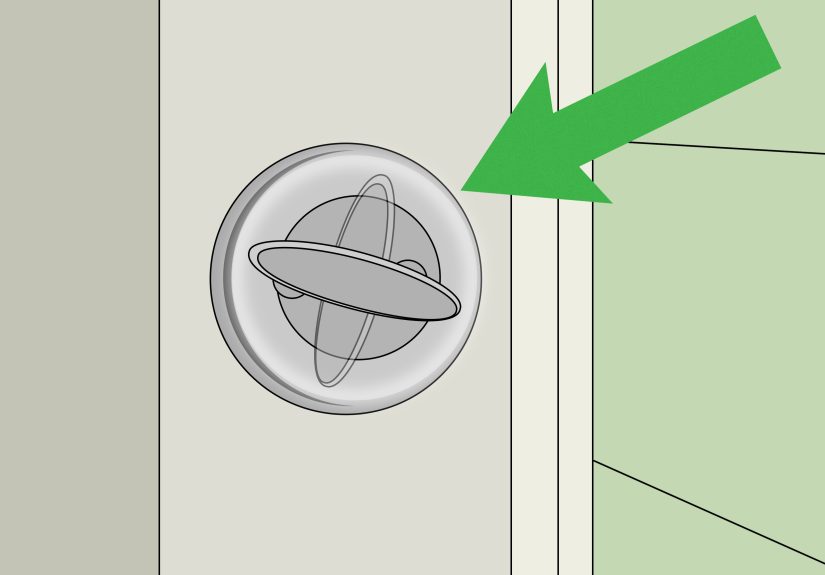
Step 11: Attach the interior thumb-turn assembly
Move to the inside and place the thumb-turn assembly over the tailpiece and mounting holes. Hold both halves in place and hand-thread the long screws. Start them by hand first so you do not cross-thread anything. Once both screws catch, tighten them evenly, alternating between sides so the lock pulls together straight.
Step 12: Replace or upgrade the strike plate
Now turn your attention to the door frame. Remove the old strike plate if you are replacing it. Install the new one so it lines up with the deadbolt opening. This is also the perfect time to upgrade security by using longer screws that bite into the framing behind the jamb. A handsome deadbolt on a weak strike plate is like buying expensive running shoes and then tying them together.
Step 13: Check bolt throw and alignment with the door open
Before you close the door, test the lock several times. Turn the thumb-turn inside. Use the key outside. Watch the bolt extend and retract smoothly. If it sticks now, it will definitely complain later. Testing with the door open prevents accidental lockouts and helps you spot misalignment early.
Step 14: Test the lock with the door closed
Close the door gently and lock it again. The bolt should slide into the strike plate hole without scraping, forcing, or shoulder-checking the door. If the bolt rubs, the strike plate may need to move slightly, or the hole in the frame may need minor adjustment. Smooth operation is the goal. A deadbolt should feel firm, not dramatic.
Step 15: Finish the job and secure your home
Once the lock works correctly, remove protective film, wipe fingerprints off the hardware, store extra screws and paperwork, and label spare keys if needed. If you installed a smart deadbolt, complete the setup, battery install, and app pairing now. Then take a victory lap of approximately six feet, because your door now closes with the quiet confidence of a well-managed project.
Common Mistakes to Avoid When Replacing a Deadbolt
Even a simple door lock replacement can go wrong if you rush. Here are the mistakes that cause most of the frustration:
- Buying the wrong backset: Always measure before you buy.
- Ignoring door thickness: A thick door may need special hardware.
- Forcing misaligned parts: If something does not sit flush, stop and check the latch orientation.
- Overtightening screws: Snug is good. Crushed hardware is not.
- Skipping strike plate upgrades: Reinforcing the frame matters as much as replacing the lock.
- Testing only once: Test with the door open and closed several times.
When You Should Replace a Deadbolt Instead of Rekeying
Sometimes a deadbolt only needs rekeying, but replacement makes more sense when the hardware is worn, loose, rusted, outdated, or mismatched with your door. You should also consider changing the entire deadbolt if you just moved, lost keys, want better security, or are upgrading from a basic lock to a smart lock or higher-grade model.
If your existing deadbolt feels sloppy, sticks often, or looks like it survived three remodels and one minor war, replacing it is usually the better long-term move.
Real-World Experiences: What Changing a Deadbolt Lock Actually Feels Like
The funny thing about changing a deadbolt lock is that most people go into it expecting either a ten-minute miracle or a full-blown home improvement meltdown. In reality, it usually lands somewhere in the middle. The first time you do it, there is a good chance you will spend more time staring at the instructions, comparing screws, and flipping the latch around in your hand than actually installing the lock. That is normal. Deadbolt replacement is not hard because the steps are mysterious. It is hard because every small piece suddenly feels very important when it is attached to the front door of your house.
One common experience is discovering that the old lock was installed a little crooked, but you never noticed because you lived with it for years. The moment the new deadbolt goes in, you start paying attention to everything: how the bolt enters the strike plate, whether the key turns smoothly, whether the thumb turn feels tight, and whether the door needs a slight push to latch. Replacing a deadbolt has a sneaky way of making you notice all the tiny quirks of your door that were already there.
Another very real experience is the “I should have done this sooner” moment. Once the old hardware is off, many people realize the job looks much less intimidating than expected. Two screws here, two screws there, a little measuring, a little aligning, and suddenly the door has a cleaner look and a smoother lock. It is one of those rare DIY projects that can give you a visible result, a practical security upgrade, and a weird amount of personal satisfaction in under an afternoon.
There is also the experience of learning that doors, like people, can be slightly stubborn and still basically fine. Maybe the strike plate needs to move a hair. Maybe the new faceplate does not sit perfectly until you shave off a little paint or old finish. Maybe the screws pull the lock together unevenly the first time. None of that means the project is doomed. It usually means the door has history. Homes settle, paint builds up, wood swells and shrinks, and old hardware leaves behind clues. Replacing a deadbolt teaches patience because the fix is often not dramatic. It is usually a small adjustment, then another small adjustment, and then suddenly everything lines up.
And yes, nearly everyone has that one moment where they test the lock with the door closed a little too early and think, “Well, this would be a terrible time to get locked out.” That tiny pulse of panic is part of the deadbolt experience. The smart move is always to test the bolt several times with the door open first. Do that, and the rest of the project becomes much calmer. By the end, most people are surprised not only that they managed it, but that the whole thing felt empowering. It is just a lock, sure, but it is also your front line of security. Swapping it out yourself can make you feel a little more capable, a little more prepared, and a lot less dependent on the mystery key ring in the junk drawer.
Conclusion
If you have been wondering how to change a deadbolt lock, the process is simpler than it sounds when you break it into steps. Measure carefully, choose the right replacement, install the latch correctly, align the trim, reinforce the strike plate, and test the lock thoroughly before calling it done. That is the formula. No wizardry, no secret handshake, and only a modest amount of crouching by the door.
A new deadbolt can improve security, freshen up your entryway, and give you peace of mind after moving, losing keys, or upgrading old hardware. Take your time, follow the 15 steps above, and your new lock should work smoothly for years.