Table of Contents >> Show >> Hide
- Before You Start: Is Your Floor a Good Candidate?
- Tools & Materials Checklist
- Step-by-Step: How to Refinish Hardwood Floors
- Step 1: Clear, Clean & Contain the Mess
- Step 2: Set Nails & Spot-Fix Trouble Areas
- Step 3: Rough Sanding – Strip the Old Finish
- Step 4: Medium & Fine Sanding – Smooth It Out
- Step 5: Fill Gaps & Detail Sanding
- Step 6: Deep Clean Before Finish
- Step 7: Optional – Add Color with Stain
- Step 8: Apply the Finish Like a Pro
- Step 9: Curing Time & Moving Back In
- Common Mistakes to Avoid
- Safety First (Yes, Really)
- DIY vs Hiring a Pro: Time, Cost & Sanity Check
- How to Care for Your Newly Refinished Hardwood Floors
- Conclusion: You’ve Got This
Your hardwood floors have seen things. Muddy shoes. Pet zoomies. That one house party no one talks about. The good news? You don’t need to rip everything out or sell the houseyou can refinish those tired, scratched, dull boards and make them look shockingly close to new, all with DIY-friendly tools and some honest elbow grease.
This in-depth guide blends proven techniques from trusted U.S. resources (including pro-style tips in the spirit of Family Handyman, This Old House, Bob Vila and other expert home improvement sources) into one practical, no-nonsense, slightly funny walkthrough. By the end, you’ll know how to decide if your floor is a good candidate, which tools to rent, the exact sanding and finishing sequence, what it really costs, and how not to wreck your beautiful new finish in the first week.
Before You Start: Is Your Floor a Good Candidate?
Know What You’re Standing On
Not every “wood look” floor wants to be sanded. Before you rent a big, loud machine, confirm what you have:
- Solid hardwood: Best-case scenario. These can be fully sanded and refinished multiple times, assuming there’s still good thickness above the nails.
- Engineered hardwood: Can sometimes be sanded once, but only if the wear layer is thick enough (roughly 3mm or more). If you see plywood layers after a scratch, don’t run a drum sander over it.
- Laminate, vinyl, or wood-look tile: Do not sand. These are refinish-with-cleaner or replace-only surfaces.
Check for Damage You Can’t Sand Away
Walk the room slowly and look for major issues:
- Severe cupping, sagging, or soft spots in the subfloor.
- Pet urine stains that go black through the boards.
- Deep water damage, rot, or termite channels.
Big structural or deep rot issues usually mean board replacement or a pro. Refinishing is magic, but not resurrection.
Tools & Materials Checklist
Most homeowners rent the heavy hitters from a local tool rental center and buy the rest from home improvement stores. For a standard room, plan on:
- Drum sander or random-orbit floor sander (easier for beginners).
- Edge sander for along walls and tight spots.
- Abranet or sandpaper in multiple grits: 36–40, 60, 80, 100/120.
- Vacuum with a good filter plus microfiber dust mops.
- Wood filler or trowel filler for gaps and nail holes.
- Tack cloths or slightly damp microfiber towels.
- Stain (optional) designed for hardwood floors.
- Finish: water-based polyurethane or oil-based polyurethane (or other floor-rated coatings).
- Applicators: lambswool or synthetic pad, T-bar, or high-quality brush/roller for edges.
- Painter’s tape, plastic sheeting, and floor buffer or pole sander for between coats.
- Safety gear: respirator rated for dust and VOCs, safety glasses, ear protection, knee pads.
Step-by-Step: How to Refinish Hardwood Floors
Step 1: Clear, Clean & Contain the Mess
Empty the room completelyfurniture, rugs, vent covers, even the potted plant that “never gets in the way.” Remove base shoe molding carefully if you want a cleaner edge. Vacuum thoroughly to get rid of grit that could cause swirl marks. Seal doorways, vents, and returns with plastic and painter’s tape to keep dust from migrating into the rest of your home.
Step 2: Set Nails & Spot-Fix Trouble Areas
Tap down any protruding nails or staples so they sit slightly below the surface. Replace loose boards, screw down squeaky spots from above (into joists), and mark deep stains you may not be able to sand out. Better to discover that now than while you’re covered in sawdust and regret.
Step 3: Rough Sanding – Strip the Old Finish
Starting strong is key to a pro-looking refinishing job:
- Begin with 36–40 grit to remove finish and major scratches.
- Run the sander with the grain (or at a slight angle on very uneven floors, then with the grain on the next pass).
- Keep the machine moving before you lower the drum and as you lift it to avoid “stop divots.”
- Use the edge sander with the same grit along walls, corners, and under toe-kicks.
After this stage, almost all old finish should be gone and the floor will look raw, but not yet smooth.
Step 4: Medium & Fine Sanding – Smooth It Out
Now you’re removing scratches left by the previous grits, not grinding forever on bare wood.
- Sand the whole floor again with 60 grit.
- Repeat with 80 grit; in high-visibility rooms, many pros also follow with 100–120 grit for a cleaner, more even finish.
- Match grits on edges so you don’t end up with a halo along the walls.
- Between each grit: vacuum and lightly wipe; never jump from 36 straight to 100 “to save time.” That’s how you keep scratches forever.
Step 5: Fill Gaps & Detail Sanding
Use trowel-applied filler or a compatible wood filler to address nail holes, hairline gaps, and small defects. Let it dry fully, then lightly sand with fine grit to blend. Skip filling big seasonal gaps against baseboards; they often re-open and look worse later.
Step 6: Deep Clean Before Finish
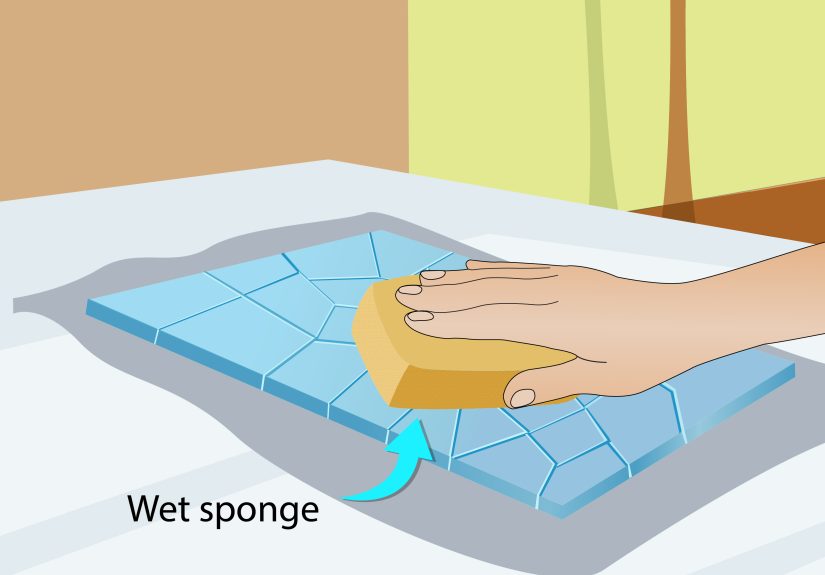
Dust is the enemy of a smooth, pro-level hardwood floor finish. Vacuum slowly in multiple directions, then wipe with a slightly damp microfiber or recommended tack cloth. Check under windows, along baseboards, and in corners where dust hides and later drops into wet finish like it pays rent.
Step 7: Optional – Add Color with Stain
If you want richer color:
- Test stain in an inconspicuous area; different species (oak vs maple vs pine) take stain differently.
- Work in manageable sections, wiping off excess along the grain.
- Allow full drying time based on the product instructions before applying polyurethane; rushing this step causes streaks, slow curing, and finish failure.
Step 8: Apply the Finish Like a Pro
This is where the floor goes from “dusty construction zone” to “magazine spread.” Common choices:
- Water-based polyurethane: Dries fast, low odor, stays clear (no ambering), great for busy households. Usually 3–4 thin coats.
- Oil-based polyurethane: Rich warm tone and very durable, but longer dry times and stronger odor. Typically 2–3 coats.
General application tips:
- Start along edges with a brush, then use a T-bar, pad, or roller to lay off with the grain.
- Maintain a wet edge and don’t overwork itbubbles and lap marks are not a design feature.
- Lightly screen or sand with very fine grit between coats to knock down nibs once fully dry, then vacuum and tack again.
Step 9: Curing Time & Moving Back In
Most finishes allow light foot traffic in socks after 24 hours, furniture back in 3–7 days, and area rugs after 7–30 days (check your specific product). Respect the cure time; dragging a sofa across semi-cured polyurethane is a heartbreak you don’t need.
Common Mistakes to Avoid
- Skipping grits: You can’t “let the poly fill it.” It won’t.
- Leaning on the sander: Causes dips that only a future tear-out will fix.
- Sanding across the grain: Deep scratches show through stain and finish.
- Ignoring dust control: Every bit you leave behind tries to become a permanent bump.
- Over-staining: Leaving stain puddles leads to sticky, uneven, slow-curing floors.
- Forgetting safety: Dust and VOCs are real; wear proper protection and ventilate.
Safety First (Yes, Really)
Hardwood floor refinishing looks like “just sanding,” but it’s serious work. Always:
- Wear a dust mask or respirator, eye and ear protection.
- Use proper extension cords and grounded outlets for big sanders.
- Handle oil-based rags correctlyspread them out to dry; don’t leave in a pile due to spontaneous combustion risk.
- Follow the manufacturer’s directions for all products and tools.
DIY vs Hiring a Pro: Time, Cost & Sanity Check
Refinishing hardwood floors yourself is one of the best ROI projects if you’re patient and detail-oriented.
- DIY costs: Commonly around $1.50–$3.50 per square foot for rentals, abrasives, stain, and polyurethane, depending on finish quality and number of coats.
- Pro costs: Often in the $3–$8+ per square foot range for sanding, staining, and finishing, varying by region, condition, and finish type.
- Time: A typical living/dining area can take a dedicated DIYer 2–4 days of active work plus cure time.
If your floors are extremely uneven, your home is full of tight hallways and stairs, or you’re on a deadline, a reputable refinishing company might be worth every penny.
How to Care for Your Newly Refinished Hardwood Floors
Protect your investment so you’re not redoing this in two years:
- Use a hardwood-safe cleaner; skip harsh chemicals and steam mops.
- Stick felt pads under chair and furniture legs.
- Use doormats at entries to trap grit.
- Maintain stable indoor humidity to reduce gapping and cupping.
- Refresh high-traffic areas with a maintenance coat before the finish wears through.
Conclusion: You’ve Got This
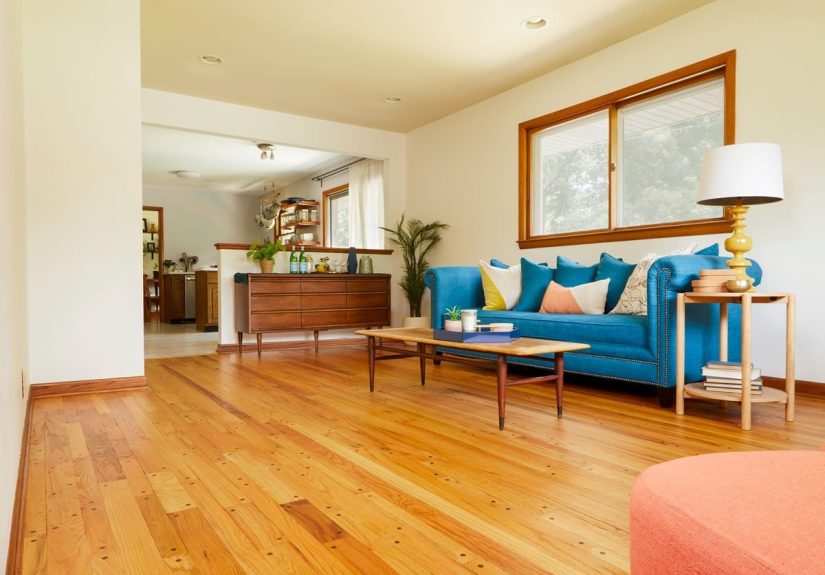
Refinishing hardwood floors isn’t just about making them shiny; it’s about extending the life of one of the most valuable surfaces in your home. With smart prep, the right grit sequence, careful finishing, and some patience, you can pull off results that look impressively close to professionalwithout pro-level pricing.
Real-World Experiences & Pro-Level Lessons
On paper, refinishing is a tidy checklist. In real life, it’s you, a heavy sander, and a few character-building moments. Here are experience-based insights drawn from countless DIY and pro projects that can save you time, money, and maybe a meltdown:
1. The “First Pass Panic” Is Normal. Many DIYers think they’ve ruined the floor during the first rough sanding pass. The boards look patchy, there are lines from the sander, and everything feels worse than before. Relax. Early passes are ugly. As you move through the grits, the scratches blend out and the floor evens up. Trust the process more than your 10-minute freak-out.
2. Cheap Abrasives Are Fake Savings. One of the most common regrets is buying bargain sandpaper. Quality belts and discs cut faster, clog less, and keep the sander under control. Poor abrasives burnish instead of cut, forcing you to go over the same area repeatedlymore exhaustion, uneven results, and higher risk of dips. Spend a few extra dollars here; it pays back in both finish quality and sanity.
3. Light Reveals Everything. Pros love low-angle lighting for a reason. Before staining or coating, pull blinds, turn on work lights, and look across the floor, not just down at it. You’ll spot swirl marks, missed edges, and filler ridges before they become permanent accents under clear polyurethane.
4. Edges Separate the Amateurs from the Pros. Many DIY jobs look great in the middle and rough around the walls. Take your time with the edge sander and hand-sanding transitions. Blend the last 6–12 inches so the sheen and scratch pattern match the field. That subtle consistency is what makes visitors say, “Who did your floors?” instead of “Oh, you did your floors.”
5. Dust Management Makes or Breaks the Finish. Real-world projects prove that one rushed vacuum job before coating can ruin an entire room. Give yourself an extra 20–30 minutes: vacuum slowly, wipe surfaces, wait a bit for airborne dust to settle, then tack again. Many experienced refinishers even step out for a few minutes after cleaning and re-enter carefully to start coating.
6. Respect Dry Times, Even When You’re Tired. Late at night, it’s tempting to “just get the next coat on.” Rushed recoats trap solvents or moisture, causing cloudiness or soft, easily damaged finish. DIYers who follow manufacturer dry times and good ventilation consistently report smoother, harder, longer-lasting floors than those who sprint through.
7. Perfection Isn’t the GoalLongevity Is. Even pro jobs have tiny dust nibs or a faint mark in the right light. What separates a successful refinish is an even sheen, solid protection, and a floor that can take daily traffic. Aim for “clean, durable, and beautiful,” not “microscope-grade flawless.” That mindset keeps you moving forward instead of endlessly re-sanding the same square foot.
Learn from these lived-in lessons, and your refinished hardwood floors will not only look fantastic on day onethey’ll keep looking great long after the tools are returned and the furniture is back in place.
sapo: Thinking about refinishing your hardwood floors but worried you’ll chew them up with a drum sander? This all-in-one guide walks you through every stageinspection, sanding, staining, finishing, and aftercareusing practical advice inspired by trusted home improvement pros. Learn what floors you can refinish, which tools to rent, the right grit sequence, how to apply a smooth polyurethane finish, and real-world lessons that prevent costly mistakes, so your floors come out looking professionally done without the pro-level invoice.