Table of Contents >> Show >> Hide
- Before You Start: Safety, Prep, and a Quick Reality Check
- How to Remove Spray Paint from Different Surfaces
- 1. How to Get Spray Paint Off Skin
- 2. Removing Spray Paint from Clothing and Fabric
- 3. How to Remove Spray Paint from Wood
- 4. How to Remove Spray Paint from Metal
- 5. Removing Spray Paint from Plastic and Vinyl
- 6. How to Remove Spray Paint from Glass, Windows, and Mirrors
- 7. Removing Spray Paint from Concrete, Brick, and Masonry
- 8. How to Remove Spray Paint from Cars and Other Painted Surfaces
- Tools and Products: What Works (and What to Skip)
- Troubleshooting Stubborn Spray Paint
- Real-World Experiences: What DIYers Learn the Hard Way
- Final Thoughts
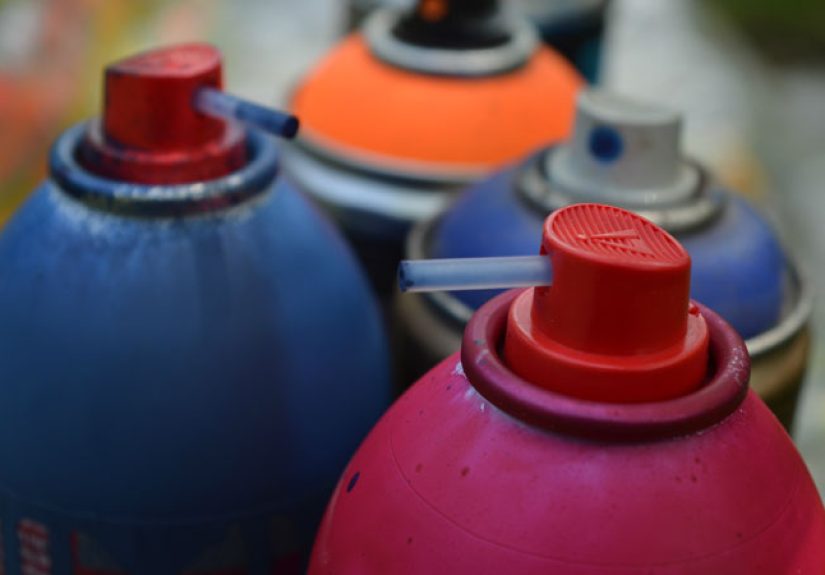
A quick spray-paint touch-up can turn into a horror movie fast: one gust of wind, one wobbly drop cloth, and suddenly your driveway, siding, or favorite hoodie has “art” it never asked for. The good news? With the right products and a little patience, you can remove spray paint from almost any surface without destroying what’s underneath.
This guide walks you through how to remove spray paint from wood, metal, concrete, plastic, glass, fabric, skin, and even car finishes. We’ll cover safe solvents, the tools that actually work, and the mistakes that pros (and very honest DIYers) say they’ll never make again.
Before You Start: Safety, Prep, and a Quick Reality Check
Spray paint is designed to stick, cure, and survive the elements. Getting it off often means using strong cleaners, abrasives, or bothso safety and prep matter just as much as the technique.
Safety First
- Ventilate the area. Work outdoors when possible or open windows and run a fan. Many solvents give off fumes that you absolutely shouldn’t inhale for fun.
- Wear protective gear. Gloves, safety goggles, and a mask or respirator help protect your skin, eyes, and lungs from harsh chemicals and tiny paint particles.
- Keep away from flames. Acetone, mineral spirits, and paint thinner are highly flammable. No candles, no smoking, and definitely no “I’ll just fire up the grill while I work.”
- Never mix chemicals. Don’t combine cleaners (especially anything with bleach or ammonia). Stick to one product at a time, rinse, then move on if you need to try something else.
Know Your Surface (and Your Paint)
The best way to remove spray paint depends on:
- The surface: Wood, metal, concrete, fabric, and plastic all react differently.
- How old the paint is: Fresh spray paint may wipe off with soap and water; cured paint usually needs a solvent, stripper, or abrasive.
- The finish underneath: A clear-coated car, sealed wood floor, or vinyl siding can be damaged if you go too aggressive too fast.
Whatever you’re working on, always test your method in an inconspicuous spot first. If the surface dulls, softens, or discolors, back off and switch tactics.
Basic Toolkit for Removing Spray Paint
You don’t need a pro workshop, but having a few key supplies on hand makes everything easier:
- Mild dish soap and warm water
- Microfiber rags and paper towels
- Soft-bristle and nylon brushes
- Plastic scraper; razor scraper (for glass only)
- Rubbing alcohol (isopropyl)
- Nail polish remover (acetone-based) or straight acetone
- Mineral spirits or paint thinner (for oil-based spray paint)
- Commercial graffiti remover or paint stripper (surface-specific)
- Pressure washer and/or trisodium phosphate (TSP) for concrete
- Baking soda and white vinegar for more gentle methods on metal and some hard surfaces
How to Remove Spray Paint from Different Surfaces
1. How to Get Spray Paint Off Skin
Accidentally “painting” your hand while trying to fix a patio chair is a rite of passage. The trick is to go gentleyour skin is not a deck board.
- Start with soap and water. Wet the area and scrub with a mild dish soap and a soft brush or washcloth. A nail brush or soft toothbrush can help break up the paint without shredding your skin.
- Add a little abrasion. For stubborn spots, use a pumice stone or textured washcloth with plenty of soap, but don’t scrub until you’re raw.
- Try oil-based options. Baby oil, olive oil, or coconut oil massaged into the paint can help loosen it before washing again with soap and water.
- Avoid harsh solvents. Resist the urge to use acetone, paint thinner, or strong graffiti removers on your skin. They can cause irritation, dryness, and chemical burns.
- Rinse and moisturize. Once the paint is gone, rinse well and apply lotion to soothe your skin.
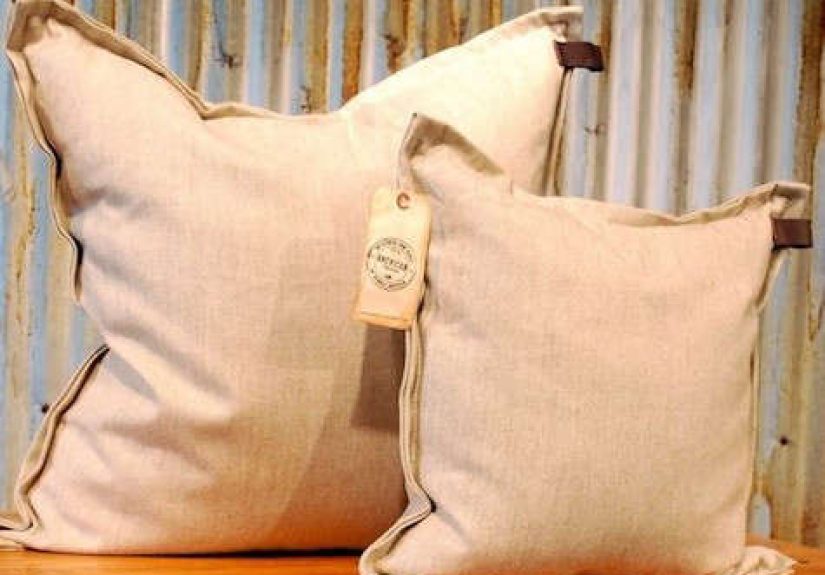
2. Removing Spray Paint from Clothing and Fabric
Spray paint and “favorite sweatshirt” are natural enemies. Move quickly for the best chance of saving the fabric.
- Blot, don’t rub. If the paint is still wet, place paper towels behind the stain and gently blot from the front to lift excess paint without spreading it.
- Rinse from the back. Turn the fabric inside out and run warm water through the back of the stain to push paint out of the fibers instead of deeper in.
- Pre-treat with soap. Massage in liquid laundry detergent or dish soap and let it sit for 10–15 minutes.
- Use rubbing alcohol or acetone (if safe). For stubborn, dry spray paint, dab the stain with rubbing alcohol or a small amount of acetone on a white cloth, then blot and rinse. Always test first, and avoid acetone on acetate or delicate synthetics.
- Launder as usual. Wash according to the care label, air dry, and check. Heat from the dryer can set any remaining stain.
3. How to Remove Spray Paint from Wood
Wood is tricky because you want to remove the paint without gouging the grain or stripping away more finish than necessary. Whether it’s a deck railing or a mid-century dresser, start with the least aggressive method and work up.
For finished wood (furniture, trim, cabinets):
- Wipe with warm, soapy water to remove any fresh overspray.
- Apply rubbing alcohol or a mix of dish soap and warm water and gently rub with a soft cloth.
- If the paint is stubborn, use a small amount of acetone or mineral spirits on a cloth, working in quick passes and wiping dry right away to avoid softening the finish.
- Buff with a clean cloth and follow up with furniture polish or wax.
For unfinished or rough wood (fences, decks, framing):
- Use a stiff brush and soapy water to scrub off as much paint as possible.
- Apply a wood-safe paint stripper according to the manufacturer’s instructions and scrape carefully with a plastic or metal scraper.
- Lightly sand the area with fine-grit sandpaper to remove residue and smooth the surface.
- Seal or repaint the wood to protect it once it’s clean.
4. How to Remove Spray Paint from Metal
Metal is one of the more forgiving surfaces. You can usually use stronger solvents and a bit more abrasion without causing permanent damage, as long as you don’t gouge or warp it.
- Scrape loose paint. Use a plastic or metal scraper, or a wire brush, to remove any flaking paint.
- Use a metal-safe remover. Apply a commercial paint stripper or solvent rated for metal and let it sit for the recommended time.
- Scrub. Use an abrasive sponge, nylon brush, or scouring pad to work the paint loose.
- Try the baking soda method. For smaller metal items, simmer them in a mixture of water and baking soda (or white vinegar) to loosen the paint, then scrub once cool enough to handle.
- Rinse and protect. Rinse thoroughly, dry, and consider adding a primer or clear coat to prevent rust if the item will live outdoors.
5. Removing Spray Paint from Plastic and Vinyl
Plastic and vinyl can melt, fog, or become brittle if you attack them with the wrong solvent. The mantra here is “gentle, then slightly less gentle.”
- Start with soapy water. Use a soft cloth or sponge and warm, soapy water. Sometimes that’s enough, especially for fresh paint.
- Use oil-based cleaners. Try rubbing in vegetable oil, baby oil, or a specialized adhesive remover, then wipe clean.
- Add rubbing alcohol. If needed, step up to rubbing alcohol on a soft cloth, working in small sections and checking often.
- Avoid strong solvents like acetone or lacquer thinner. These can soften, etch, or even dissolve many plastics.
- Rinse thoroughly. Remove any residue and dry to prevent streaking or clouding.
6. How to Remove Spray Paint from Glass, Windows, and Mirrors
The nice thing about glass is that it doesn’t absorb paint. The not-so-nice thing is that it scratches easily, so technique matters.
- Lubricate the surface. Spray the glass generously with water or glass cleaner.
- Use a razor scraper at a low angle. Hold a sharp razor blade at about a 30-degree angle and push gently along the glass, always over a wet surface to avoid scratching.
- Wipe away loosened paint. Use a microfiber cloth to remove slivers and residue.
- Spot-treat with solvent. If you still see a ghost of paint, apply a bit of nail polish remover or rubbing alcohol on a cloth, then clean again with glass cleaner.
7. Removing Spray Paint from Concrete, Brick, and Masonry
Concrete, brick, and stone are porous, which means spray paint sinks in instead of just sitting on top. You’ll likely need a combination of cleaners, elbow grease, and sometimes power washing.
- Scrub with TSP or a heavy-duty cleaner. Mix trisodium phosphate (TSP) or a concrete cleaner with water according to label directions and scrub with a stiff brush.
- Rinse and assess. Hose down the area and see how much paint remains.
- Apply a graffiti remover or paint stripper. Use a product formulated for masonry and let it dwell as directed.
- Power wash. Use a pressure washer to blast away the softened paint. Start with moderate pressure and increase only as needed to avoid etching the concrete.
- Repeat as needed. Older, multi-layer tags may need two or three passes.
8. How to Remove Spray Paint from Cars and Other Painted Surfaces
Removing spray paint from an auto finish or any factory-painted surface is all about protecting the clear coat. Go slow and gentle; replacing paint on a car is much pricier than replacing a T-shirt.
- Wash first. Use car wash soap and water to remove dirt and loose paint.
- Try a clay bar. Automotive clay with a lubricant can pull overspray off the clear coat without harsh chemicals.
- Use a safe cleaner. Many DIYers have success with products like tar and bug removers or dedicated graffiti removers labeled safe for auto finishes. Apply, let dwell briefly, and wipe gently.
- Avoid aggressive solvents. Straight acetone, lacquer thinner, and strong paint strippers can damage or dull the clear coat.
- Polish and wax. Once the paint is gone, polish lightly if needed, then apply wax or sealant to restore shine and protection.
- Know when to call a pro. If a large area is affected or the paint has etched into the clear coat, a professional detailer or body shop may be the safest bet.
Tools and Products: What Works (and What to Skip)
With so many cleaners and removers in the paint aisle, it helps to know what each one doesand where it doesn’t belong.
- Mild dish soap and water: First line of defense for fresh spray paint on almost any surface.
- Rubbing alcohol: Great for dried spray paint on glass, some plastics, wood, and fabric (test first).
- Acetone / nail polish remover: Very effective on metal, glass, and some fabricsbut can damage plastics and soften finishes, so use carefully and briefly.
- Mineral spirits / paint thinner: Useful on oil-based spray paint, especially on metal and some woods. Keep away from skin and always ventilate.
- Commercial graffiti removers: Designed specifically for spray paint on masonry, metal, signs, and some plastics. Follow the label closely for dwell time and rinsing.
- WD-40 and similar products: Can help loosen paint on some hard surfaces and plastics; they’re often used as a “bridge” between soap and stronger solvents.
- Heavy-duty paint strippers: Best for large areas or very stubborn paint on metal or wood. These are powerfulwear full PPE, follow directions, and protect nearby surfaces.
One tool that sounds clever but isn’t usually recommended: steam cleaners. Pros generally avoid using steam to remove paint from wood, drywall, or siding because heat and moisture can swell or damage the material. Steam can help on metal, brick, and concrete in specific situations, but other methods are often safer and more effective.
Troubleshooting Stubborn Spray Paint
Sometimes, even after your best efforts, there’s still a faint shadow of paint or a patch that won’t budge. Here’s how to think it through:
- Check the surface, not just the paint. If the underlying finish is already compromisedchalking, peeling, or flakingyou may need to repaint or refinish instead of endlessly stripping.
- Alternate methods. Switch between chemical and mechanical removal (for example, a mild stripper followed by gentle scraping or sanding).
- Work in smaller sections. On big surfaces, tackling a 1–2 square-foot area at a time often gives better results than trying to scrub everything at once.
- Know when “good enough” is good enough. On older concrete or brick, a faint shadow may be the best you can get without damaging the surface. You can often disguise it with a stain or masonry paint.
Real-World Experiences: What DIYers Learn the Hard Way
Guides are great, but nothing teaches faster than a real-life “I can’t believe I did that” project. Here are some common lessons people learn while battling spray paintand how they’d do it differently next time.
Overspray on the Driveway
A classic scenario: you’re freshening up metal patio chairs, you lay down a plastic sheet that’s just a little too small, and a fine mist of paint drifts onto the driveway. At first you barely see it; the next morning, under full sun, it looks like your concrete is wearing foundation.
Many DIYers start with a pressure washer set to “obliterate” and quickly discover that too much pressure can etch the concrete, leaving clean spots that look worse than the paint. A more successful approach is:
- Scrub first with TSP and a stiff brush.
- Let a masonry-safe graffiti remover dwell for the full recommended time.
- Use moderate pressure washing in passes instead of blasting one area endlessly.
The big takeaway: let the chemistry and dwell time do more of the work so the pressure washer can stay at a sane setting.
The “I’ll Just Use Acetone” Plastic Disaster
Another common story goes like this: someone gets spray paint on a plastic lawn chair, reads that acetone removes paint, and goes all in with a soaked rag. The paint does come offalong with the glossy top layer of the plastic. The chair ends up clean but permanently hazy, rough, or even streaked.
A better sequence on plastic is:
- Warm soapy water and a soft cloth.
- Vegetable oil or a citrus-based cleaner, wiped and rinsed.
- Rubbing alcohol applied sparingly and wiped quickly.
If none of that works, it may be less risky to live with a little discoloration or repaint the plastic with a product made specifically for plastics rather than throwing stronger solvents at it.
Saving a Wood Table from “Art Project” Overspray
Kids’ school projects plus spray paint plus the dining room table is a combination many parents wish they had predicted sooner. A frequent mistake is going straight to sanding, only to discover that you’ve created a dull, uneven patch on an otherwise glossy tabletop.
People who rescue their furniture successfully tend to:
- Start with mild dish soap and water to remove anything that isn’t fully cured.
- Move to rubbing alcohol and a soft cloth, working slowly and wiping dry often.
- Use very small amounts of acetone or mineral spirits on a cotton swab for the most stubborn specks.
- Finish with a furniture polish or wax to restore sheen.
The moral: treat furniture like skinstart gentle and only escalate if you absolutely have to.
Dealing with Tagging on a Backyard Wall
Graffiti on backyard walls or fences is more than just annoying; it can feel personal. Homeowners who tackle it successfully usually take a two-step approach: remove what they can, then make the surface less appealing for future tagging.
On masonry or concrete, that often means:
- Using a masonry-safe graffiti remover and stiff brushing.
- Rinsing or power washing at moderate pressure.
- Applying a protective sealer or anti-graffiti coating so future paint is easier to wash off.
On wood fences, they’ll often accept a bit of shadow rather than over-stripping and instead stain or paint the fence in a darker, more forgiving color. The extra prep can save a lot of frustration if tagging happens again.
What Everyone Agrees On
Whether they’re pros or weekend warriors, people who deal with spray paint regularly tend to agree on a few things:
- Patience beats brute force. Let solvents and cleaners sit long enough to work instead of scrubbing like you’re trying to erase the sidewalk.
- Test spots are non-negotiable. Ten minutes on a hidden patch can save you from a permanently cloudy window or a scarred car panel.
- Good prep prevents future headaches. Bigger drop cloths, better masking, and a quick check of the wind direction are the cheapest “paint removers” you’ll ever use.
Final Thoughts
Removing spray paint doesn’t have to mean living with damaged wood, etched concrete, or cloudy plastic. When you match the removal method to the surface, use the right solvents sparingly, and let time and technique do their work, you can erase most overspray, graffiti, and oops-moments without leaving a trace. Take it one surface at a time, respect the chemistry, and remember: the only thing that should be permanent about spray paint is the project you meant to paint in the first place.