Table of Contents >> Show >> Hide
- Why You Might Want to Keep Rather Than Replace
- Signs Your Old Windows Need Rescue, Not Replacement
- How to Breathe New Life Into the Old Window Crew
- The Big Benefits of Restoring Instead of Replacing
- When It Might Still Be Time to Replace
- Example: A Real‑Life Renovation
- Conclusion
- My Personal Adventures in Old‑Window Rehab
You know that feeling when you stare at a drafty, rattling old window and think, “Maybe it’s time to turn this eyesore into a breeze‑blocker that actually *works*”? Well, hold off on busting out the sledgehammer. With a little elbow grease, some weatherstripping wizardry and a dash of historical pride, your existing windows can be revivedwithout losing character. Welcome to the world of giving your old windows a second chance at life.
Why You Might Want to Keep Rather Than Replace
When you think “windows,” you probably imagine crisp new panes, vinyl frames, and zero upkeep. But flipping out your older windows isn’t always the smartest move. For starters, many old wood‑framed or double‑hung windows were built from old‑growth lumber, with craftsmanship that’s hard to match today. According to restoration experts, a well‑maintained historic window can still perform quite respectably.
Also: replacing windows can be pricey and, surprisingly, may yield only modest energy savings. A newsletter from the Window Preservation Alliance points out that retrofitting an existing historic window often comes in at a fraction of the cost of full replacementand can get you near new‑window performance.
And let’s be honest: those original windows add charm. They give your home personality. Losing them is like ripping out grandma’s favorite chairsure, you could throw it away, but why?
Signs Your Old Windows Need Rescue, Not Replacement
Before you decide whether to toss ‘em or tweak ‘em, let’s look at some warning flags:
- Your windows are difficult to open/close, or they’re stuck and feel like they survived a Snowpocalypse.
- Cold drafts or noticeable air flow around the frame.
- Noise from outside suddenly sounds clearer than your favorite podcast. Hello, rattling window.
- Visible rot, broken glass panes, missing sash cords or big chunks of putty gone bad.
If you checked off one or two items above but your windows are still mostly solidyou’re in good shape for a refurb. If they’re falling apart, replacement might be the only realistic option.
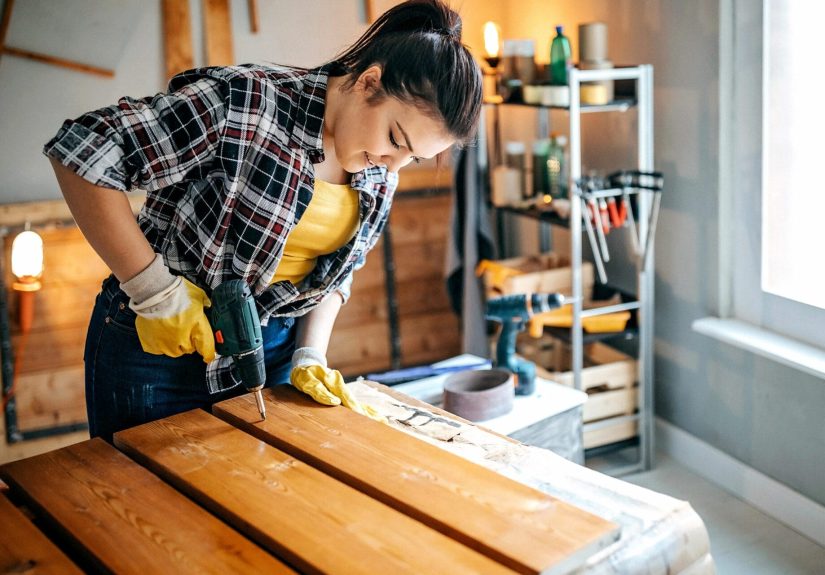
How to Breathe New Life Into the Old Window Crew
1. Give It a Clean Slate
Start by removing the sash, peeling back layers of old paint (especially on wood windows) and checking for rot. A restoration guide from the city of Columbia, SC, suggests steps like breaking the paint seal, removing the sash stops carefully, and assessing wood condition.
Tip: if your windows were painted shut (guilty!), use a “window zipper” tool or a thin putty knife to break the paint bond before prying anything.
2. Fix the MechanicsBring Back the Weight & Balance
Many older double‑hung windows operate via sash cords or chains and counterweights tucked into the side jambs. These systems are very serviceable. As noted in a restoration piece: you can upgrade the weights, pulleys and ropes and improve operation without compromising historical authenticity.
When sash cords are broken or missing, replacing them is usually straightforwardand far cheaper than a full window swap.
3. Seal It UpWeatherstripping & Storm Windows
This is where the real energy savings happen. According to a how‑to from This Old House, you can weatherstrip double‑hung windows for about $80 per window and around one hour of workand achieve performance comparable to a new window.
Key steps include routing grooves for weatherstrip, installing pile or foam seals, focusing on the meeting rails, and re‑installing parting beads so the sashes slide smoothly and seal tightly.
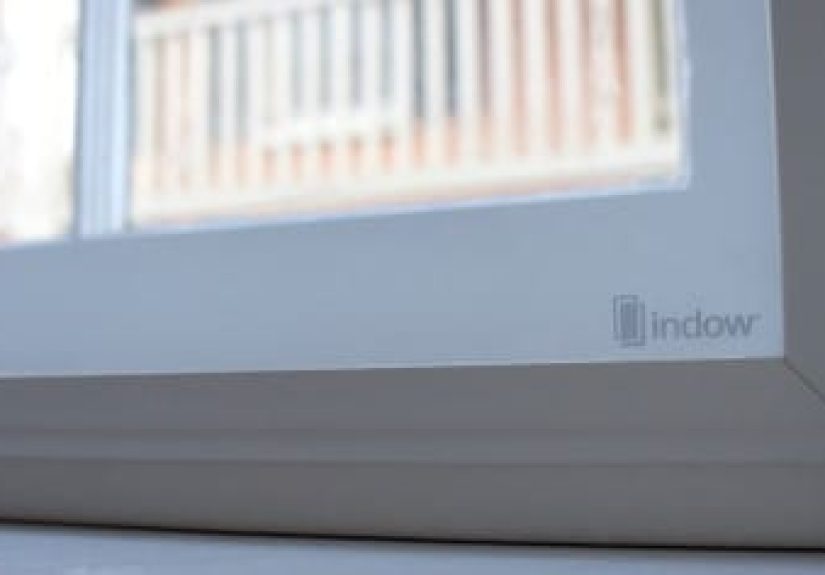
Also: adding well‑fitted storm windows (either interior or exterior) further improves insulation and sound‑proofing, while allowing the original window to remain intact.
4. Repair the Glass & SashDon’t Just Leave It Cracked
If you spot cracked panes, brittle glazing putty or framed deliberate cracks, take action. One guide at Indiana Landmarks recommends removing broken glass, replacing putty, patching wood decay with epoxy and ensuring the sash is square.
5. Paint, Protect & Prevail
Once mechanically sound and weather‑sealed, it’s time to finish with primer, top coat and proper caulking (in correct places!). Proper paint or finish prevents future rot, sealing out moisture while preserving your investment. Restoration manuals stress this step heavily.
The Big Benefits of Restoring Instead of Replacing
Here’s what you’re gaining when you treat instead of toss:
- **Preserved historic character** – Keeping original windows means your house lives true to its roots, neighborhood guidelines permitting.
- **Cost savings** – Restoration is often far less expensive than replacement. Some studies show pay‑back timelines for replacement windows that stretch decades.
- **Energy efficiency** – With weatherstripping and storm units, you can get close to new‑window performance.
- **Reduced waste** – By repairing instead of replacing, you keep materials out of the landfill and reduce embodied‑energy costs of new units.
When It Might Still Be Time to Replace
Okay, I’m not a no‑replacement zealot. There are times when old windows just can’t be saved:
- Frames are severely rotted or structurally compromised.
- Original windows swing open into hazardous locations (fire egress violations) or are simply non‑functional beyond repair.
- Budget is small, but the cost to restore (hours, materials, specialist labor) is comparable to replacement and you’re not aiming for historical fidelity.
In those cases, replacement may be the efficient path. But even then: choose high‑quality units with proper materials and performance ratings.
Example: A Real‑Life Renovation
Let’s say you own a charming 1920s bungalow with original double‑hung wood windows. They stick, rattle and you can feel airflow around the sash locks. Rather than replacing all 14 windows, you decide on a restoration plan: you remove each sash, strip paint, replace sash cords, install pile weatherstrip, add well‑sealed storm windows and repaint. The result: the windows slide smoothly, no more rattling, less outside noise and a noticeable drop in heating bills during winter. Plusyour house still looks like it stepped out of 1923, not 2023.
This scenario mirrors the advice from restoration professionals: you can get effective results, preserve history and stay budget‑savvy.
Conclusion
Before you yank out those old windows and haul them to the curb, give yourself a moment of reflection. With targeted repairs, weather‑upgrades and a little love, you might just grant them a dramatic second actand leave your bill, and your home’s character, far better off.
Additional 500‑word experiences section
My Personal Adventures in Old‑Window Rehab
Okay, let me get slightly personal here: I recently took on restoring the windows in our own 1948 suburban home (yes, I pulled the classic blogger move of “let’s DIY this weekend”). The house came with 12 original wood double‑hung windowssure, they had charm, but they also groaned, rattled and hosted more drafts than a college dorm in January.
First step: I removed the lower sash of one window and discovered layers of paintthick enough to build a small sculpturewith the sash cord snapped and the weight dangling like yesterday’s laundry. I thought, “Uh oh, this might be worse than I thought.”
But I pressed on. I used a “window zipper” tool (a fancy name for a metal scraper) to break the paint bond around the stop. Then I popped out the sash, removed the pulleys, cleaned everything out, replaced the cord with new sash cord, and installed new pile weatherstrip around the meeting rail and side jambs. I slid in the storm window I had custom ordered. After reassembly, I tested the sashand it glided. I mean *really* glided. That satisfying smooth‑as‑butter motion was worth every minute.
The next day, I stood back with a mug of coffee and pressed my hand against the closed frame during a breezy afternoon. Nothing. No cold air sneaking past. No hiss of wind. I had done itone window at a time.
Of course, I didn’t stop at one window. I repeated the process. One fun thing: I kept track of approximate cost per window (sash cord + weatherstrip + minimal putty + time) and compared it to quotes I had for full window replacementlet’s just say the difference was enough to fund another project (hello, new porch light!).
One surprise: the soundproofing benefit. Our street has moderate traffic, and after the storm windows went in, the decibel level in our living room dropped noticeably. We went from “hear the cars drive by” to “oh wait… did that just pass by?” It was a pleasant bonus.
Another note: The paint prep took longer than I expected. I had to painstakingly remove old putty, strip cracked wood sections and apply epoxy to minor rot spots. It felt like restoration archaeology. But the result was worth it: the window looked refreshed, operated smoothly and matched the home’s architectural style perfectly.
If I were to give one piece of advice to someone embarking on this journey: pick one window and treat it as your pilot. Do the full sequence: disassembly, cleaning, hardware check, weatherstrip, storm window, paint. Then you’ll know the costs, the time and how your home responds. Once you’re happy, roll forward with the rest.
In retrospect, restoring rather than replacing those windows felt like saving a part of the home’s soul. Each window came out with a little more character, a lot better performance and a story to tell. And every time I open one now, it quietly reminds me that old doesn’t mean doneit means ready for a new chapter.