Table of Contents >> Show >> Hide
- What Makes an Apple Pie “Properly British”?
- Apple Choices That Actually Work in the U.S.
- The Big Secret: Control the Juice
- Proper British Apple Pie Recipe
- Serve It the British Way: Quick Pouring Custard
- Troubleshooting: The Usual Suspects
- Make-Ahead and Storage
- Conclusion
- Real-Kitchen Experience Notes (Bonus)
“Proper” British apple pie isn’t trying to be a fireworks show. It’s comfort food with good manners: a buttery shortcrust-style pastry, apples that taste like apples (not like a cinnamon-scented candle), and a warm slice that practically begs for custard.
This is a British-leaning apple pie recipe built for an American kitchenno specialty gadgets, no mystery ingredients, and absolutely no soggy-bottom heartbreak (we’re aiming for crisp, not compost).
What Makes an Apple Pie “Properly British”?
- Shortcrust-leaning pastry: tender, buttery, and a little “crumbly-biscuit” in the best way.
- Tart apples first: Bramley apples are the UK classic, but U.S. swaps can nail the same vibe.
- Spice with restraint: warm, aromatic, but the apple stays the main character.
- Served like a pudding: warm slices + custard (or cream) = peak cozy.
Apple Choices That Actually Work in the U.S.
For the most “British” flavor and texture, use a mix of firm, sweet-tart apples. Mixing varieties gives you better complexity: some apples hold shape, some melt into sauce.
Great U.S. combos:
- Granny Smith + Pink Lady (tart + fragrant)
- Granny Smith + Honeycrisp (tart + juicy/crisp)
- Braeburn + Granny Smith (balanced and sturdy)
Avoid all-soft apples (they can turn your pie into applesauce with a crust hat).
The Big Secret: Control the Juice
Apple pie filling gets runny for two reasons: apples release liquid, and bakers slice too soon. This recipe uses a low-drama fix:
macerate the apples to pull out juices, then reduce that juice into a flavorful syrup before baking.
You get a filling that’s saucy, not soupyand your bottom crust stays crisp.
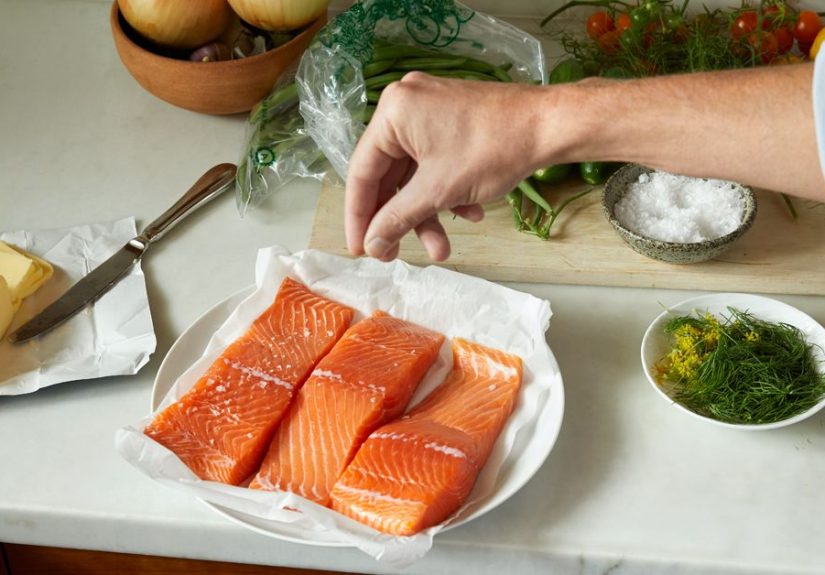
Proper British Apple Pie Recipe
Yield, Timing, and Difficulty
- Makes: 1 (9-inch) pie, about 8 slices
- Active time: ~45–60 minutes
- Chill + macerate + bake + cool: ~6–7 hours total (mostly hands-off)
- Difficulty: Medium (you’ve got this)
Ingredients
For the shortcrust-leaning pastry (double crust):
- 2 1/2 cups (320 g) all-purpose flour
- 2 tbsp (25 g) granulated sugar (optional but nice)
- 1 tsp fine salt
- 1 cup (226 g) unsalted butter, very cold, cut into cubes
- 1 large egg yolk
- 5–7 tbsp ice-cold water (start with 5)
- 1 tsp apple cider vinegar or lemon juice (helps tenderness; optional)
For the apple filling:
- 3 1/2 to 4 lb apples (about 8–10 medium), peeled, cored, sliced 1/4-inch thick
- 1/2 cup (100 g) granulated sugar
- 1/3 cup (70 g) packed brown sugar
- 2 tbsp lemon juice
- 2 tsp ground cinnamon
- 1/4 tsp ground nutmeg
- 1/4 tsp ground allspice (optional but very “British pudding”)
- 1/2 tsp fine salt
- 2 tbsp cornstarch (or 3 tbsp tapioca starch for a glossier filling)
- 2 tbsp (28 g) unsalted butter, cut into small pieces
- Optional: 1/2 tsp vanilla extract
For finishing:
- 1 egg (for egg wash) + 1 tbsp milk or water
- 1–2 tbsp coarse sugar (demerara/turbinado) for crunch and sparkle
- 1–2 tbsp fine cookie crumbs, graham cracker crumbs, or crushed digestive biscuits (optional “anti-soggy” layer)
Equipment
- 9-inch pie dish
- Rimmed baking sheet (for drips + heat under the pie)
- Large bowl, small saucepan, rolling pin
- Pastry brush (optional but handy)
Step-by-Step Instructions
1) Make the pastry dough
- In a large bowl, whisk flour, sugar (if using), and salt.
- Add cold butter and rub/cut it into the flour until you have a mix of pea-size pieces plus some sandy bits. (Those sandy bits are tenderness insurance.)
-
Stir in egg yolk. Drizzle in 5 tbsp ice water (plus vinegar/lemon if using) and mix with a fork until shaggy clumps form.
Add more water 1 tbsp at a time only if dry flour won’t come together when pressed. - Split dough into two disks (one slightly larger for the bottom). Wrap and chill at least 2 hours (or up to 2 days).
2) Macerate the apples (the “no soup” move)
- In a very large bowl, toss apples with both sugars, lemon juice, cinnamon, nutmeg, allspice (if using), and salt.
- Let sit 1 to 3 hours at room temp (or in the fridge if your kitchen is warm). The apples will release liquid.
3) Reduce the juices into apple syrup
- Set a colander over a bowl. Drain the apples, catching the juices.
- Pour juices into a small saucepan. Simmer 5–10 minutes until reduced and syrupy. It should still pourjust thicker and more fragrant.
- Cool the syrup 5 minutes, then toss it back with the apples.
- Sprinkle cornstarch (or tapioca starch) over the apples and toss until no powdery patches remain. Stir in vanilla if using.
4) Roll, line, and “armor” the bottom crust
- Heat oven to 425°F. Place a rimmed baking sheet on the lower rack to preheat (great for crisp bottoms).
- Roll the larger dough disk to about 12–13 inches. Fit into your pie dish without stretching the dough. Leave a 1-inch overhang.
- Optional but highly recommended: sprinkle a thin layer of graham/cookie/digestive crumbs on the bottom. This helps absorb stray juice and fights sogginess.
5) Fill and cap
- Pile apples into the crust, mounding slightly in the center. Dot with small butter pieces.
- Roll the second disk to about 11–12 inches. Lay over the filling.
- Trim excess, leaving about 1/2-inch overhang. Fold top under bottom and crimp to seal.
- Cut 5–6 vents in the top (steam needs an exit plan).
- Whisk egg + milk/water. Brush the top, then sprinkle coarse sugar.
6) Bake until golden, bubbling, and confident
- Place pie on the preheated baking sheet. Bake 20 minutes at 425°F.
- Reduce heat to 375°F and bake 40–60 minutes more, until the crust is deep golden and the filling is visibly bubbling through the vents.
- If the top browns too fast, tent loosely with foil for the last 15–25 minutes.
7) Cool (yes, really)
Let the pie cool at least 2 hours before slicing. This is when the filling sets up so you get neat slices instead of apple lava.
Serve It the British Way: Quick Pouring Custard
If you want that “proper British pudding” finish, custard is the move.
Fast stovetop custard (about 6–8 servings)
- 2 cups whole milk (or 1 1/2 cups milk + 1/2 cup cream)
- 3 egg yolks
- 3 tbsp sugar
- 1 tsp vanilla extract
- Pinch of salt
- Warm milk in a saucepan until steaming (not boiling).
- Whisk yolks, sugar, salt. Slowly whisk in warm milk.
- Return to pan; cook on low, stirring constantly, until it coats a spoon.
- Stir in vanilla. Serve warm over pie.
Troubleshooting: The Usual Suspects
Soggy bottom
- Preheat a baking sheet and bake on the lower rack.
- Add the thin crumb layer (graham/cookie/digestive).
- Make sure the pie bakes until the filling is actually bubbling.
Runny filling
- Don’t skip macerating + reducing the juices.
- Use the full amount of starch and toss it evenly.
- Cool at least 2 hours before slicing.
Gaps under the top crust
- Slice apples consistently (about 1/4-inch) and mound them highapples shrink as they bake.
- Don’t underbake; underbaked apples collapse more dramatically.
Make-Ahead and Storage
- Dough: Chill up to 2 days (or freeze up to 1 month).
- Assembled unbaked pie: Freeze until firm, wrap well, freeze up to several months. Bake from frozen (add time).
- Baked pie: Keep covered at room temp 1–2 days, or refrigerate longer; rewarm slices in the oven for a crisper crust.
Conclusion
A proper British apple pie is the kind of dessert that doesn’t need a spotlightit needs a fork, a warm plate, and maybe someone nearby saying,
“Go on then, have another slice,” like it’s a public service announcement. With a shortcrust-leaning pastry and a filling that’s juicy-but-not-runny,
you get the best of British comfort and American practicality in one very edible package.
Real-Kitchen Experience Notes (Bonus)
Ask a group of home bakers what “goes wrong” with apple pie and you’ll hear the same stories told in different accents: soggy bottoms, runny filling,
and that moment of panic when the top crust turns the exact shade of “too brown” five minutes before the apples are done. The good news? Most of the
classic apple pie problems aren’t mystery failuresthey’re cause-and-effect, and once you spot the pattern, you can fix them with boringly reliable steps.
The first big lesson people notice is how wildly different apples behave. Two pies can use the “same” amount of apples and still bake up totally
differently because some apples release more liquid, some keep their shape, and some collapse into softness that reads as “cozy” in one pie and
“watery” in another. That’s why a mix of apples tends to win in real kitchens: a firmer variety keeps slices intact, while a more aromatic variety
melts a bit and perfumes the filling. It’s also why macerating the apples feels like cheating (the good kind). When you let sugar and lemon draw out
juice before baking, you’re basically asking the apples to do their dramatic monologue in a bowl instead of inside your crust.
Another common experience: the pie looks done, smells done, and makes everyone hover… but it isn’t done. With fruit pies, visual bubbling matters.
Bakers who pull the pie early often describe the same outcomebeautiful crust, but the filling is looser than expected. The bubbling isn’t just for
show; it’s the signal that the starch has fully activated and the juices have thickened into something sliceable. If you want neat wedges, the pie
needs to bake long enough for the filling to thicken, and then cool long enough to set. That cooling window can feel like torture (especially if your
kitchen smells like cinnamon and victory), but it’s the difference between “clean slice” and “apple slump.”
Then there’s the crust learning curve. Many people discover that “soggy bottom” isn’t a personal insult from the universeit’s physics. Fruit releases
moisture; moisture meets flour; flour gets sad. The fixes that feel small (preheating a baking sheet, adding a whisper-thin crumb layer, venting the top)
add up fast. Even bakers who swear they “did everything right” often realize they skipped one tiny thing: the pie wasn’t actually on a hot surface when
it hit the oven, or the vents were too small, or the filling went in cold and wet without any plan for its juices. Once those details click, the bottom
crust starts coming out crisp more often than not.
And finally, the most relatable experience note of all: “My pie tastes better the next day.” This happens constantly. As the pie rests, flavors blend,
the filling firms, and the spice stops shouting and starts harmonizing. In British-style serving tradition, that’s when custard really shines toowarm
custard over a room-temp or gently reheated slice is comfort food at full volume. So if your first slice is a little messy, don’t panic. By the next day,
you’re usually holding the version of the pie you imagined in your head: neat, fragrant, apple-forward, and just sweet enough. In other wordsproper.