Table of Contents >> Show >> Hide
- Before You Buy: The 5-Minute Flea Market Inspection
- Cleaning and Prep: Make the “After” Actually Last
- 48 Flea Market Projects, Hacks, and Revamps
- How to Make Flea Market Finds Look Expensive (Without Lying to Your Wallet)
- Common Mistakes (AKA How to Avoid “Why Did I Buy This?”)
- Extra: of Real-World Flea Market Experience and Lessons
- Conclusion
Flea markets are basically treasure hunts where the map is a folding table and the “X” is a slightly wobbly lamp priced like it’s got a trust fund. But here’s the secret: the value isn’t what the item is todayit’s what it can become with a little imagination, a screwdriver, and just enough confidence to say, “Yep, I can totally fix that.”
In this guide, you’ll get 48 practical, proven flea market makeover ideasprojects, hacks, and revamps that turn “meh” into “wow,” without needing a reality TV crew or a workshop the size of an aircraft hangar. We’ll also cover what to look for, how to clean safely, and how to avoid the classic mistake of buying a “cute vintage chair” that turns out to be held together by optimism.
Before You Buy: The 5-Minute Flea Market Inspection
Think of this as your thrifting pre-flight checklist. It prevents buying something that looks charming but is secretly a loose collection of screws wearing a cardigan.
- Smell test: Musty odor can be hard to remove from upholstery and particleboard. Solid wood? Easier to clean and seal.
- Wiggle test: If it wobbles, check joints and screws. Loose is fixable; cracked structural pieces can be a time sink.
- Material check: Solid wood is the MVP. Veneer is workable but needs gentle sanding. Particleboard is a “proceed with caution” situation.
- Hardware potential: Outdated pulls can be swapped. Dents in metal can be hammered. Missing parts can often be replaced.
- Lead paint caution: Very old painted items may contain lead-based paint. Don’t dry-sand unknown old paint; use safe methods or seal it.
Cleaning and Prep: Make the “After” Actually Last
Most glow-ups fail because the prep got skipped. Paint sticks to clean, dull surfacesnot to mystery grime from 1997.
- Wood: Clean with a degreaser, rinse, dry. Lightly sand or degloss, then prime if needed.
- Metal: Remove rust with a wire brush or rust remover, then prime with a metal primer.
- Glass: Use alcohol-based cleaner for a streak-free finish.
- Fabric: Vacuum thoroughly. Steam clean if safe. Consider reupholstering if stains are permanent.
48 Flea Market Projects, Hacks, and Revamps
These are grouped by what you’re most likely to spot in the wild. Each idea includes a simple transformation plan and a quick pro tip.
Furniture Revamps (1–16)
- Nightstand to Bar Cart: Add casters, a towel bar, and a top coat. Pro tip: Use a tray on top to corral bottles and prevent wobble.
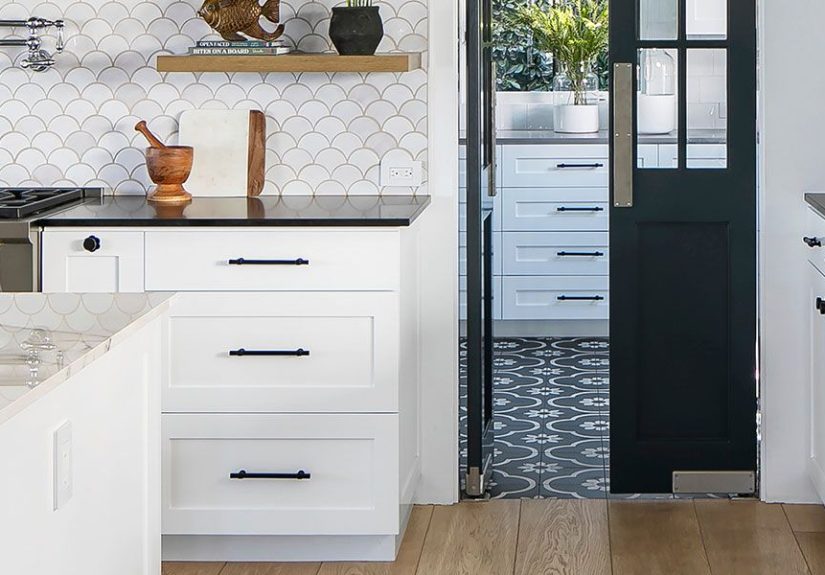
- Old Dresser to Bathroom Vanity: Cut for plumbing, seal all surfaces. Pro tip: Use a water-resistant topcoat and caulk around the sink.
- Bookshelf to Built-In Look: Paint to match walls and add trim. Pro tip: Anchor to studs for a finished, safe install.
- Dining Chair Set Refresh: Sand, repaint, and recover seats. Pro tip: Replace seat foam for a “new chair” feel.
- Drop-Leaf Table to Entry Console: Keep one leaf down, mount to wall if needed. Pro tip: Add hooks underneath for keys and bags.
- Vintage Desk to Makeup Vanity: Add mirror, lighting, and drawer dividers. Pro tip: Peel-and-stick felt liners stop clattering.
- Small Cabinet to Coffee Station: Add shelves and cord holes. Pro tip: Stick-on LED strips make it feel custom.
- TV Armoire to Pantry Storage: Remove doors or keep them; add shelves. Pro tip: Paint the interior a lighter color so you can see everything.
- Crib to Garden Bench: Repurpose rails as sides and back. Pro tip: Use exterior-grade fasteners and a weatherproof finish.
- Chest to Window Seat Base: Add cushion and hinges for storage access. Pro tip: Drill ventilation holes if storing linens.
- Sideboard to Media Console: Cut cable pass-throughs; add legs. Pro tip: Use a hole saw and grommets for a clean finish.
- Wobbly Table Rescue: Reglue joints and clamp overnight. Pro tip: Wood glue beats “more screws” almost every time.
- China Cabinet to Craft Storage: Paint, add pegboard backing. Pro tip: Glass doors keep things tidy-looking even when chaos lives inside.
- Bench to Shoe Rack: Add slatted lower shelf. Pro tip: Angle the slats slightly so shoes don’t slide off.
- Rocking Chair Modern Refresh: Clean lines with a bold paint and new cushion. Pro tip: Seal high-touch arms with a durable topcoat.
- Tabletop “Marble” Upgrade: Use high-quality film or a painted faux finish. Pro tip: Protect with a clear, heat-resistant sealer.
Storage and Organization Hacks (17–28)
- Vintage Suitcase Stack: Turn into nested storage. Pro tip: Add cedar blocks to keep linens fresh.
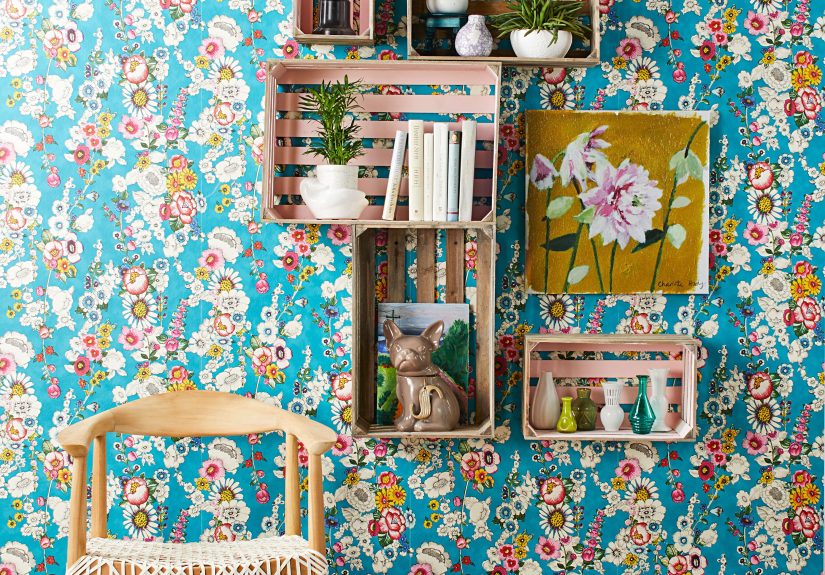
- Wooden Crates to Modular Shelving: Stain or paint, then stack. Pro tip: Screw crates together for stability.
- Old Ladder to Blanket Rack: Sand and seal. Pro tip: Felt pads on feet prevent floor scratches.
- Spice Rack to Bathroom Organizer: Mount for skincare and small bottles. Pro tip: Add a lip to shelves to stop tipping.
- CD Tower to Pantry Can Storage: Paint and label shelves. Pro tip: Measure your can height before committing.
- Jewelry Box to Charging Station: Drill cord holes; add a power strip. Pro tip: Use cable clips to prevent cord spaghetti.
- Magazine Rack to Cutting Board Holder: Stand boards vertically. Pro tip: Add rubber feet so it doesn’t scoot.
- Toolbox to Art Supply Caddy: Great for paint tubes and brushes. Pro tip: Line it with a washable mat.
- Wooden Wine Box to Wall Shelves: Mount as shadow boxes. Pro tip: Use anchors rated for the load.
- Record Crate to Rolling Toy Bin: Add casters and a soft liner. Pro tip: Round sharp corners for kid safety.
- Old Drawer to Under-Bed Storage: Add wheels and a pull strap. Pro tip: Paint the interior white so contents are visible.
- Rolling Cart Refresh: Degrease, spray paint, new liners. Pro tip: Choose a gloss finish for easy wipe-downs.
Home Decor Revamps (29–38)
- Frames to Gallery Wall Set: Paint mismatched frames one color. Pro tip: Use kraft paper templates to plan layout.
- Mirror Glow-Up: Add trim, paint, or gold rub-on wax. Pro tip: Seal metallic finishes so they don’t rub off.
- Basket to Wall Planter: Line with plastic and add a plant pot. Pro tip: Use faux plants if the wall gets no light.
- Candlestick Holders to Pedestals: Flip them for mini stands. Pro tip: Stick felt on top to prevent sliding.
- Vintage Map to Wall Art: Frame or decoupage on a board. Pro tip: Matte spray helps reduce glare.
- Glass Bottles to Bud Vases: Paint, etch, or leave clear. Pro tip: Group in odd numbers for a styled look.
- Old Window Frame to Photo Display: Add clips or wire. Pro tip: Sand edgesold glass and wood can be sharp.
- Trivet to Wall Decor: Paint and hang as a mini sculpture. Pro tip: Use removable hooks for lightweight pieces.
- Brass Finds Polish or Patina: Choose shiny or agedown it. Pro tip: Clear coat locks in the look either way.
- Tablecloth to No-Sew Curtains: Use clip rings. Pro tip: Hem tape gives a cleaner drape.
Lighting and Hardware Upgrades (39–44)
- Lamp Base Makeover: Paint, wrap with rope, or add texture. Pro tip: Replace the shade for instant transformation.
- Chandelier Refresh: Clean, repaint, and swap bulbs. Pro tip: Label wires before disassembly.
- Sconce to Bedside Light: Hardwire or plug-in conversion kits. Pro tip: Mount at shoulder height when seated.
- Drawer Pull Upgrade Pack: Buy mismatched pulls, paint to match. Pro tip: Keep screw sizes consistent with inserts.
- Door Knobs as Wall Hooks: Mount on a board. Pro tip: Stagger heights for bags and hats.
- Switch Plate Style Swap: Vintage plates elevate a room fast. Pro tip: Check fitolder plates can vary in size.
Kitchen and Dining Reworks (45–48)
- Tea Cups to Candle Holders: Wax + wick = cozy. Pro tip: Use a heat-safe base and don’t overfill.
- Cutting Board to Serving Board: Sand and oil with food-safe finish. Pro tip: Add handles for function and flair.
- Old Tray to Ottoman Top: Attach to a pouf or stool. Pro tip: Use non-slip pads underneath.
- Cookie Tin to Snack Organizer: Add dividers for packets. Pro tip: Label sections so it stays organized longer than 48 hours.
How to Make Flea Market Finds Look Expensive (Without Lying to Your Wallet)
Want that “custom designer” vibe? It’s usually a mix of small upgrades that add up:
- Unify the finish: One paint color across mismatched pieces creates a collection look.
- Swap hardware: New pulls, knobs, and hinges are high-impact and often low-cost.
- Add legs: Furniture legs can modernize a piece in under an hour.
- Use the right sheen: Matte hides flaws; satin is durable; gloss shows everything (including regret).
- Seal smartly: Tabletops and vanities deserve a tough topcoat.
Common Mistakes (AKA How to Avoid “Why Did I Buy This?”)
- Skipping measurements: Bring a tape measure. Your car trunk will thank you.
- Buying based on cuteness alone: Check structural integrity first. Cute is not a load-bearing trait.
- Over-sanding veneer: Veneer is thin. Sand gently and stop early.
- Ignoring odor: Some smells don’t leavethey move in and start paying rent.
- Underestimating time: If you want a weekend project, don’t buy a “minor repair” that needs a full rebuild.
Extra: of Real-World Flea Market Experience and Lessons
Ask anyone who loves flea market flips and you’ll hear the same truth: the best finds rarely look like “the best finds” at first glance. They look like a scuffed table with a suspicious stain, a chair missing one screw, or a basket that’s somehow both charming and slightly haunted. But there’s a rhythm to flea market success, and once you catch it, you start shopping with different eyes.
First, there’s the early-bird advantage. The morning crowd tends to move fast, and vendors often bring out their most interesting pieces earlybefore the sun gets too ambitious and everyone’s patience starts melting. But the flip side is the end-of-day magic, when sellers are more likely to negotiate because they don’t want to pack everything back up. If you’re hunting for big furniture, late afternoon can be a sweet spot: fewer people, more deals, and less chance of someone else swooping in like a caffeinated seagull.
Second, experienced thrifters learn to love the “almost.” An “almost perfect” dresser with dated hardware is basically a giftbecause hardware is one of the easiest upgrades on earth. Same with anything that’s the wrong color but the right shape. Paint exists. Sandpaper exists. The key is recognizing good bones: sturdy frames, solid wood, clean lines, and drawers that slide like they’re not carrying emotional baggage.
Third, flea market projects teach you to keep a small toolkit of predictable fixes. Wobbly legs often need tightened fasteners or wood glue and clamps. Sticky drawers usually need cleaning, wax, or new slides. Rust? Often manageable. Chips? Wood filler. The more you do, the less intimidating it getsuntil you realize you’re casually explaining “deglossing” at dinner like it’s a personality trait.
And then there’s the thrill of the “weird find.” Maybe it’s an old ladder that becomes a blanket rack, or a vintage suitcase that turns into storage with character. These pieces make a home feel layered and personal, because they don’t look like they arrived in a box labeled “ASSEMBLE YOUR IDENTITY.” The best part is that flea market style doesn’t demand perfection. A tiny dent in a brass planter? That’s patina. A faint scratch on a wooden tray? That’s “history.” In a world of disposable everything, it feels good to rescue something, give it a purpose, and enjoy a space that looks collected instead of copied.
Finally, you learn the most important flea market skill of all: knowing when to walk away. Sometimes the best project is the one you don’t buybecause it’s too far gone, too smelly, too fragile, or too big for the life you actually live. The goal isn’t to bring home everything. The goal is to bring home the right things, then turn them into something you’re proud to use every day.
Conclusion
When you rethink flea market finds, you’re not just saving moneyyou’re building a home with stories. With the right inspection habits, smart cleaning, and a shortlist of reliable makeover methods, you can turn overlooked items into standout decor that feels intentional, unique, and surprisingly polished. Pick one small project from the list, finish it, and watch how quickly “I might” becomes “I did.”