


Suspect he’s lying but do not want to sound dramatic? This guide explains how to tell a...
What does it really feel like to step inside the home of a Dutch artist? This in-depth...
Commune’s black-and-white concrete tiles are more than a surface choicethey are a design statement with staying power....
AMD, or age-related macular degeneration, can quietly change how you read, drive, and recognize faces long before...
Thinking about buying the Frigidaire EFIC103 countertop ice maker? This in-depth review breaks down its fast 26-lb-per-day...

Summer squash is a versatile vegetable that can be cooked in many ways. From roasted to air-fried,...
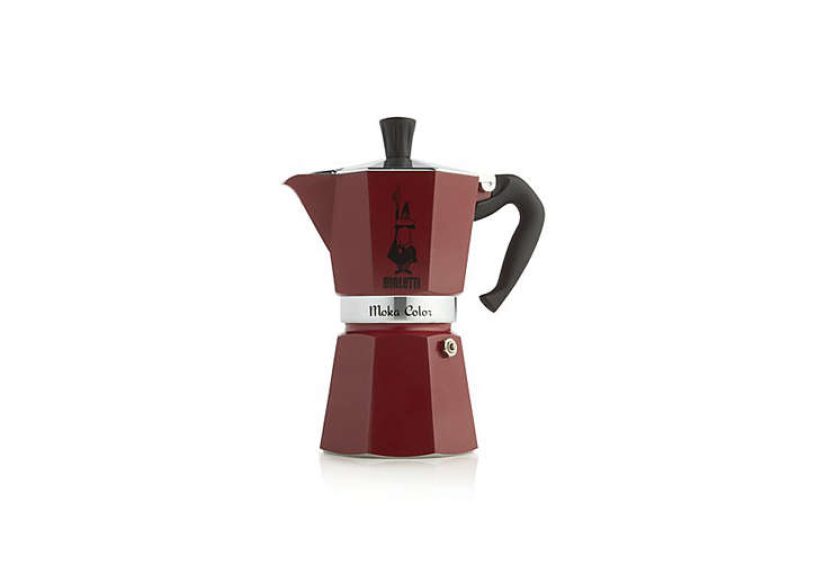
The Bialetti Red Moka 6-Cup Espresso Maker blends iconic Italian design with rich stovetop coffee performance. This...

Want a midcentury modern bedroom that feels like the French Rivierabright, breezy, and effortlessly chic? This guide...

Wondering whether your liver is finally on the mend? This in-depth guide explains the real signs of...

Wondering whether tampons for swimming actually work? This in-depth guide explains how to swim on your period...