


Scrungy cats are the internet’s funniest accident: a split-second yawn, sneeze, pounce, or “what is that smell?”...
K J usually refers to kJ, or kilojoule, a standard unit of energy used in science and...
A black line on your nail can come from a harmless bruise, pigment change, infection, medication, or...
Looking for the best Harbor Freight hand tools? This in-depth guide breaks down eight standout picks that...
Steam not responding on your PC can turn a quick gaming session into a full-blown troubleshooting quest....

A nautical rope light can bring warmth, texture, and coastal character to a room, but only if...

Want a kitchen that feels artistic, modern, and genuinely livable? This in-depth guide breaks down how to...

Tooth cavities may start as tiny, silent weak spots in enamel, but they can quickly become painful,...

A rare 2,000-year-old commander statue has emerged from China’s Terracotta Army, and it is far more than...
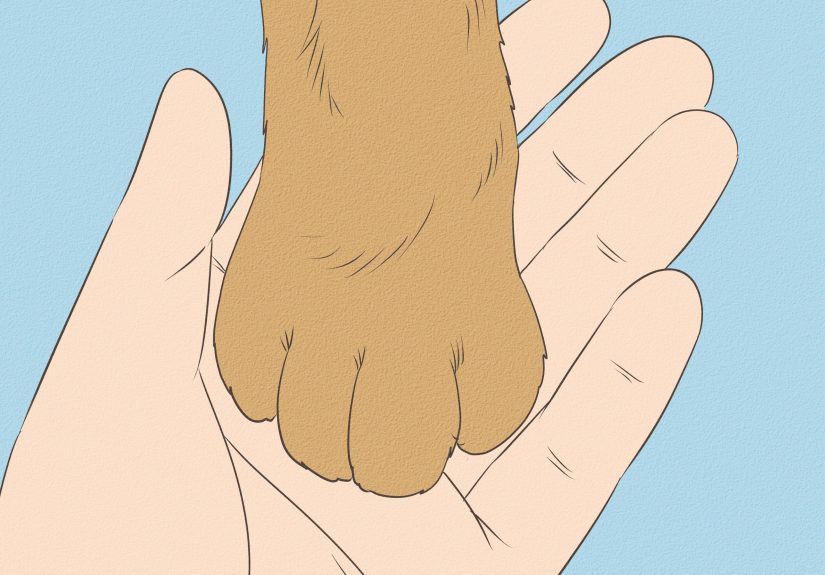
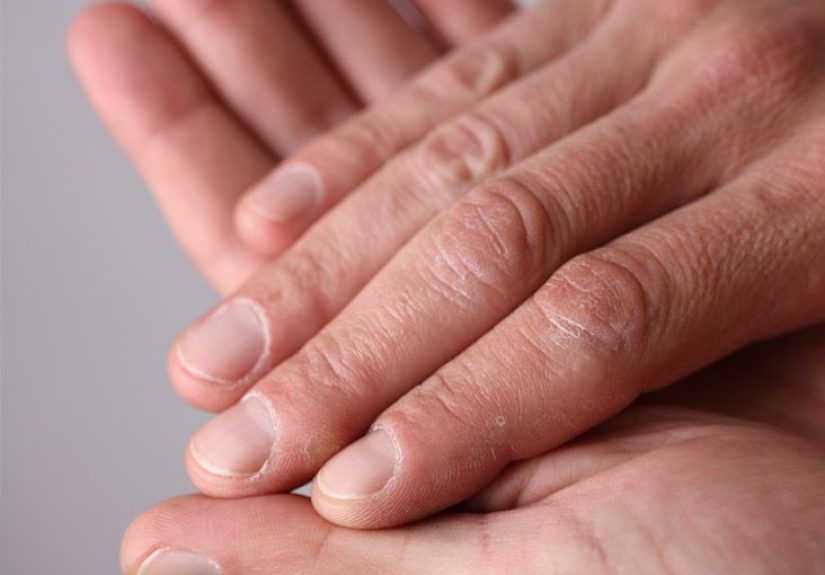
Deformed cat nails are more than a grooming issue. This in-depth guide explains how to tell whether...