Table of Contents >> Show >> Hide
- What “Boil” Really Means When You’re Heating Cream
- Choose the Right Cream First (Yes, It Matters)
- The Foolproof Method: Bring Cream to a Boil Without Scorching
- Three Common Use Cases (And the Exact Heat Level You Want)
- How to Prevent the Two Big Cream Disasters
- Double Boiler Option: The “I Refuse to Scorch Anything” Method
- What If Your Cream Sauce “Breaks” or Looks Grainy?
- Frequently Asked Questions
- Conclusion: Cream Boiling Without the Drama
- Extra: of Real Kitchen Experiences Bringing Cream to a Boil
“Bring the cream to a boil.” Four words that look harmless on a recipe card… right up until your pot foams up like a science-fair volcano,
the bottom scorches, and you’re standing there whisking like you’re trying to summon rain.
Here’s the good news: most recipes don’t actually need a wild, rolling boil. They need cream heated almost to boiling (a simmer or “scald”),
or brought to a brief boil and then immediately reduced. If you learn the cues, the temperatures, and a couple of chef-y safety moves,
you’ll get smooth sauces, glossy ganache, and creamy soupswithout the boil-over drama.
What “Boil” Really Means When You’re Heating Cream
In cooking, “boil” gets used loosely. With cream, the difference matters because cream can foam, scorch, or separate when combined with acid or intense heat.
Let’s translate common recipe language into what you should do at the stove.
Key temperature zones (and what they look like)
- Warm/steaming (about 140–170°F): steam rises, but the surface is calm. Great for gently reheating cream sauces.
-
Scalded / “hot cream” (about 175–185°F): tiny bubbles cling to the edges; the surface shimmers; it’s very hot but not boiling.
This is the sweet spot for steeping flavors (vanilla, herbs) or making ganache without stressing the dairy. - Simmer (roughly 180–205°F): small bubbles rise slowly from the center, not a constant roar. Ideal for reducing cream into sauce.
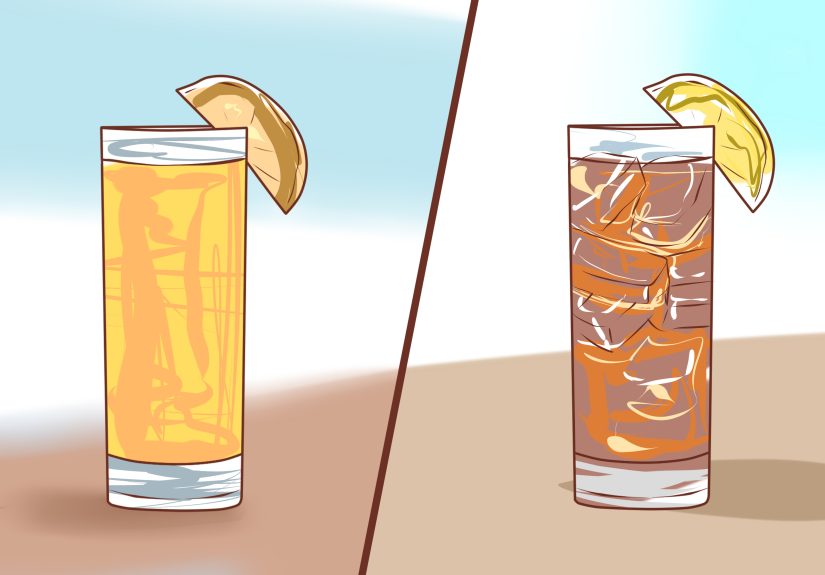
- Boil (around 212°F at sea level): rapid, rolling bubbles across the surface. With cream, this can foam fast and boil over fast.
Also: altitude changes boiling temperature. If you’re far above sea level, liquids boil at lower temperatures, so visual cues can shift a bit.
When in doubt, use a thermometer and aim for the zone your recipe truly needs.
Choose the Right Cream First (Yes, It Matters)
“Cream” isn’t one productit’s a whole family. The higher the fat, the more stable it tends to be under heat.
That’s why heavy cream is the MVP for boiling and reducing.
Quick guide
- Heavy cream / heavy whipping cream: most heat-stable; best for boiling, reducing, and creamy sauces.
- Whipping cream: usually slightly lighter than heavy cream; still fairly stable but can be more finicky when reduced hard.
- Half-and-half: more likely to curdle or separate if boiled aggressively.
- Light cream / coffee cream: less stable; use gentler heat and avoid a true boil.
If your recipe includes acidic ingredients (wine, lemon, tomatoes, vinegar), stability depends not only on fat, but on timing.
You can often prevent curdling by reducing the acidic component first, lowering heat, then adding cream.
The Foolproof Method: Bring Cream to a Boil Without Scorching
This is the reliable, repeatable technique you can use for sauces, soups, and reductions.
It’s written like a checklist because cream is the kind of ingredient that rewards a plan.
Step 1: Pick the right pot (bigger than you think)
Use a heavy-bottomed saucepan or saucier. Choose one with extra headspaceat least double the volume of the cream.
Cream foams as it heats, and the moment it boils, it can climb the sides like it has somewhere important to be.
Step 2: Start with medium heat and stay present
Pour in the cream and set the burner to medium (or medium-low if your stove runs hot).
Stir occasionally with a whisk or silicone spatula, scraping the bottom to prevent hot spots.
Step 3: Watch for the “edge bubbles” signal
When tiny bubbles appear around the perimeter and steam rises steadily, you’re in the scald/simmer neighborhood.
If your goal is ganache or steeping, you can stop here.
If your goal is a true boil (for a recipe that specifically calls for boiling and reducing), keep goingbut be ready.
Step 4: Control the moment it reaches boil
As soon as the surface begins to move with larger, faster bubbles, the cream can foam up quickly.
Do this immediately:
- Lower the heat to maintain a gentle boil or simmer.
- Stir to break up foam and even out temperature.
- If it threatens to boil over, lift the pot off the heat for a few seconds, then return at a lower setting.
Step 5: If reducing, keep it at a simmer (not a raging boil)
For cream sauces, “boil then simmer” usually means: bring it up quickly, then reduce to a calm simmer.
Simmering evaporates water steadily and thickens the cream without scorching as easily as a full boil.
Stir more frequently as it thickensthicker cream scorches faster.
Three Common Use Cases (And the Exact Heat Level You Want)
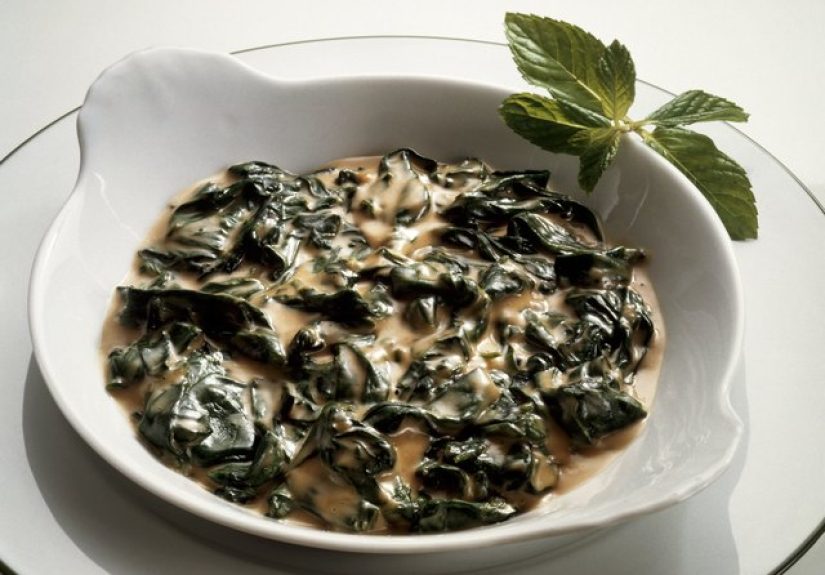
1) Reducing cream for a sauce (Alfredo, peppercorn, pan sauces)
Goal: thicken and concentrate flavor. Best zone: simmer (small bubbles, steady steam).
- Bring cream to a brief boil, then immediately lower to a gentle simmer.
- Simmer uncovered, stirring often, until it coats the back of a spoon.
- Add cheese or butter off heat or on very low heat to prevent graininess or separation.
Pro tip: If you’re adding garlic, shallots, or wine, sauté/reduce those first. Then add cream so the acid and alcohol aren’t attacking your dairy at full force.
2) Heating cream for chocolate ganache
Goal: hot enough to melt chocolate smoothly. Best zone: scalded / just-simmering (edge bubbles, not roaring).
- Heat cream until you see bubbles at the edges and lots of steam.
- Remove from heat before a full boil (or right as it begins), then pour over chopped chocolate.
- Let it sit briefly, then stir from the center outward until glossy.
Why gentler heat helps: overheated cream can make ganache look oily or split, especially if the chocolate is already warm or if you stir aggressively too soon.
3) Infusing cream (vanilla bean, tea, herbs, spices)
Goal: pull flavor into fat without scorching. Best zone: scalded.
- Heat cream to edge bubbles (about 180°F if you’re using a thermometer).
- Add your flavoring, cover, and steep off heat.
- Strain, then rewarm gently if needed.
How to Prevent the Two Big Cream Disasters
Disaster #1: Scorching (burnt bits on the bottom)
Scorching happens when the bottom of the pot gets hotter than the cream above it. Prevent it with these moves:
- Use a heavy-bottom pan to distribute heat.
- Stir and scrape the bottom, especially as the cream thickens.
- Avoid high heat unless you’re bringing it up fastand even then, don’t walk away.
- Consider a double boiler for very gentle heating (great for delicate sauces).
Disaster #2: Boil-over (cream everywhere, including places cream should never be)
Cream boils over because it foams. Foam expands quickly, and then gravity does the rest.
- Use a larger pot than you think you need.
- Lower heat the moment bubbles accelerate.
- Stir to collapse foam.
- Lift the pot off heat for a few seconds if it rises.
Double Boiler Option: The “I Refuse to Scorch Anything” Method
If you’re heating cream for custards, delicate sauces, or you just want maximum control, use a double boiler (or a heatproof bowl set over simmering water).
The indirect heat is gentler and helps prevent scorching.
- Put 1–2 inches of water in a saucepan and bring it to a simmer (not a rolling boil).
- Set a heatproof bowl on top so it fits snugly and doesn’t touch the water.
- Add cream to the bowl and stir as it warms.
- Heat to your target zone (scald/simmer) using a thermometer or visual cues.
What If Your Cream Sauce “Breaks” or Looks Grainy?
First: don’t panic. Second: don’t crank up the heat “to fix it.” That’s how you go from “slightly split” to “butter slick on top.”
Quick rescue tips
- Lower the heat immediately and whisk gently. Sometimes it re-emulsifies on its own.
- Add a splash of warm cream (or warm water) and whisktiny additions can help bring the emulsion back together.
- Strain if you have little cooked bits or scorched flecks.
- For acidic sauces: reduce the acid first, then add cream at low heat next time.
Frequently Asked Questions
Do I actually need to boil cream?
Often, no. Many recipes say “boil” but really mean “heat until very hot” or “bring to a simmer, then reduce.”
A gentle simmer is usually enough for thickening and flavor concentration.
Can heavy cream curdle?
Heavy cream is fairly heat-stable, but it can still act weird if you combine it with strong acids or boil it hard for too long.
The common fix is to reduce acids first, then add cream gently.
Why does cream foam more than milk?
Cream has more fat and different proteins than milk, and agitation plus heat creates a stable foam.
That foam expands as steam formsso the pot can go from “fine” to “kitchen crime scene” quickly.
Should I use a thermometer?
If you make custards, ganache, or cream sauces often, yesan instant-read thermometer turns “guessing” into “repeatable results.”
But you can also do this by sight: edge bubbles for scald, slow center bubbles for simmer, full surface bubbles for boil.
Conclusion: Cream Boiling Without the Drama
Bringing cream to a boil is less about bravery and more about control. Choose the right cream, use the right pan, heat it steadily,
and treat the moment it boils like a turning pointbecause it is. Most of the time, the best results come from stopping at scald or simmer,
then reducing gently. Once you know what you’re looking for (edge bubbles, steady steam, small simmer bubbles), cream becomes one of the easiest,
most luxurious building blocks in your kitchen.
Extra: of Real Kitchen Experiences Bringing Cream to a Boil
The first time I tried to “bring cream to a boil,” I treated it like boiling water: crank the heat, walk away, come back when it’s bubbling.
Cream taught me a quick lessonbecause it doesn’t announce its plans politely. It goes from quiet to foamy in what feels like one dramatic breath.
I turned my back to grab parmesan, and when I turned around, the cream had inflated into a fluffy cap that was already climbing the pan.
I learned the most important cream rule that day: never leave it unattended in the last minute.
My second big lesson came from reducing cream for pasta. I assumed “more bubbles” meant “faster thickening,” so I kept it at a strong boil.
The sauce did thickenbut the bottom also developed a faint toasted smell, like warm milk in a forgotten mug.
Not exactly the vibe for date-night Alfredo. Now I reduce cream the way it prefers: bring it up hot, then settle it into a gentle simmer,
stirring more often as it thickens. The sauce takes a touch longer, but it stays clean-tasting and silky.
Ganache was another humbling moment. Some recipes say “bring cream just to a boil,” and I took that literallyfull rolling boil.
The ganache came together, but it looked slightly greasy at the edges after cooling. It wasn’t ruined, but it wasn’t that perfect glossy finish either.
Since then, I aim for “edge bubbles and lots of steam,” then I pull it off the heat.
That small change makes the chocolate melt more calmly and keeps the texture smoother.
I also learned to chop chocolate finer than I think I needbecause big chunks tempt you to stir aggressively, and aggressive stirring too early can make ganache look grainy.
The funniest cream experience, though, was discovering how much the pot matters. In a thin pan, cream heated unevenly:
the center would boil while the edges stayed calm, and I’d get little scorched flecks that made me question my life choices.
Switching to a heavier-bottomed saucepan instantly improved everythingmore even heat, fewer surprises, and no mysterious “freckles” in my sauce.
Finally, I learned a quiet, underrated trick: when cream is close to boiling, stirring isn’t just mixingit’s temperature control.
A few slow stirs distribute heat and collapse foam before it turns into a boil-over.
Now, when a recipe says “bring cream to a boil,” I translate it automatically:
“Heat to very hot, watch for bubbles, then lower the heat and keep it gentle.”
It’s not as dramatic as a rolling boil, but the results taste betterand my stovetop stays cream-free, which is the real culinary victory.