


Silicone bakeware is famously easy to use, but it can still turn sticky, stained, or smelly over...
What is the first week at a new job really like? This in-depth story from My First...
Local SEO is evolving fast, and the businesses that win are the ones that make trust easy....
Can breastfeeding parents still enjoy coffee? In many cases, yes. This in-depth guide explains how caffeine passes...
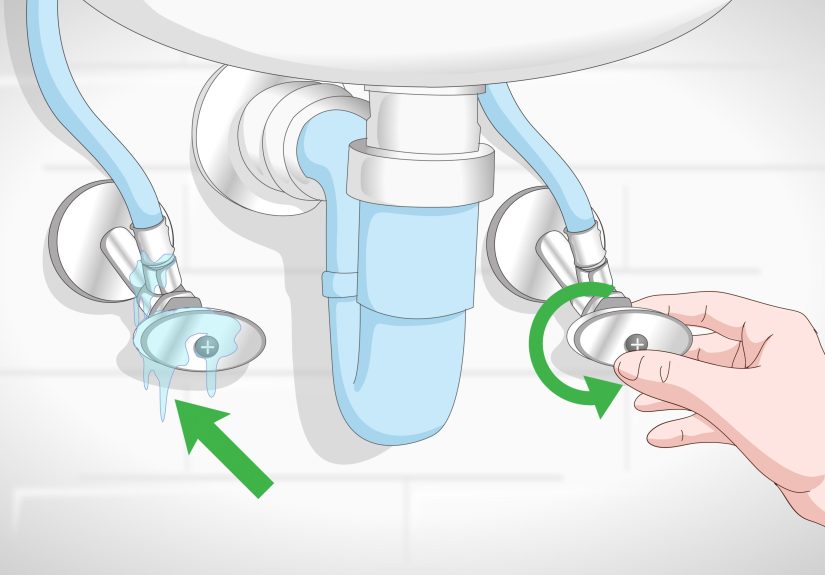
Replacing a bathroom sink sounds intimidating, but most top-mount and undermount swaps are DIY-friendly with the right...

Cabinet hardware may be small, but designers say it can make or break a kitchen. This in-depth...

Cat peeing on the floor is frustratingbut it’s usually fixable. This fun, practical guide breaks the problem...

Stress and Hereditary Angioedema can be a frustrating pair, but the right plan can make daily life...

Still running Windows Home Server 2011? This in-depth guide explains how to connect a Windows PC or...
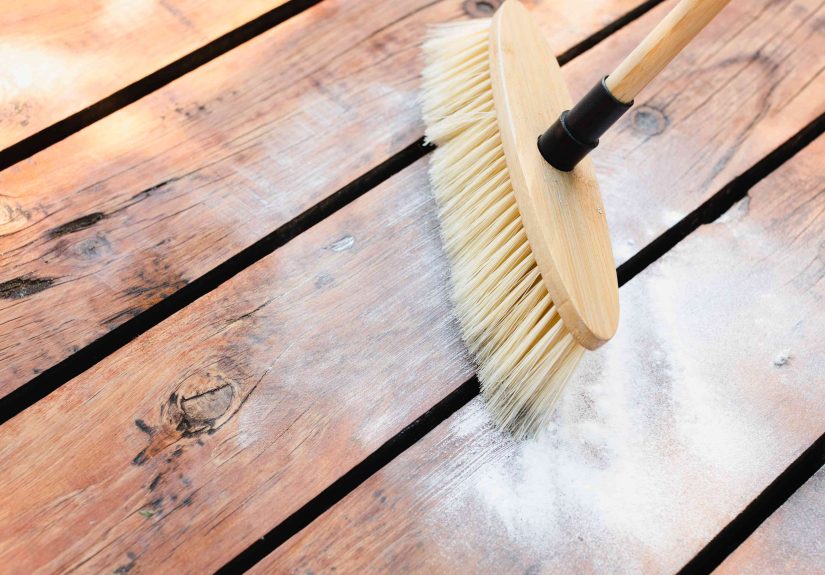
Bad smells under an outdoor deck usually come from moisture, mildew, animal waste, a dead animal, or...