


Fatty liver disease is often discovered through routine blood work, but abnormal liver enzymes are only the...
Want a home that looks stylish without spending a small fortune (or living in a renovation zone)?...
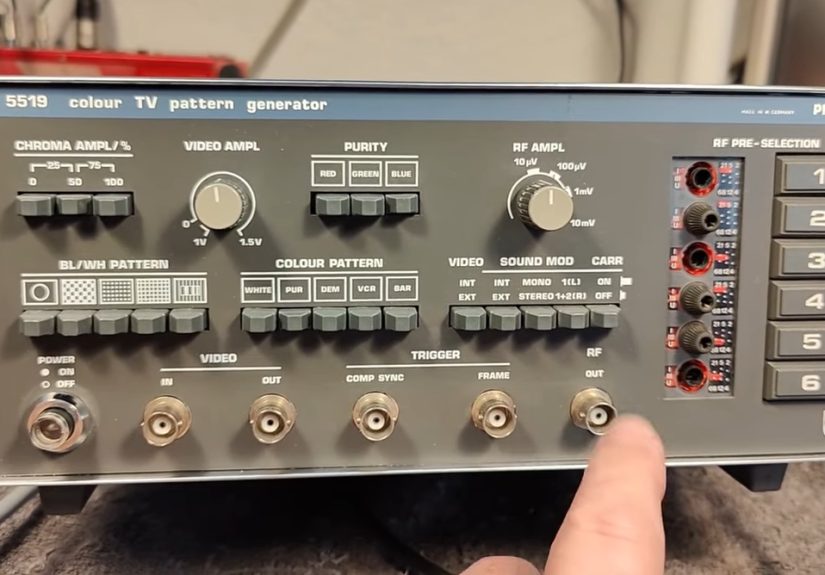
A 1981 TV pattern generator is more than retro techit’s a precision tool for diagnosing CRT geometry,...
Who are the most badass television characters on recent TV? This in-depth ranking breaks down 10 unforgettable...
Cheating prevention in WebAssign isn’t about turning your course into a spy movieit’s about smart design and...
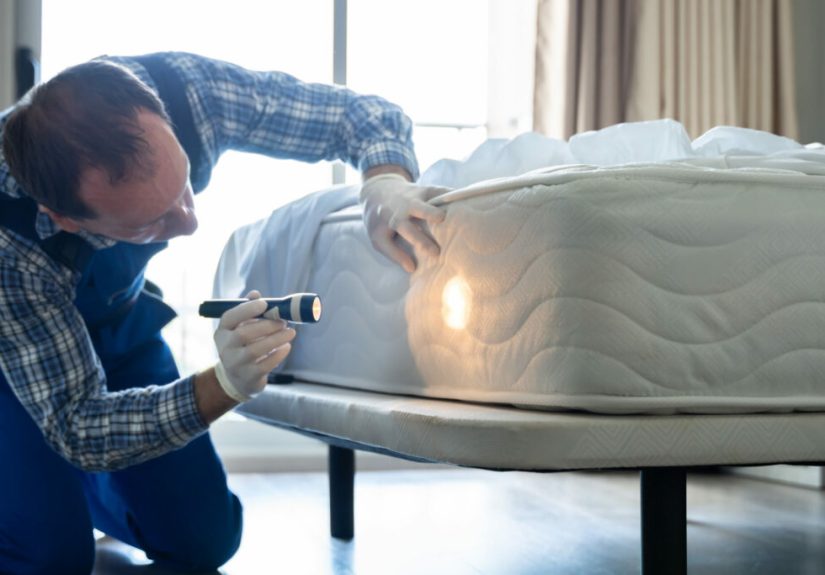
Worried about bed bugs? This in-depth guide explains how to check for bed bugs step by step,...

Scabies may be tiny, but the itching, rash, and stress it causes can feel enormous. This in-depth...

Millennials are no longer the health care system’s future customersthey are its busy, stressed, cost-conscious core users...

Want stylish storage without spending a fortune? This in-depth guide shows you how to make DIY floating...

Equal pay for women is about more than one paycheck. This in-depth article explains how career choices,...