


The 2025 holiday season is arriving with sparkle on the surface and stress underneath. Across the U.S.,...
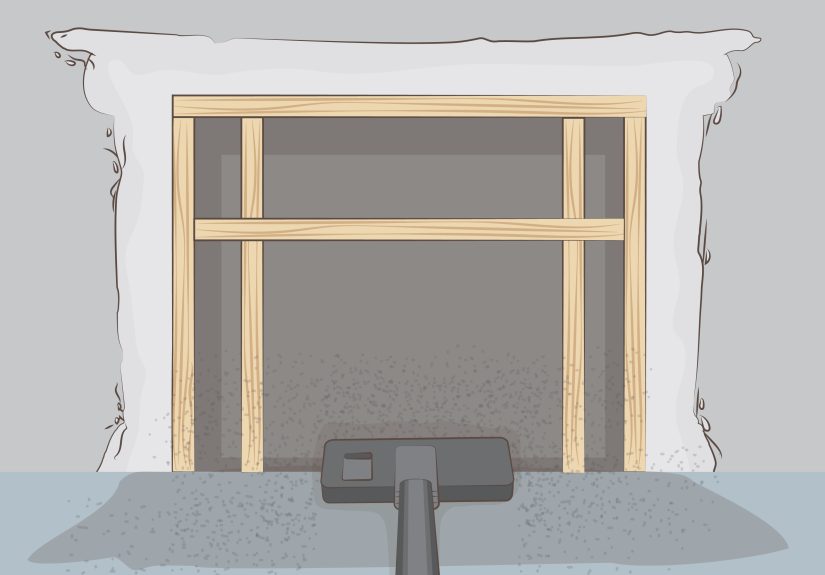
Removing a fireplace insert sounds simpleuntil you meet the hidden screws, the chimney liner, and 300+ pounds...
Fall 2024 design is all about homes that feel warmer, richer, and more personal. This forecast breaks...
Modern workflow automation helps teams replace repetitive manual tasks with smart, repeatable processes that move work faster...
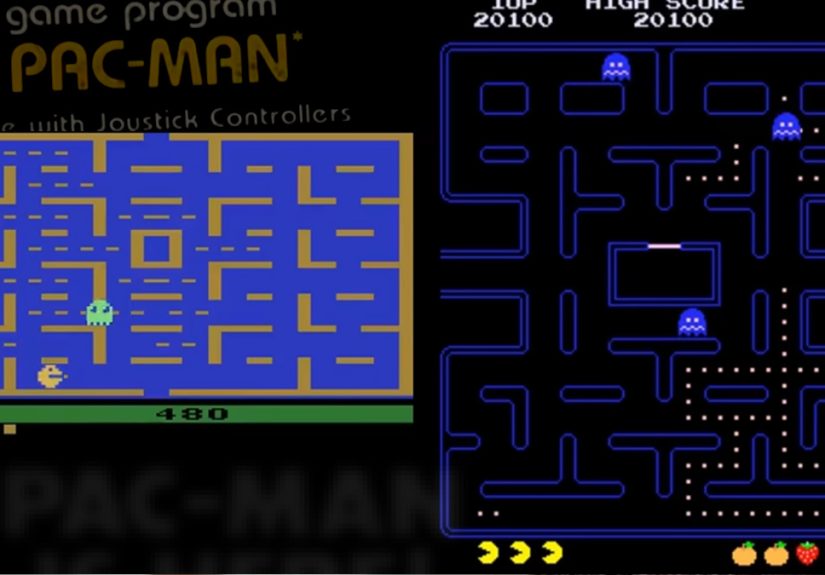
Atari’s Pac-Man for the 2600 looked like a guaranteed win: the hottest arcade game in America, the...

Social (Pragmatic) Communication Disorder can be easy to miss because many children with it know words, understand...

What does ~Lilmisspositive~ really represent online? This in-depth article explores the rise of positivity-driven personal brands, why...

Cleaning your home after illness does not have to mean scrubbing every inch in a panic. This...

A squeegee isn’t just for windowsit’s a surprisingly powerful cleaning tool for real-life messes. In this guide,...

Night float as a medical student is a crash course in triage, communication, and staying functional when...