


Death may look like a single moment, but modern science shows it behaves more like a process....
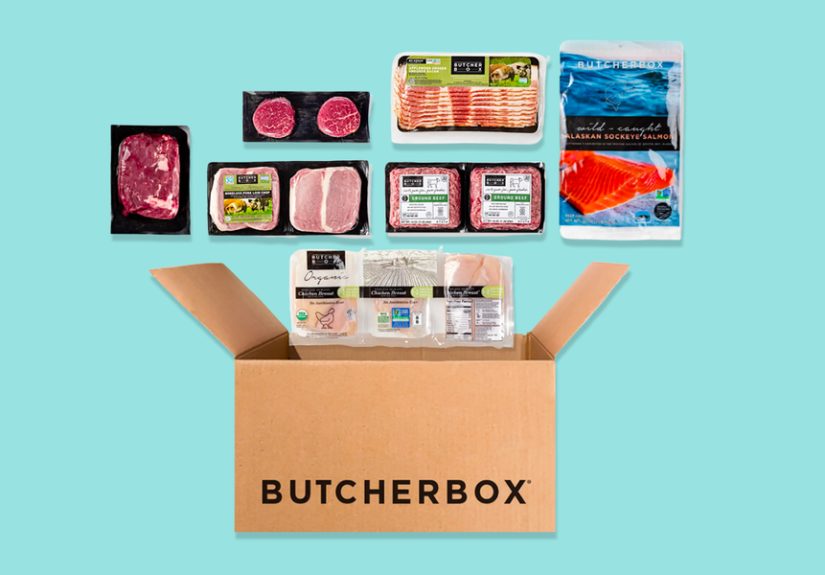
Is ButcherBox worth it in 2024, or is it just a freezer-filling fantasy with fancy packaging? This...
Stephen Hawking’s name resurfaced in Epstein-related documents and online rumors exploded. This in-depth article breaks down what...
Wondering what actually works for knee pain? This in-depth guide explains the best medications for knee pain,...
Thinking about buying the Toro Titan Max? This in-depth review breaks down what the mower does well,...

Firefox showing old pages, broken layouts, or weird loading issues? This in-depth guide explains how to clear...

Renting does not mean settling for bland walls, bad lighting, and awkward storage. This in-depth guide shows...
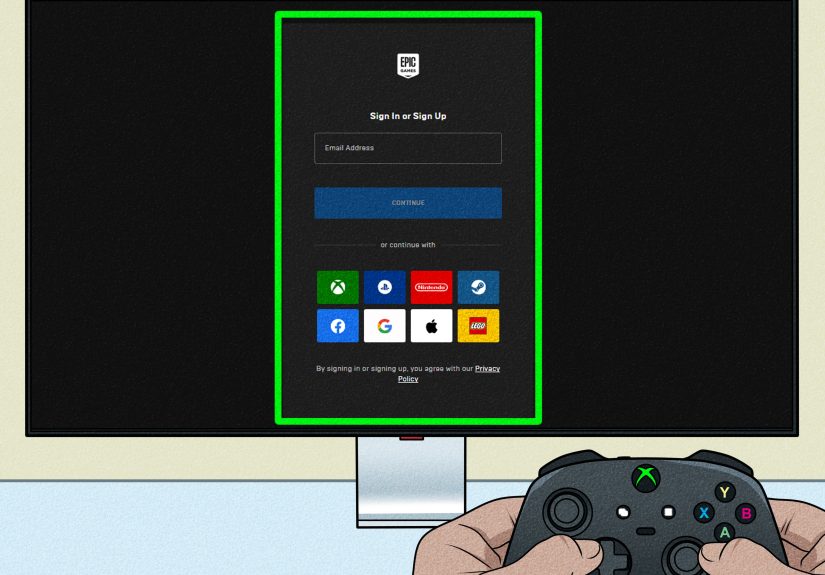
Wondering if Fortnite still needs Xbox Live? Good news: it does not. Fortnite is free to play...

Planning a party gets easier when you stop guessing and start using simple math. This guide breaks...

Want to kiss a girl smoothly without turning the moment into an awkward weather report? This guide...