Table of Contents >> Show >> Hide
- Step 1: Learn the parts (because the lid is the boss)
- Step 2: Set up a safe baking station
- Step 3: Clean it and do a quick “first-use burn-in”
- Step 4: Choose bakeware that fits and allows airflow
- Step 5: Pick the right rack (this is secretly the real thermostat)
- Step 6: Convert the recipe (temperature first, then time)
- Step 7: Preheat (sometimes) for better rise and structure
- Step 8: Load the oven for airflow (don’t overcrowd)
- Step 9: Control browning like a pro (foil is a tool, not a defeat)
- Step 10: Test doneness with something better than vibes
- Step 11: Finish strongrest, vent steam, then clean smart
- Why the “lower temp + check early” rule works
- What bakes beautifully in a halogen oven (and what needs extra care)
- Advanced conversion tips (for when you want to get nerdy)
- Quick example conversions (so you’re not doing math with flour on your hands)
- Troubleshooting (fast fixes)
- Real-Life Baking Notes: 500-ish Words of Halogen Oven Experience
- Conclusion
A halogen oven is a countertop convection oven with a spotlight: a halogen bulb that heats fast, plus a fan that pushes hot air around the glass bowl. That combo can bake quicker and brown more enthusiastically than a full-size ovenawesome when you’re ready for it, rude when you’re not.
This guide walks you through 11 practical steps (with a little humor and a lot of “learn-from-my-mistakes” energy) so you can convert regular recipes, avoid burnt tops, and turn your halogen oven into a reliable baking sidekick.
Step 1: Learn the parts (because the lid is the boss)
In most halogen ovens, the heating element and fan live in the lid. That means the lid gets hot, controls everything, and should be handled like the electrical appliance it is. Get comfortable with the handle/safety switch, lid holder, and the high/low racks before you bake.
Step 2: Set up a safe baking station
Place the oven on a flat, heat-resistant, non-flammable surface with a little breathing room around it. Make sure the glass bowl is seated on its base and isn’t chipped or cracked. Keep kids, pets, and dangling sleeves at a respectful distance.
Step 3: Clean it and do a quick “first-use burn-in”
Wash the glass bowl and racks, dry completely, then run the empty oven at maximum temperature for about 5 minutes to burn off manufacturing odors. Let it cool, wipe once more, and now your brownies won’t taste like “new appliance.”
Step 4: Choose bakeware that fits and allows airflow
Use oven-safe metal, silicone, or tempered glass pans that fit comfortably inside the bowl without touching the sides. Airflow is part of how a halogen oven heats, so cramped pans lead to uneven baking.
Helpful rule: Low-sided pans (or smaller tins) tend to bake more evenly than deep, tall dishes that block circulating air.
Step 5: Pick the right rack (this is secretly the real thermostat)
The high rack sits closer to the heat source for browning and crisping. The low rack is usually best for baking because it reduces “burnt top, raw middle” drama.
- Cakes & quick breads: low rack, pan centered.
- Cookies: low rack for even baking; use the high rack only for a quick finish if you want more color.
- Pizza/flatbreads: high rack for a crisp topjust watch browning closely.
Step 6: Convert the recipe (temperature first, then time)
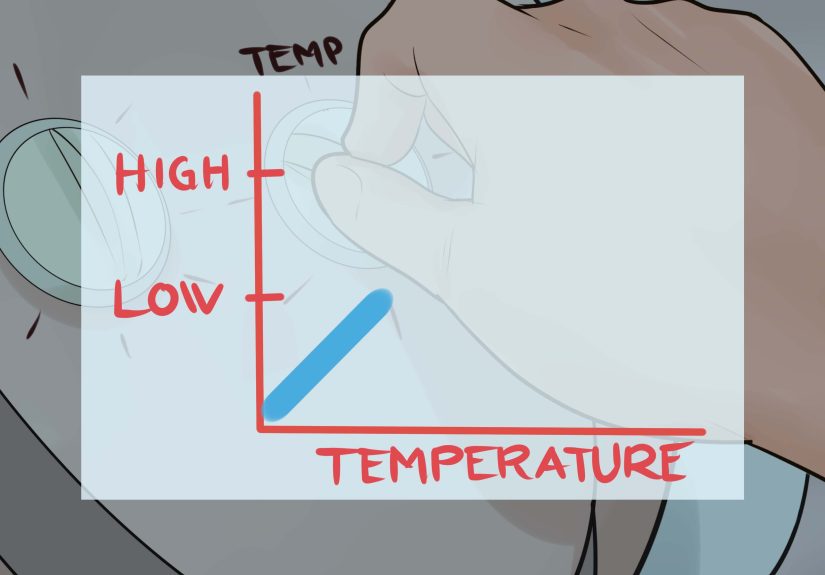
Most recipes assume a conventional oven. A halogen oven behaves more like convection, so start here:
- Lower the temperature by about 25°F.
- Start checking 10–20% early. Small items like cookies can finish even sooner.
If your recipe is already written for convection, you may not need a temperature changejust keep an eye on timing. An inexpensive oven thermometer is a great idea if you suspect your unit runs hot.
Step 7: Preheat (sometimes) for better rise and structure
Many halogen ovens heat quickly and are marketed as “no preheat needed.” For baking, a short 3–5 minute preheat helps stabilize the temperatureespecially for cakes, muffins, and quick breads that need a consistent start to rise well.
Step 8: Load the oven for airflow (don’t overcrowd)
Leave a little space between your pan and the glass wall so hot air can circulate. If you’re baking two things at once, keep them similar in size and bake time. And once the lid is on, try not to lift it every two minuteseach peek dumps heat.
Step 9: Control browning like a pro (foil is a tool, not a defeat)
If the top browns before the center is done:
- Move from high rack to low rack (or stay on low from the start).
- Lower temp 10–15°F and extend bake time.
- Tent loosely with foil to slow top browning.
- Rotate the pan halfway through if one side gets darker.
Step 10: Test doneness with something better than vibes
- Cakes/quick breads: a toothpick comes out with moist crumbs, not wet batter; the top springs back lightly.
- Cookies: edges set, centers slightly soft (they firm as they cool).
- Savory bakes with meat: use a thermometer and follow safe minimum internal temperatures.
Step 11: Finish strongrest, vent steam, then clean smart
Lift the lid carefully (steam is real), move baked goods to a cooling rack, and vent steam if you want crispness. Let the unit cool completely before cleaning.
- Glass bowl and racks are often dishwasher safe; check your manual.
- Wipe the lid with a damp clothnever immerse the lid.
Why the “lower temp + check early” rule works
In a fan-driven oven, moving air transfers heat to food more efficiently than still air. That’s why convection-style baking often finishes sooner and browns more evenlyespecially on foods with lots of exposed surface area (think cookies, scones, roasted fruit, sheet-pan bakes). The flip side is that the same efficiency can dry out delicate items or brown the top faster than the center can set. Lowering the temperature helps slow surface browning so the interior has time to bake through, and checking early keeps you from overbaking just because the recipe’s clock says so.
If your halogen oven has a temperature dial that feels more like a “suggestion wheel,” don’t worry. Your goal isn’t perfection on day oneit’s consistency. Once you know whether your unit runs hot or fast, you’ll convert recipes confidently (and stop negotiating with your cupcakes).
What bakes beautifully in a halogen oven (and what needs extra care)
Great candidates: cookies, brownies and bars, scones, biscuits, small cakes, fruit crisps, baked potatoes, hand pies, and sheet-pan dinners. These foods like steady heat and benefit from convection-style browning.
Needs extra attention: tall layer cakes, very delicate custards, soufflés, and anything that relies on a gentle, humid environment. The fan’s airflow and the close heat source can dry surfaces or disrupt structure. You can still bake these, but use the low rack, consider a short preheat, lower the temperature slightly, and avoid frequent lid-lifting.
Pro tip: If you’re baking something tall (like a domed cake or a high-rise loaf), measure your pan height and make sure there’s plenty of clearance so the top doesn’t get too close to the lid. A little headroom prevents “accidental broiling.”
Advanced conversion tips (for when you want to get nerdy)
- Start with temperature, then adjust time: Many bakers find that dropping temperature gives more predictable results than slashing time right away. Once the color looks right, you can fine-tune time by a few minutes on the next bake.
- Use visual cues: In a glass bowl, you can actually watch browning happen. When the top reaches the shade you want, you can tent with foil to protect it while the center finishes.
- Rotate for hot spots: Even convection ovens can have warmer zones. A quick half-turn at the midway point can even out browning without dramatically cooling the oven.
- Mind moisture: If a cake is drying out, bake a little cooler and avoid overchecking. If cookies are soft, vent steam at the end and let them cool uncovered.
Quick example conversions (so you’re not doing math with flour on your hands)
Cookies: 350°F for 10–12 minutes → try 325°F, start checking at 8 minutes.
Brownies: 350°F for 25–30 minutes → try 325°F, start checking at 20–22 minutes.
Banana bread: 350°F for 55–60 minutes → try 325°F, start checking at 45 minutes; tent with foil if the top browns early.
Troubleshooting (fast fixes)
- Burnt top, raw middle: low rack, lower temp, foil tent.
- Dry cake: too hot/too longdrop temp and check earlier next time.
- Uneven browning: rotate pan; don’t let the pan touch the glass wall.
Real-Life Baking Notes: 500-ish Words of Halogen Oven Experience
The first time you bake in a halogen oven, you’ll probably do what we all do: you’ll set the temp, hit the timer, and feel wildly confident. Then you’ll glance in six minutes later and discover your cookies are already getting a tan. That’s not failureit’s the halogen oven teaching you its main lesson: small space, fast heat, quick browning.
My biggest “aha” was realizing that rack choice is basically a second thermostat. In a standard oven, the heating element feels far away, like an acquaintance you only nod at. In a halogen oven, the heat source is right above your food, close enough to judge your life decisions. I once baked cupcakes on the high rack because I assumed “higher is better.” The tops browned fast while the centers stayed underbaked. Moving the pan to the low rack fixed it immediately. Same batter, same recipe, totally different resultjust from distance to the heat source.
Second lesson: pan shape can make or break your bake. Deep, high-sided dishes block airflow, and airflow is the whole point of fan-driven cooking. When I switched from a tall loaf pan to a slightly wider one, my banana bread baked more evenly and didn’t crack like it was auditioning for a dramatic bakery reveal. Low-sided pans are especially helpful for cookies and bars because they let hot air move freely around the food instead of trapping heat in odd spots.
Third: foil is not surrender; it’s strategy. In a halogen oven, the top can brown early simply because it’s closer to the heat source. A loose foil tent slows browning while the center finishes cooking. The first time I tented a quick bread, it felt like I was “covering up a mistake.” The second time, it felt like competence. If your top is getting dark and the middle isn’t done, foil is your friend.
Fourth: timing is a moving target. The “25 degrees lower” guideline is a great starting point, but bake times don’t always drop by the same percentage. Cookies might finish minutes early, while a dense loaf still needs most of its original timejust at a lower temperature. The trick is to set a check alarm instead of a “done alarm,” then adjust in small increments. After a few bakes, you’ll know whether your unit is a little speedy, a little hot, or both.
Last: cleaning is part of the deal. Because the bowl is glass, you can see everythinggreat for monitoring browning, not great for ignoring splatters. A quick wipe after the oven cools prevents baked-on mess later. And always treat the lid like the electrical device it is: wipe it, don’t soak it. Do that, and your halogen oven will keep cranking out desserts long enough for you to become insufferably proud of your countertop baking skills.
Conclusion
Halogen oven baking is mostly about smart conversion and smart placement: slightly lower temperatures, earlier checks, roomy airflow, and the right rack for the job. Do a few “easy win” bakes, jot down what worked, and you’ll get consistent cookies, better quick breads, and fewer surprise charcoal momentswithout heating up your whole kitchen.