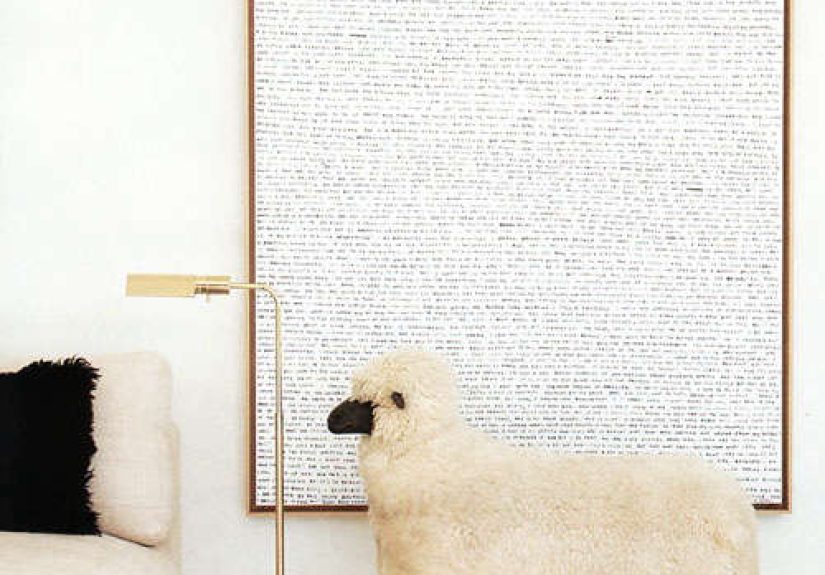


Lalannes-style sheep as decor are more than whimsical accessories. Inspired by the sculptural legacy of Les Lalanne,...
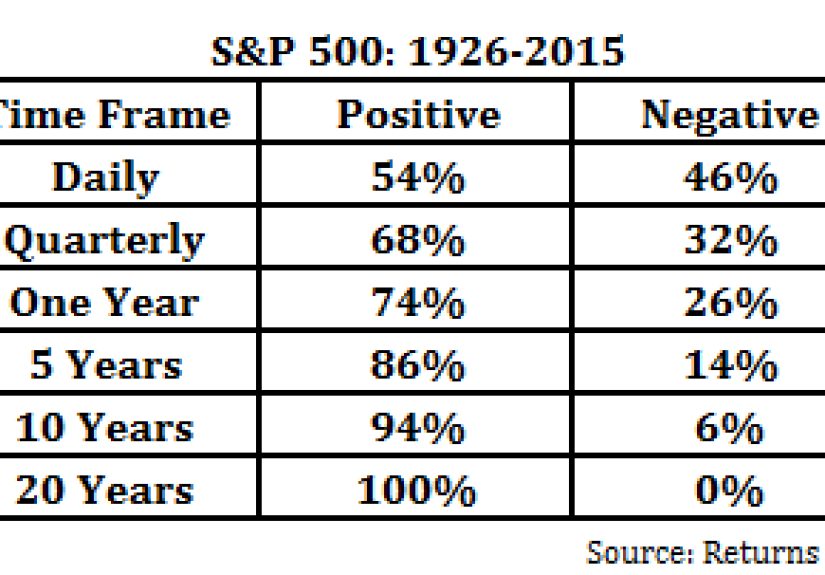
What does it really mean to play the probabilities? This in-depth article explores how probabilistic thinking helps...
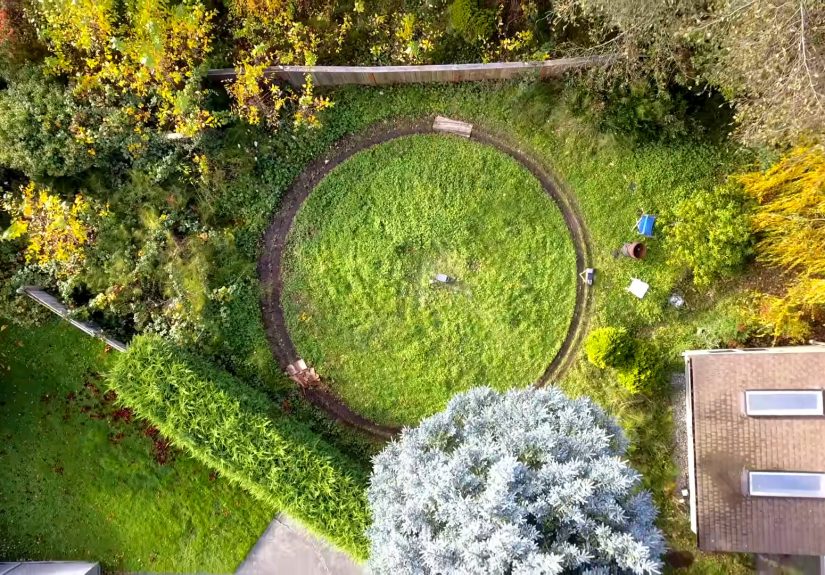
RC car tether testing may look like a wild backyard experiment, but it offers serious lessons in...
Thinking about Otezla for psoriasis? This in-depth guide explains how the oral PDE4 inhibitor works, who may...
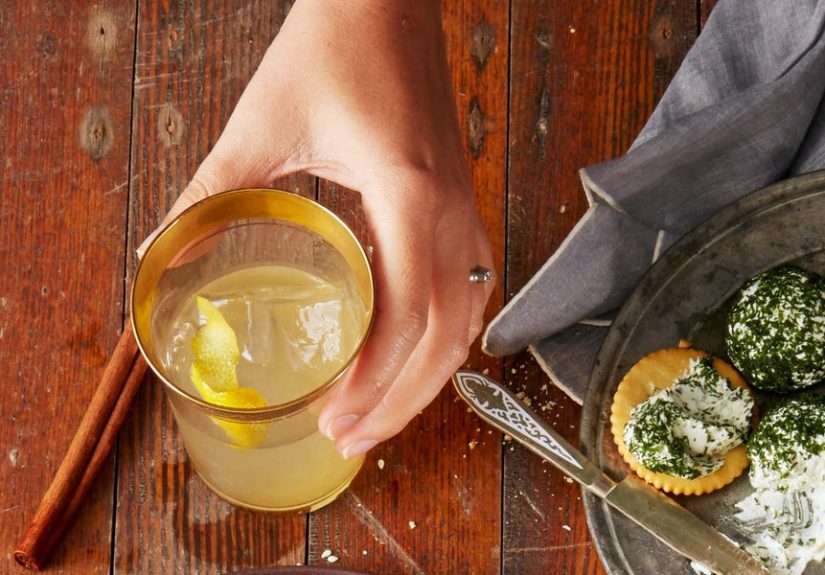
Looking for a bright party drink that feels festive without being fussy? This in-depth guide to citrus...
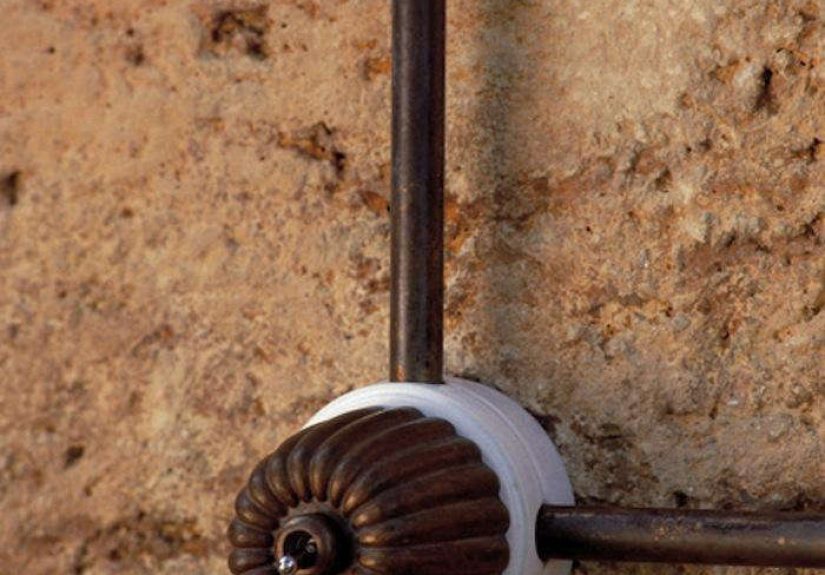
The Art 50/40 Toggle Switch is more than a simple light control. Made with white ceramic and...

Watering roses sounds simple until the leaves droop, the soil cracks, or the blooms start acting like...
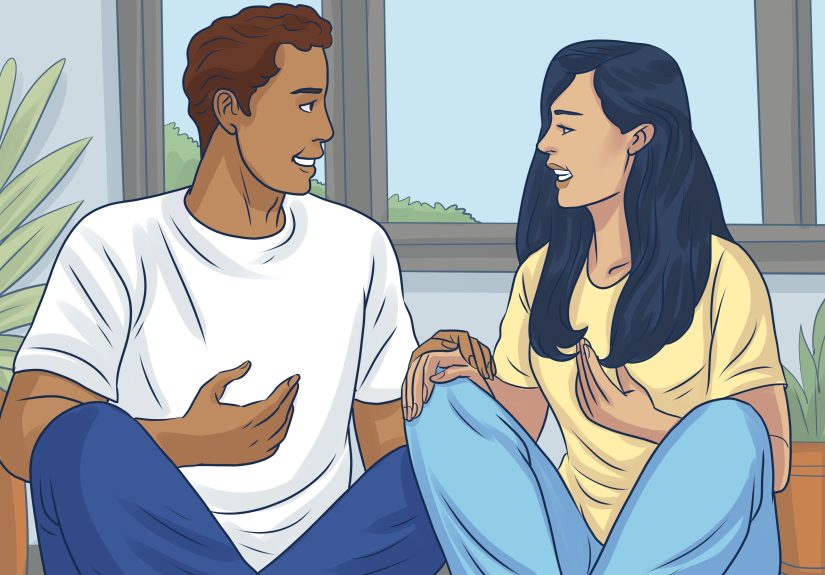
Want better conversations and fewer one-word replies? This guide shares 210 open-ended questions to ask a girl,...
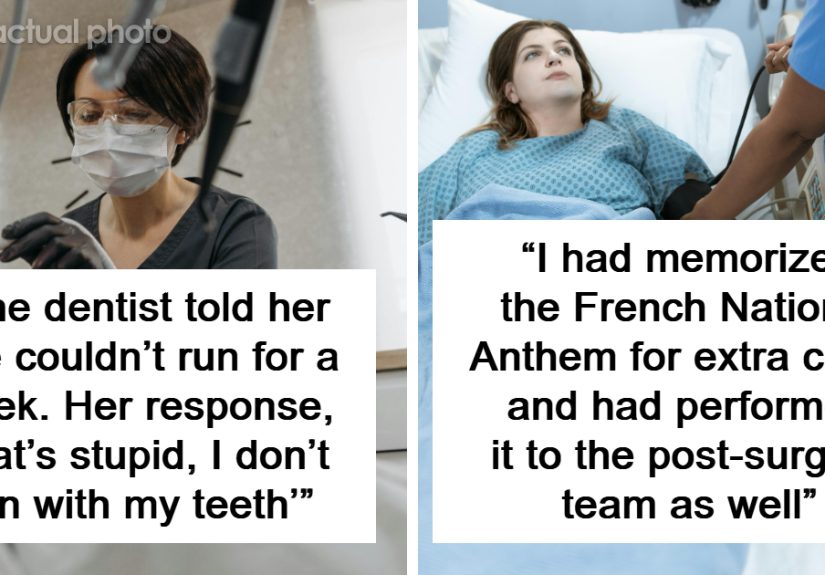
Why do patients waking up from anesthesia say the wildest things? This article breaks down the viral...
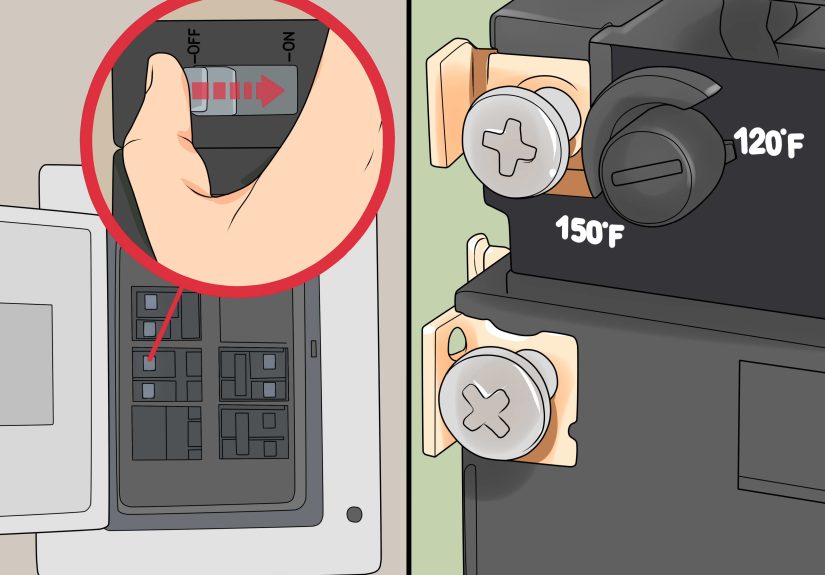
Installing a water heater is more than swapping one tank for another. This guide explains how to...